Advertisement
Quick Links
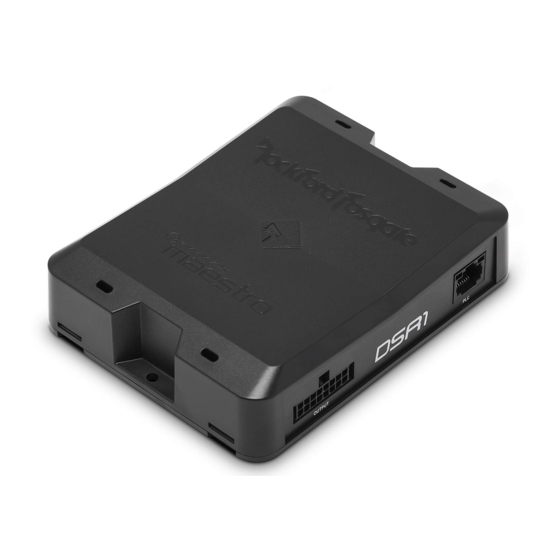
DSR1 PRODUCT OVERVIEW & APP SETUP
If you plan to use DSR1 in a MAESTRO vehicle-specific installation, proceed
with steps 1-3 below, then follow Maestro programming above.
Step 1 - Update DSR1
Get the latest audio features by updating the DSR1 at
www.rockfordfosgate.com/products/details/dsr1.
Step 2 - Non Vehicle-Specific Installation
The DSR1 comes pre-programmed as follows:
• (4) Inputs
• (8) Active Outputs:
- Front (L/R)
- Spare (L/R, signal derived from front inputs)
- Rear (L/R)
- Sub (L/R)
Subwoofer is a summing of all 4 input channels. No
balance, no fade. You will need to download the app if
you want to reconfigure the device and take advantage of
the custom audio tuning capabilities.
Step 3 - Download the App
To take advantage of the full DSR1's tuning capabilities,
download the Rockford Fosgate PerfectTune™ app,
designed to run on both tablets and mobile devices.
Step 4 - App Setup & Tuning
Once you have the app installed onto your device, the
setup process will walk you through the necessary steps
for pairing the device to the DSR1. After the pairing is
complete, the app will continue to provide instruction to
finalize the desired audio tune for the vehicle.
USB Setup / Update Port
Output Harness
OUTPUT
PLC
Punch Level Control
(sold separately)
PerfectTune™ App
Input Harness
Vehicle T-Harness
(sold separately)
INPUT LEVEL
USB
EXP
HIGH LOW
STATUS
VEHICLE
INPUT
Status Indicator
Input Level Switch
Expansion Port
Advertisement

Related Manuals for Rockford Fosgate DSR1


Summary of Contents for Rockford Fosgate DSR1
- Page 1 DSR1 PRODUCT OVERVIEW & APP SETUP If you plan to use DSR1 in a MAESTRO vehicle-specific installation, proceed with steps 1-3 below, then follow Maestro programming above. USB Setup / Update Port Input Harness Step 1 - Update DSR1 Vehicle T-Harness Get the latest audio features by updating the DSR1 at (sold separately) Output Harness www.rockfordfosgate.com/products/details/dsr1. INPUT LEVEL Step 2 - Non Vehicle-Specific Installation HIGH LOW STATUS VEHICLE...
- Page 2 DSR1 FLEXIBLE INPUT CONFIGURATIONS The DSR1 can be utilized out-of-the-box with high-level, low-level, or with a T-harness and vehicle specific firmware enabling integration without loss of factory equipped controls and features. FACTORY RADIO AFTERMARKET RADIO FACTORY RADIO + T-HARNESS Allows for installation of aftermarket Allows for installation of aftermarket Allows for installation of aftermarket amplifiers in virtually any vehicle with a amplifiers in virtually any vehicle with an amplifiers with vehicle specific firmware factory radio using high-level inputs. aftermarket radio using low-level inputs. and T-harness while retaining factory radio controls and features. SPEAKER LINE OUTPUTS DSR1 INPUTS PREAMP OUTPUTS DSR1 INPUTS Factory Amplifier Data Port Radio FRONT LEFT IN 1 FRONT LEFT IN 1 –...
- Page 3 DSR1 TYPICAL OUTPUT CONFIGURATION + PIN OUTS The all-in-one digital sound processor and amplifier replacement interface allows for installation of aftermarket amplifiers in virtually any vehicle. OUTPUT INPUT Wire Function Wire Function Wire Function Wire Function (looking into wired end) (looking into wired end) Orange/Black SPDIF In (-) Orange SPDIF In (+) Black Right Sub (-) Right Sub (+)
- Page 4 DSR1 MAESTRO PROGRAMMING & INSTALLATION The DSR1 module will require web-programming as per the steps below, before installation as well as a vehicle-specific T-harness sold separately. Step 1 - Update DSR1 Prior to Maestro programming, update the DSR1 at www.rockfordfosgate.com/products/details/dsr1 for the latest audio features. Step 2 - Install the Weblink plugin (for PC only) Go to idatalinkmaestro.com/plugin and follow the Step 5 - Weblink Programming installation steps. Review the System Requirements before installing. Macintosh not supported. Go to idatalinkmaestro.com/login. Enter your username and password, then click OK. Follow the installation steps in Weblink until your module is flashed, Step 3 - Register a Weblink account then download your install guide.