Advertisement
Quick Links
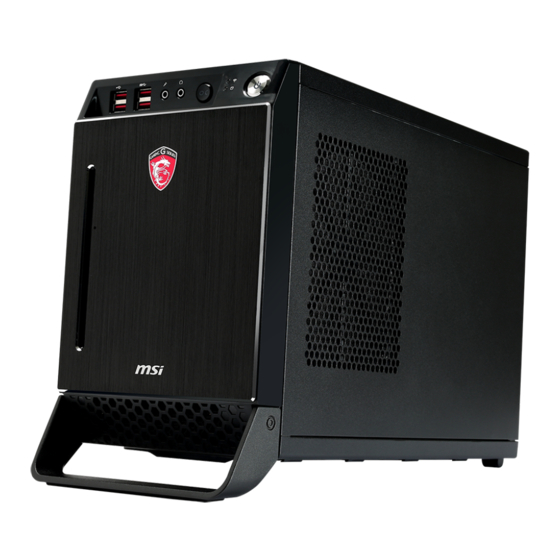
G52-B0882X2
Overview
7
1
2 3
4
5
6
1. USB 3.0 port
2. MIC port
3. Headphone port
4. LED light button
5. Status LED
6. Power button
7. USB 2.0 port
8. Clear CMOS button
9. Display port
10. DVI-I port
18
11. USB 3.0 port
7
12. Audio port
13
8
13. PS/2 Keyboard/Mouse combo port
14 15
9
14. HDMI port
10
15. Optical S/PDIF-Out
16
11
16. eSATA port
17
mic
L-Out
L-In
17. LAN port
12
SS-Out
CS-Out
RS-Out
18. Power cord connector
B088v1.1QIG(G52-B0882X2)(NightBlade)(B85).indd 1
Specifications & Features
Dimension (W x H x D)
345.8mm x 277.3mm x 175.7mm
Net Weight
7.6Kg
Motherboard Type
Mini ITX
Storage Bay
2.5" Drive Bay x 2
3.5" Drive Bay x 1
5.25" Slim ODD Bay x 1
Video
Display port x 1
DVI-I port x 1
HDMI port x 1
USB
USB 3.0 x 2 + USB 2.0 x 2 (Front)
USB 3.0 x 4 + USB 2.0 x 2 (Rear)
Power Supply
Standard ATX PS2
Packing Contents
Drivers & Utilities
Nightblade
Handle Sleeve
User Guide
Slim ODD Cable
Disc
#6-32 Flat Screw
#6-32 Sunk Screw
M3 Screw x 8
SATA Cable x 2
M2 Screw x 4
x 4
T5 Screw x 4
2.5" HDD Slide x 2
VGA Sponge
Optional Accessories
Thumber Screw x 4
* These pictures are for reference only and may vary without notice.
* The packing contents may vary according to the model you purchased.
* If you need to purchase the optional accessories or request part numbers, please visit the MSI
website at http://www.msi.com/index.php or consult the dealer.
Important
These diagrams here are for reference only and may vary from the product you purchased. The
CPU, CPU cooler, system fan, memory module, graphics card, and storage device showed in the
installation drawing are optional.
Assembly Precautions
■ The components included in this package are prone to damage from electrostatic discharge
(ESD). Please adhere to the following instructions to ensure successful computer assembly.
■ Always turn off the power supply and unplug the power cord from the power outlet before
installing or removing any computer component.
■ Ensure that all components are securely connected. Loose connections may cause the computer
to not recognize a component or fail to start.
■ It is recommended to wear an electrostatic discharge (ESD) wrist strap when handling the
motherboard to prevent electrostatic damage. If an ESD wrist strap is not available, discharge
yourself of static electricity by touching another metal object before handling the motherboard.
■ Before turning on the computer, ensure that there are no loose screws or metal components on
the motherboard or anywhere within the computer case.
■ Do not use the computer in a high-temperature environment.
■ Do not boot the computer before installation is completed. This could cause permanent damage
to the components as well as injury to the user.
■ If you need help during any installation step, please consult a certified computer technician.
Important
We provide demonstration diagrams about how to install your computer. Some of the installations
also provide video demonstrations. Please link to the URL to watch it with the web browser on your
phone or tablet. You may have even link to the URL by scanning the QR code.
Assembly Tools You Need
A Phillips (crosshead) screwdriver
and a flathead screwdriver, can be
Forceps, can be used to pick up
used to do most of the installation.
tiny screws or set up the jumpers.
Choose one with a magnetic head
would be better.
Pliers, can be used as an auxiliary
Rubber
gloves,
tool to connect some connectors or
yourself from being incised and
cables.
suffering the static charge.
Opening the Chassis
開啟機箱
开启机箱
シャーシの開ける方
케이스 열기
Membuka Casing
Mở thùng máy ra
เปิ ด ฝ�ตั ว เครื ่ อ ง
Abrir la torre
Ouverture du chassis
Gehäuse öffnen
Открытие корпуса
Aprire lo Chassis
Kasayı açma
Otevření skříně
Nyissa ki a házat
Otwieranie obudowy
x 1
Abrindo gabinete
Het chassis openen
Otvorenie skrine
Deschiderea carcasei
Otvaranje kućišta
Öppna Chassit
Hvordan chassiset åbnes
Kotelon avaaminen
Åpne kabinettet
Important
Korpuse avamine
Korpusa atvēršana
These screws can be replaced by thumbscrews for easy chassis
open and close.
Atidarymas Važiuoklė
Knowing the Chassis
了解機箱
了解机箱
シャーシについて
케이스 구조
Mengetahui Casing
Tìm hiểu về thùng máy
ทำ � คว�มรู ้ จ ั ก กั บ ตั ว เครื ่ อ งของคุ ณ
Conocer la torre
Connaissance du chassis
Über das Gehäuse
Знакомство с устройством
CPU
Conoscere lo Chassis
Socket
Kasa Özellikleri
Části skříně
Ismerje meg a házat
Obudowa
Compreendendo o gabinete
Het chassis leren kennen
Časti skrine
Cunoasterea carcasei
Poznavanje kućišta
PCIe 3.0 x16 Slot
Lär känna chassit
Lær chassiset at kende
can
prevent
Tietoja kotelosta
Bli kjent med kabinettet
Cleaning the Dust Container
Important
Regularly cleaning the dust container could keep the system well-ventilated. Clean the dust container
with clean water and dry it before replacing it to the system.
Memory Slot
2.5" HDD Bay
3.5" HDD Bay
5.25" Slim ODD Bay
2014/4/21 上午 11:13:33
Advertisement

Related Manuals for MSI Nightblade


Summary of Contents for MSI Nightblade
- Page 1 * If you need to purchase the optional accessories or request part numbers, please visit the MSI Atidarymas Važiuoklė website at http://www.msi.com/index.php or consult the dealer.
- Page 2 CPU와 CPU 쿨러 설치 BIOS and Driver Updates Installing the 2.5" SATA HDD Memasang Prosesor dan pendingin Prosesor Visit the MSI website for technical guide, BIOS updates, driver updates, and Gắn CPU và bộ tản nhiệt CPU vào other information. 安裝2.5" SATA硬碟...