Advertisement
Quick Links
Advertisement

Related Manuals for Breville Big Squeeze BJS700


Summary of Contents for Breville Big Squeeze BJS700
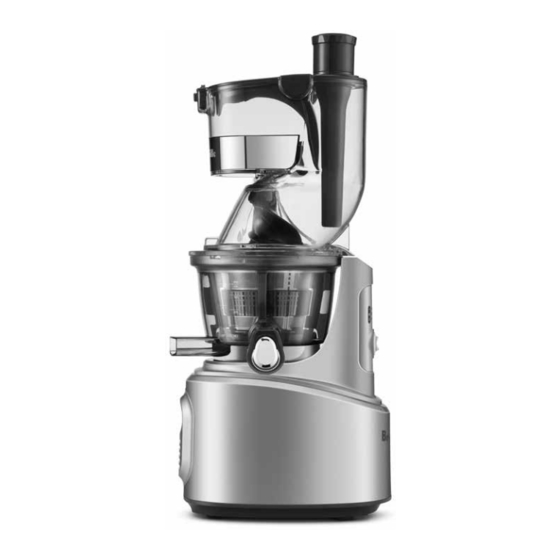
- Page 1 Big Squeeze ™ Instruction Book - BJS700...
-
Page 2: Table Of Contents
• Remove and safely RECOMMENDS discard any packaging materials and promotional SAFETY FIRST labels before using the At Breville we are very safety appliance for the first conscious. We design and time. manufacture consumer • To eliminate a choking products with the safety of you,... - Page 3 • The use of attachments not sold or recommended by Breville may cause fire, electric shock or injury. • Do not leave the appliance unattended when in use.
- Page 4 IMPORTANT • Do not operate the juice extractor without the pulp SAFEGUARDS FOR and juice container ALL ELECTRICAL in place. APPLIANCES • Do not use the juice extractor if the juicing • Fully unwind the power screw is damaged. cord before use. •...
- Page 5 Return the provide additional safety entire appliance to protection when using the nearest authorised electrical appliances. Breville Service Centre It is advisable that a for examination and/or safety switch with a rated repair. residual operating current not exceeding 30mA be •...
-
Page 6: Components
Components Feeding Feeding Basket Tube Detachable A. Feeding Tube & Basket G. Motor Body For different sizes of produce. H. Rotation Wiper B. Juicing Bowl I. Strainer C. Pulp Cup J. Juicing Screw D. Drum Lid K. Pusher E. Detachable Smart Cap L. -
Page 7: Assembly
Assembly BEFORE FIRST USE Before using your Juicer for the first time, remove any packaging material and promotional labels. Ensure the power is in the OFF position, the juicer is switched off at the power outlet and the power cord is unplugged. Wash bowl and juicing tools in warm soapy water with a soft cloth. - Page 8 Assembly ASSEMBLY 3. Place the juicing screw into the strainer. Turn and press down on it until it clicks into 1. Firmly insert the compression silicone into place. the slot below the pulp spout. The Juicer may leak if not assembled properly. 2.
- Page 9 6. Open/Close mark on the top-set. For easy assembly hold the drum lid by grabbing the feeding tube and turn clockwise as shown in the illustration. OPEN CLOSE NOTE The juicer will not operate if the down arrow on the drum lid is not completely aligned with 5.
-
Page 10: Operation
HARD VEGETABLES & HIGH FIBRE FOODS Operation (E.G. CARROTS, BEETS, & SPINACH) Insert into the feeding tube. USING YOUR JUICER 1. After preparing the ingredients, plug the power cord into a wall outlet. Do not touch the power cord with wet hands. - Page 11 SMART CAP IF THE JUICER STOPS DURING OPERATION: Detachable If the ingredients become jammed in the screw and the drum lid does not open, press the OFF button ensuring that the juicer comes to a complete stop. Then press and hold the REVERSE button until the ingredients become dislodged.
- Page 12 Don’ts Tips 1. Operating the juicer without ingredients DO NOT PUT THE FOLLOWING can cause damage to the screw. INGREDIENTS INTO THE JUICER 2. Do not continuously operate the juicer for Hard seeds more than 30 minutes. This can damage the Peach, nectarines, apricot, plum, mango, etc.
-
Page 13: Care & Cleaning
Care & Cleaning Extract all the remaining pulp in the juicing bowl before stopping the juicer. For easier clean up, operate the juicer for an additional 30 seconds after the juice is extracted. Then fill the juicing bowl with water and run the juicer before opening the drum lid. - Page 14 5. Place the juicing bowl under running water 7. Clean the body with a soft damp towel and and unplug the compression silicone to dry. clean the pulp spout. 6. Under running water, clean the outside of the juicing screw with a dish scrub. Use the If the towel is dripping wet, make sure to tip of the cleaning brush to push out any squeeze out the excess liquid before using it...
- Page 15 QUICK RINSING CLEANING SILICONE PARTS It is not necessary to completely clean the Clean the rotation wiper under running juicer in between making multiple juices water. Thoroughly dry after cleaning. Before during a single juicing session. You can do a assembling the top-set, ensure that the quick rinse instead.
-
Page 16: Troubleshooting
Troubleshooting PROBLEM EASY SOLUTION • There is no power to the Check if the power cord is properly plugged in. • juicer Check if the drum lid and the juicing bowl are properly assembled. • Check if the top-set and the body are properly assembled. NOTE: Juicer will not operate if parts are not assembled properly. - Page 17 PROBLEM EASY SOLUTION • Odd noise from the Check if the parts are assembled correctly. Try reassembling the parts and juicer listen for the odd noise. • Do not start the juicer unless there are ingredients and/or liquid in it. •...
- Page 18 PROBLEM EASY SOLUTION • The drum lid is stuck After juicing, let the juicer operate for another 30 seconds to extract the remaining pulp. • If there is too much pulp in the top-set, this can cause the drum lid to not open.
- Page 19 Notes...
- Page 20 Web: www.breville.com.au www.breville.co.nz Breville is a registered trademark of Breville Pty. Ltd. A.B.N. 98 000 092 928. Copyright Breville Pty. Ltd. 2017. Due to continued product improvement, the products illustrated/photographed in this brochure may vary slightly from the actual product.