Table of Contents
Advertisement
Advertisement
Table of Contents

Related Manuals for Acer Chromebook Tab 10


Summary of Contents for Acer Chromebook Tab 10
- Page 1 USER’S MANUAL...
-
Page 2: Register Your Acer Product
2. Open www.acer.com and select your country. 3. Select Support > REGISTER A PRODUCT. 4. Sign up for an Acer ID or sign in if you already have an Acer ID. Register your Acer product After we receive your product registration, you will be sent a confirmation email with important data. -
Page 3: Table Of Contents
Table of contents - 3 A B L E O F C O N T E N T S Register your Acer product ......2 Composing an email ......... 19 YouTube ..........19 Manage your registered products ....2 Playing video or audio files ....19 Getting started Other Supported File Types.... -
Page 4: Getting Started
4 - Getting started E T T I N G S T A R T E D Turn on your Chromebook Tab On the Chromebook Tab, press and hold the power button. A "Welcome" screen will appear when the Chromebook Tab first boots Select your language settings Use the "Language"... -
Page 5: Sign In To Your Google Account
Getting started - 5 Sign in to your Google Account If you already have a Google Account, enter your username and password in the sign-in box that appears and select the Sign in button. Sign in to your Chromebook Enter your email Forgot email? More options NEXT... -
Page 6: Your Acer Chromebook Tab Tour
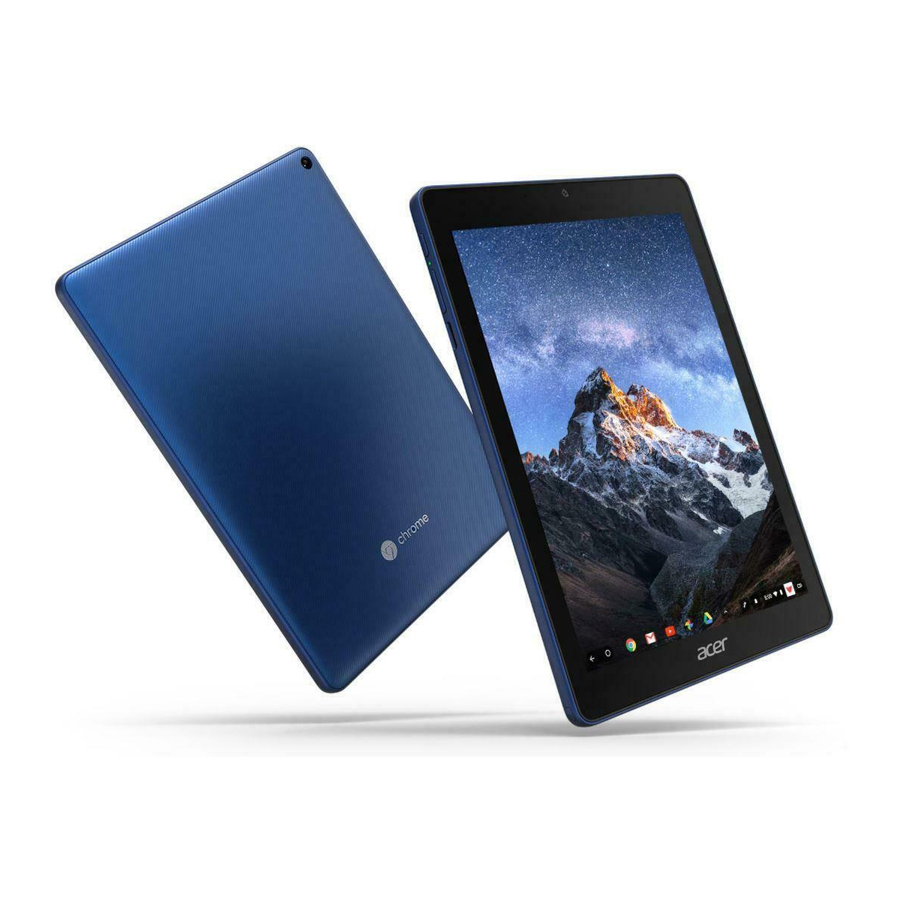
6 - Your Acer Chromebook Tab tour O U R C E R H R O M E B O O K A B T O U R Now that you are done setting it up, let us show you around your new Acer Chromebook Tab. -
Page 7: Rear View
Your Acer Chromebook Tab tour - 7 Rear view Item Description Camera for video communication or taking Rear camera photos. Remove the pen from the slot and perform touch actions on the screen. To disengage Stylus pen the stylus from the tablet refer to... -
Page 8: Top View
8 - Your Acer Chromebook Tab tour Top view # Item Description 1 Speakers Deliver stereo audio output. Receives audio for video chats and internet 2 Microphone calls. Connects to audio devices Headset/speaker (e.g., speakers, headphones), or a headset jack... -
Page 9: Left View
Your Acer Chromebook Tab tour - 9 Left view 3 4 5 # Item Description 1 Stylus slot Holds the stylus pen. 2 microSD card slot Insert a microSD card into the slot. 3 Volume control key Adjusts the volume on your tablet. -
Page 10: Base View
• Delivers up to 3 A at 5 V DC for USB charging. • DC-in: requires power adapter or power source providing 45 W at 5/ 9/15/20 V. For optimal performance, please use a certified Acer power adapter or USB Power Delivery device. -
Page 11: The Chrome Os Desktop
The Chrome OS Desktop - 11 O S D H R O M E E S K T O P Window controls Shelf Window controls 9 10 11 Number Description Goes Backward and Forward in the current web browsing sessions’s history (closing and reopening the Chrome browser begins a new session). -
Page 12: Shelf
12 - The Chrome OS Desktop Number Description Maximizes the window to take up the entire screen. Click again to return window to previous position. Also, select and hold to display a left and right arrow next to the icon. These neatly align the window to take up half the left side of the screen or the right side, respectively. -
Page 13: Pinned Apps
The Chrome OS Desktop - 13 Pinned apps Pin an app to the shelf on page 16 Unpin an app from the shelf on page 16 for more information. Back button The back button enables you to exit fullscreen apps and quit app menus. -
Page 14: Status Area
14 - The Chrome OS Desktop Status area The Status area enables you to see vital computer information at a glance, such as the time, Wi-Fi signal strength, and battery life. Tap the Status area to display a box with more options. Icon Description Icon... -
Page 15: Apps & Extensions
Apps & extensions - 15 & P P S E X T E N S I O N S You can enhance your Chromebook Tab with extra web applications (Chrome apps, for short), features for the browser (also known as extensions) and apps designed for Android™... -
Page 16: Installing Apps From Google Play Store
16 - Apps & extensions Installing apps from Google Play Store 1. Select the Launcher icon. 2. In the All Apps list, select Play Store (or type "Play Store" in the search bar). 3. You can browse apps by category or search for an app by keyword. 4. -
Page 17: Google Drive
Apps & extensions - 17 Google Drive All files saved to your Google Drive are saved online and are accessible to other devices, such as your smartphone or tablet. Files saved to the Downloads folder are saved to your local drive and are only accessible to your Chromebook Tab. -
Page 18: Sync Files From Downloads To Google Drive
18 - Apps & extensions Sync files from Downloads to Google Drive 1. Select the Launcher icon. 2. In the All Apps list, select Files (or type "Files" in the search bar). 3. Select the files that you want to upload. 4. -
Page 19: Gmail
Apps & extensions - 19 3. Select My Drive. 4. Select the file(s) you want to access offline. 5. Two-finger tap to bring up the context sensitive menu and select Available offline. Gmail Composing an email 1. Select the Launcher icon. 2. -
Page 20: Other Supported File Types
20 - Apps & extensions Other Supported File Types Your Chromebook Tab supports a number of other file formats. File type Supported formats Microsoft .doc, .docx, .xls, .xlsx, .ppt (read-only), .pptx (read- Office files only) Images .bmp, .gif, .jpg, .jpeg, .png, .webp Compressed .zip, .rar Other... -
Page 21: Chrome Os Tips And Tricks
Chrome OS tips and tricks - 21 H R O M E T IP S A N D T R I C K S Your Chromebook Tab is a new type of computer that works somewhat differently than what you may be used to, so you might like to know how easy and useful things are when using it. -
Page 22: How To Share Documents With Other Users
22 - Chrome OS tips and tricks 3. Select My Drive (or whatever sub-folder you’ve created to put your files in). Since your files are saved in Google Drive, they are saved online and available anywhere you have internet access. To access your files from any internet-connected computer do the following: 1. -
Page 23: How To Listen To Music
Chrome OS tips and tricks - 23 How to listen to music 1. Select the Launcher icon. 2. In the All Apps list, select Play Music (or type "Play Music" in the search bar). Note Play Music may not be available in all countries and regions. Google Play’s current list of country availability for apps and digital content, visit https:// support.google.com/googleplay/answer/2843119?hl=en To listen to streaming music, you can download streaming apps like... -
Page 24: Working With Microsoft Office (Word, Excel, And Powerpoint) Documents
24 - Chrome OS tips and tricks Working with Microsoft Office (Word, Excel, and Powerpoint) documents Open and edit Microsoft Office files using Google’s office compatibility mode 1. Select the Launcher icon. 2. In the All Apps list, select Files (or type "Files"... -
Page 25: Opening Microsoft Office Files Using Microsoft's Office Online Apps From The Chrome Web Store Or Google Play Store
Chrome OS tips and tricks - 25 Opening Microsoft Office files using Microsoft’s Office Online apps from the Chrome Web Store or Google Play Store Another option for working with Microsoft Office files is to use Microsoft’s own free web-based Office Online tools. You can download the Word Online, Excel Online, and PowerPoint Online apps from the Chrome Web Store or Google Play Store (you’ll need to create a Microsoft account if you don’t already have one). -
Page 26: Gmail Offline
26 - Chrome OS tips and tricks Gmail Offline Note The first time you use Gmail Offline you MUST be connected to the internet to enable offline viewing. 1. Select the Launcher icon. 2. In the All Apps list, select Gmail Offline (or type "Gmail Offline"... - Page 27 Chrome OS tips and tricks - 27 4. Make your desired changes. The next time you are online and have Google Drive open, your local changes will upload to Google Drive. Note If you make changes to a Google document while offline and someone else makes changes to the document as well (for example, if the document is shared with someone else), the next time you are online and have Google Drive open, your changes will merge with the other person’s changes.
-
Page 28: Settings
28 - Settings E T T I N G S Use the Settings menu to adjust the various options for your Chromebook Tab. To access the Settings menu do the following: 1. Select the Status area of the shelf in the lower-right corner of the screen (where your account picture appears). -
Page 29: Changing The Clock Settings
Settings - 29 Changing the clock settings You can change the time format and time zone on your Chromebook Tab. If the date or time is incorrect on your Chromebook Tab, try adjusting the time zone. To change the time zone: 1. -
Page 30: Setting Up A Printer
30 - Settings 5. Once you find a theme that you’d like to try out, select it and then select ADD TO CHROME. Setting up a printer You can use the Google Cloud Print service to send print requests to many types of traditional cabled printer and wireless "cloud ready"... -
Page 31: Resetting Your Chromebook Tab
Do not modify your Chromebook Tab’s hardware yourself. Doing so will cause the update function to no longer work. Please get in touch with your dealer or an authorized service center. Visit www.acer.com to find an authorized service site. Resetting your Chromebook Tab There may be times when you want to reset your Chromebook Tab (for example, removing your personal information and settings). -
Page 32: Help
32 - Help E L P Online and offline help Additional help is available both online and offline. Chromebook Help is installed on your Chromebook Tab and doesn’t require internet access. It covers basic troubleshooting as well as more detailed information about Chrome OS and using your Chromebook Tab.