
Related Manuals for Power Acoustik CP-650


Summary of Contents for Power Acoustik CP-650
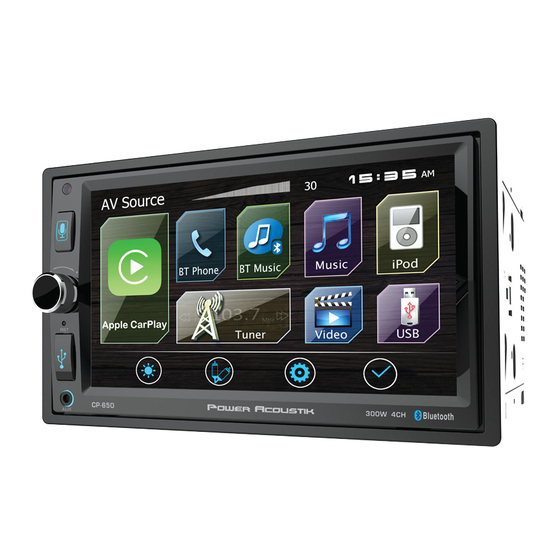
- Page 1 2 DIN 6.5'' TFT Monitor MP3/MP4 Player AM/FM Radio Support Bluetooth Support iPod/iPhone Support CarPlay CarPlay BT-P BT-M Se ng 300W 4CH CP-650...
-
Page 2: Warning
WARNING! To promote safety, certain functions are disabled unless the parking brake is on. The Unit is designed to detect parked status and must be connected to the power supply side of the parking brake switch. Improper connection or use of this connection may violate applicable law and may result in serious injury or damage. -
Page 3: Table Of Contents
Content WARNING!.............................3 OPERATION PRECAUTIONS......................3 CONTENTS .............................4 ACCESSORIES..........................5 INSTALLATION / UN-INSTALLATION ....................6 WIRING CONNECTIONS ........................6 PANEL............................8 REMOTE CONTROL........................8 REMOVE BATTERY........................9 ICON operation..........................10 •RADIO PLAYER..........................10 •BT Phone..........................10 • B T M u s i c ..................... . 1 1 •Music/Video........................12 •USB.........................13 •Music/Video........................13... -
Page 4: Accessories
MP3/MP4 Player AM/FM Radio Support Bluetooth Support iPod/iPhone Support CarPlay CarPlay BT-P BT-M Se ng Se ng 300W 4CH CP-650 Remote Control User Manual Warranty card Microphone Power Cable Speaker Cable Trim ring Note:Product image may vary from the actual delivery. -
Page 5: Installation / Un-Installation
INSTALLATION / UN-INSTALLATION Note Before starting installation of the unit, make sure the wiring is connected properly. Use only the parts provided with the unit to ensure proper installation. The use of unauthorized parts may cause malfunction. Install the unit where it does not get in the driver's way and will not injure the passenger in case there is a sudden stop, like an emergency stop. - Page 6 WIRING CONNECTIONS NOTE: Never connect cable to the system while it (GND). The unit is using a BTL circuit and each is connected to the battery power. Whenever the loudspeaker must be connected with insulated unit is disconnected from the battery, the preset cables according the diagram.
-
Page 7: Panel
FRONT PANEL Reset Button To reset the Head unit for any reason, use a ball pen or pin to press the RESET button.. USB Cover USB slot, for Multimedia playback files only. Insert a USB into this slot and the unit will automatically start reading and playback the card. -
Page 8: Remove Battery
REMOTE CONTROL Cursor buttons RADIO button Use the buttons to select the menu Press it to Radio mode. item. The title tracks it or to show next frame. Press it to USB mode. EJECT button BLUETOOTH Phone button Press it to eject the disc. Press it to Bluetooth Phone mode. -
Page 9: Icon Operation
ICON Operation Touch this button to select sta tion CP-650 is a Two Din Car Audio with the following forward manually functions: Touch this button to search backward Apple CarPlay, Radio, Bluetooth Audio,Bluetooth stations Phone, USB, iPod,Aux ,AV IN The MODE icon in grey mean the corresponding... - Page 10 ICON Operation Wa r n i n g : D r i v i n g a n d h a v i n g a Te l e p h o n e Touch it to skip to the previous page. conversation at the same time is dangerous, Download: Touch it to download call history list.
-
Page 11: Music/Video
ICON Operation Music To start Music, tap Music icon from main menu screen. Touch it to return to TITLE MENU (you can choose video to play) Touch it to access to Video setting menu. Touch it to select previous or next track Touch it to return to TITLE MENU (you can Touch it to select Play or Pause choose music to play) -
Page 12: Usb
ICON Operation Display Setting To start Music, tap USB icon from main menu screen. You can change LED Backlight Color manually: Red > Green > Blue > Yellow > Purple > Ice Blue > White. Touch it to select previous or next list AUTO: LED Backlight Color auto change about page terminal 2 seconds. -
Page 13: System Information
ICON Operation Touch the screen and set the Graphic Equalizer as Time desired. Gain level ( frame area)/Customer To start Time setting, tap Time icon from main menu screen. Adjust the gain level by touching the each frequency bar. You can select frequency bar and adjust its Level by touch blue rectangle. -
Page 14: Carplay Description
CarPlay Description Apple CarPlay Operation CarPlay is a smarter, safer way to use your iPhone in the car. CarPlay takes the things you want to do with iPhone while driving and displays them on the screen of the product. You can get directions, make calls, send and receive messages, and listen to the music from iPhone while driving. - Page 15 CarPlay Description iPod/iPhone USE SIRI Microphone installation You can active Siri. 1 Check the installation position of the microphone . 2 Clean the installation surface. 1 Press Siri button or touch button for 2 3 Remove the separator of the microphone,and stick second or the HOME button of iPhone .
-
Page 16: Connection
Connection Speaker impedance: 4-8 Ω White To front left speaker White/Black Gray To front right speaker Gray/Black Green Connect to the vehicle’s To rear left speaker parking brake detection switch Green/Black harness. Brown (Parking sensor wire) PRK SW Purple To rear right speaker For best safety, be sure to connect the parking sensor. -
Page 17: Other Function
OTHER FUNCTIONS Subwoofer Rear View Camera Connect the subwoofer to the unit using sub This unit is equipped with rear view camera output (see electrical diagram). Tap MENU on output. The camera is used to observe the screen enter into main menu setting choose situation behind the vehicle when you are backing setting menu. -
Page 18: Troubleshooting
TROUBLESHOOTING Cause Symptom Remedy Replace with fuse of the same amperage. If Fuse is blown the fuse blows again, consult your store of GeneralPower does not purchase turn on.(No sound is produced.) Consult your local retailer. In correct wiring 1. Turn off the unit. 2. -
Page 19: Troubleshooting
TROUBLE SHOOTING Symptom Cause Remedy IF THE POWER SUPPLY IS PROPERLY CONNECTED THE CAR IGNITION IS NOT TO THE CARACCESSORY SWITCH THE IGNITION NO POWER KEY TO “ACC”. THE FUSE IS BLOWN. REPLACE THE FUSE. REMOVE THE DISC IN THE PLAYER THEN PUT A DISC CANNOT BE LOADED. -
Page 20: Technical Specifications
TECHNICAL SPECIFICATIONS General Power supply: 11~16V DC Current consumption: max. 10 A Maximum power output: 4 x 50W channels (max) Compatible formats: DVD/VCD//MP3/MP4/VIDEO/CDDA/PICTURE CDCD- R/-RW/DVD±R/±RW PLAYBACK Dimensions (W x D x H) / weight: 178*170*100 mm/1.5 kg Working temperature range: Working temperature range: ESP function: 10 sec. - Page 21 Video File Conversion 101 File compression seems to be name of the game to see who can fit the most music and video onto today media deices. Unfortunately with so many compression formats and codecs, it becomes virtually ...
- Page 22 Video File Conversion 101 Otherwise, choose the file format you want to convert your movie to. May we recommend the AVI: ...