Advertisement
Installing the Battery ............................................ 2
Low Battery Indications ................................ 3
Setting The Channel ........................................... 3
Using More Than One Wireless System ...... 4
Operation ............................................................ 6
Using the Standby Setting ........................... 7
Specifications ...................................................... 7
Advertisement

Summary of Contents for Radio Shack 32-1230A
-
Page 1: Table Of Contents
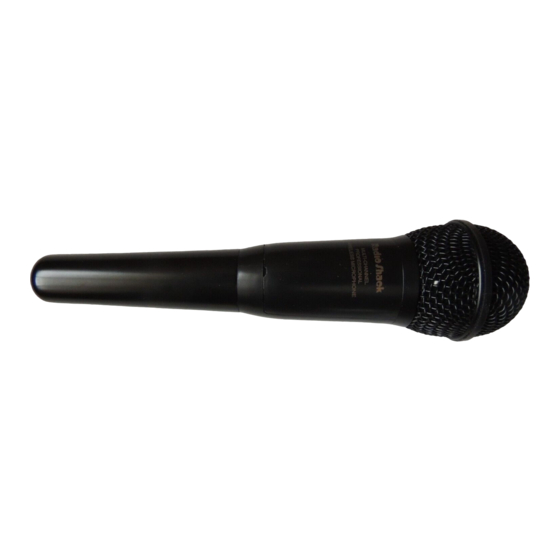
Installing the Battery ... 2 Low Battery Indications ... 3 Setting The Channel ... 3 Using More Than One Wireless System ... 4 Operation ... 6 Using the Standby Setting ... 7 Specifications ... 7... - Page 2 32-1230 OWNER’S MANUAL — Please read before using this equipment. Your RadioShack 3-Channel 170MHz Wireless Microphone is designed for use as a public address microphone or for professional music performances. • The system’s long range (150 feet), high fidelity frequency response (100 – 10,000 Hz), wide dynamic range (90 dB), and low distortion (1.0%) let you use it...
-
Page 3: Installing The Battery
You must get a license for each frequency you plan to use before you use the microphone. Licensing eligibility depends on how you will use the microphone. Contact your nearest FCC office to get the necessary application. INSTALLING THE BATTERY The microphone’s transmitter is powered by a single 9-volt... -
Page 4: Low Battery Indications
If the indicator flickers when you move the microphone’s switch from , the battery is good. STBY If the indicator lights when you are using the microphone (in position), battery power is low and you STBY should replace the battery. -
Page 5: Using More Than One Wireless System
Instead, set the receiver channel to match the transmitter channel. Using More Than One Wireless System If you intend to use more than two wireless microphone systems in the same location, follow the recommended channel combinations listed for best performance. - Page 6 To set the transmitter channel, do the following. Battery Compartment 1. While holding the body of the microphone, carefully unscrew and remove the tapered lower section of the microphone. Caution: Static electricity can damage your microphone. To avoid possible damage, you should...
-
Page 7: Operation
2. Set the transmitter switch to the desired channel. Do not handle the printed circuit board or remove the protective shield. 3. Replace the lower section of the microphone body. OPERATION 1. Fully extend the receiver’s antenna. 2. Turn on your amplifier, tape recorder, mixing board, and other necessary components of your audio system. -
Page 8: Using The Standby Setting
Using the Standby Setting The microphone’s STBY microphone without turning off the microphone’s transmitter. If you move the switch from amplifier is on, there is a loud pop. There is no pop when you move the switch from To conserve battery power, be sure to set the switch to when you finish using the microphone. - Page 9 This warranty gives you specific legal rights, and you may also have other rights which vary from state to state. RadioShack Customer Relations, 200 Taylor Street, 6th Floor, Fort Worth, TX 76102 09A01 32-1230A 12/99 AO0075AAA1 Printed in China...


