Table of Contents
Advertisement
Quick Links
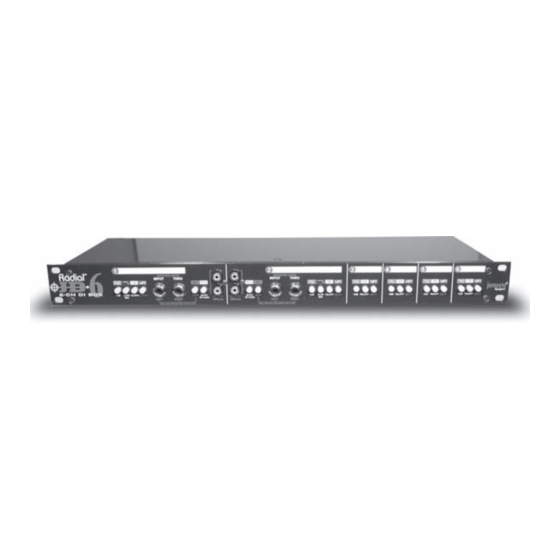
Radial JD6
Six channel rack mount D.I.
Part # R800 6000
Owner's Manual
Radial Engineering
1638 Kebet Way, Port Coquitlam BC V3C 5W9
tel: 604-942-1001 • fax: 604-942-1010
email: info@radialeng.com web: www.radialeng.com
Radial Engineering is a division of JP CableTek Electronics Ltd.
True to the Music
Advertisement
Table of Contents

Related Manuals for Radial Engineering JD6


Summary of Contents for Radial Engineering JD6
- Page 1 Six channel rack mount D.I. Part # R800 6000 Owner’s Manual Radial Engineering 1638 Kebet Way, Port Coquitlam BC V3C 5W9 tel: 604-942-1001 • fax: 604-942-1010 email: info@radialeng.com web: www.radialeng.com Radial Engineering is a division of JP CableTek Electronics Ltd.
-
Page 2: Table Of Contents
As there are many innovative features in the JD6, we recommend that you take a few minutes to read through this manual in order to familiarize yourself with the design and features that are built in. Most importantly, the Radial JD6 features internal grounding options that will be of particular interest to engineers when integrating the JD6 with keyboard racks and audio-visual systems. -
Page 3: The Jd6 Design Concept
Jensen™ audio transformers for absolute performance. You can hit the JD6 with tons of level and you will never saturate the core! At less than 0.006% distortion at 20Hz, the JD6 has no equal. - Page 4 1. –15dB pad All channels of the Radial JD6 feature a -15dB pad to reduce the level coming from high output sources such as CD players, tape machines and headphone outputs. It is unlikely that you will ever need to use a pad for basses or guitars.
- Page 5 6. Thru-put connector As with all direct boxes, the JD6 is outfitted with a thru connector on each channel. This is used to pass the direct signal directly thru to the instrument amplifier or sub mixer. On channels 1 & 2 these are also duplicated on the front and the rear of the unit and feature switching jacks with front panel priority.
-
Page 6: Rear Panel Connections
NOTE: As these white label zones are screened directly on the metal, only use an erasable pencil such as a wax- pencil or dry or wet erase pencil to mark the JD6. We strongly suggest you test your pen or pencil to make sure the ink does not react with the screening. -
Page 7: Using The Jd6
True to the Music As such, the output of the JD6 must be connected to the mic input on a mixer or to a mic pre-amplifier in order to properly match your levels and impedance. Doing so will provide optimum sound quality and best overall performance. -
Page 8: Grounding Options For The System Engineer
As noted earlier, all JD6 channels feature a separate XLR pin-1 ground lift for each channel. It is important to note that each channel of the JD6 is also 100% isolated from each other to eliminate crosstalk and potential ground problems. -
Page 9: Typical Stage Set-Up Using The Radial Jd6
7. TYPICAL STAGE SET-UP USING THE RADIAL JD6 The Radial JD6 may be used in a variety of configurations. This common set-up for stage use shows a computer sound card being connected to channels 1 & 2, keyboards to channels 3 & 4 and sound modules to channels 5 & 6. -
Page 10: Optional Output Panels
10. THE ADVANTAGE OF GOING PASSIVE! The Radial JD6 is completely passive. This means that it does not require any AC or DC to power the unit to make it work. You plug in and you are ready to go. High quality Jensen audio transformers are used to bridge the input to the XLR output.