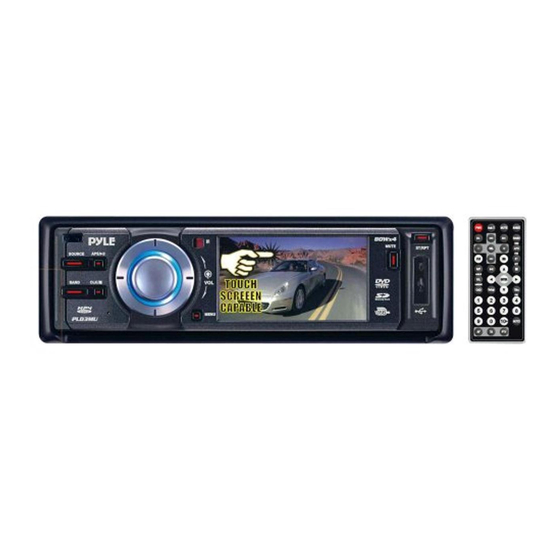
Summary of Contents for Pyle View PLD3MU
- Page 1 PLD3MU 3'' TFT Touch Screen DVD/ VCD/ CD/ MP3/ CD-R/ USB/ AM/ FM www.pyleaudio.com...
-
Page 2: Table Of Contents
Contents Safety Precautions...2 Electric Connection Reception collection Speaker collection Installation...4 Install the unit Remove the unit General Features...5 PLAY/PAUSE Eject Source/Power Mute Volume Select charter/Foward /Backward Repeat Release Display position adjustment USB/SD operation...8 USB/SD PLAYER System setting...9 Video Audio System Radio Operation...10 Band ...3... -
Page 3: Safety Precautions
Safety precautions CAUTION To prevent injury or fire, please take the following precautions: Do not watch videos when driving. To prevent electric shock, etc. please do not let the metal goods(silver,coin,tools..) fall into the installation. If you smell or see smoke, turn off the power immediately and consult the place of purchase. -
Page 4: Electric Connection
Electric Connection VIDEO IN (YELLOW) BACK A CAR VIDEO IN ( YELLOW (WHITE) Gray FRONT LEFT RCA OUT (RED) Gray FRONT RIGHT RCA OUT (YELLOW) Gray VIDEO OUT Brake detecting wire Detecting wire for back a car Remote control for amplifier. Connect control for antenna Ignition key sw tch... -
Page 5: Installation
Installation Before installing the receiver, fit it in the suitable place of your car. Then connect the corresponding speakers and electrical connections. When your system is operated properly, follow the instructions installation INSTALL THE UNIT 1)Install the bracket 2)Bend over some slices to secure the installation of bracket inside of dash. -
Page 6: General Features
General Features /APS SRC/PWR MUTE ST/RPT MUTE ST/RPT SOURCE APS/ BAND CLK/ MENU BAND CLK/ MENU... -
Page 7: Eject
General Features /APS APS/ SOURCE BAND CLK/ MENU MENU Play/pause Play/pause: Press [APS/ ] button to play or pause. NOTE: Press [VOLUME] button can play too. CLK/ :In the play mode,press[ ]button once to pause,press it agaiin to stop ST/RPT Eject EJECT: Press[... -
Page 8: Play Operation
Play operation Insert DVD/VCD/CD disc,touchscreen will show menu as follows: Select chapter or section: In the DVD mode, Choose last chapter; press [ ] to choose next chapter. Forward: Hold [ ] button down; Rewind: Hold [ ] button down. Repeat Repeat: In the play mode, press[ RPT ]button to... -
Page 9: Repeat
SD/USB operation SOURCE APS/ BAND CLK/ MENU USB/SD mode USB mode Insert USB, the unit will switch to USB playing mode automatically SD mode Insert SD card, the unit will switch to SD playing mode automatically Play operation MUTE ST/RPT PLAY/PAUSE: Press [ ] button to play or pause. -
Page 10: System Setting
System setting MENU ENTER MENU: Press[ MENU ]button V d o mode: Menu operation VIDEO AUDIO SYSTEM Clicks on the menu option BRIGHT Press[ ] to adjust. COLOR Press to confirm and exit. CONTRAST TINT VMODE STAN Audio mode: Menu operation V d o Audio System... -
Page 11: Radio Operation
Radio Operation APS/ SOURCE APS/ BAND CLK/ MENU BAND BAND Press BAND button to select among three FM or two AM bands. (FM1-FM2-FM3-AM1-AM2) FM 01 FM 02 FM 03 AM 02 AM 01 Stereo Press [ST] button, switch between [ MO] and [ST].while receiving the signal,[ST] back light turns blue. -
Page 12: Remote Control
Remote Control MUTE SOURCE Sub-T BAND S T S T ANGLE ENTER LANGUAGE Setup Title GOTO Loading and replacing the battery Use one lithium battery(CR2025) Insert the batteries with the +and - poles aligned properly. Following the illustration inside the case. Pull out Store unused batteries out of the reach of children.contact a doctor immediately if the battery is accidentally swallowed. -
Page 13: Basic Operation
Basic Operation PWR(POWER) Press this button to turn on/off the unit. SOURCE Press this button can select sound mode. Press these buttons can search tune, play forward and backward manually. Press this button repeatedly to select needed mode. BAND RDM Under receiving mode, press this button can select band;... - Page 14 Basic Operation N/P(Angle) Under the playing, press [N/P] and can transit among PAL/AUTO/NTSC mode. Angle In DVD mode, Long press can adjust the angle of the video. (The DVD disc record the angle with this function.) [ ][ ] [ ][ ] [ENTER] Under DVD mode, press this button to move the cursor in up,down,left and right directions after entering SETUP...
-
Page 15: Accessories
Basic Operation MUTE SOURCE Sub-T BAND S T S T ANGLE ENTER LANGUAGE Setup Title GOTO Accessories External view External view ... Number of items ...2 The use of any accessories except of those provided might result in damage to the unit .Make sure only to use the accessories shipped with the unit ,as shown above. -
Page 16: Specifications
Specifications Specifications subject to change without notice. DISPLAY UNIT Liquid crystal panel...3.0 inches panel weight ...157g Number of pixels... Display method...Transparent color filter format Drive method... Light source...internal light (built-in small fluorescent lamp) GENERAL Operating power...12 Volts DC,negative %10THD output wiring...Designed for using four speakers only front and rear channels cannot be combined in use with 2speakers. -
Page 17: Trouble Shooting
Trouble shooting guide What might seem to be a malfunction in your unit may just be the result of slight misoperation or miswiring. Before calling for after service, please check the following tables for possible problems first. ?The power does not turn ON. The fuse has been burned out. - Page 18 WNER'S MANUAL Before installation and operating the unit please read this manual thoroughly and retain it for future reference...


