Advertisement
Model No. 831.24623.0
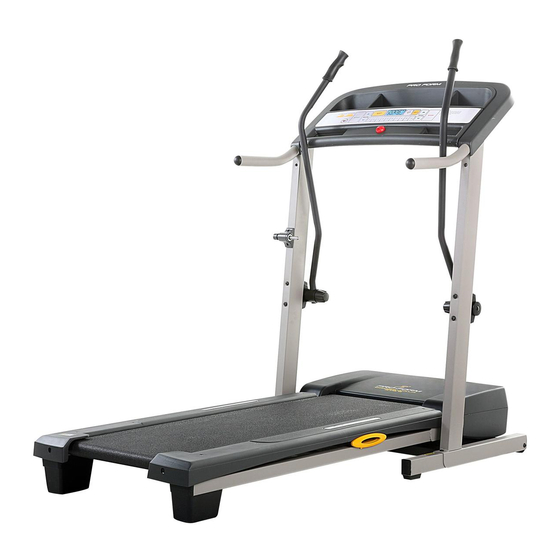
TREADMILL EXERCISER
Serial No.
User's Manual
Serial Number
Decal
• Assembly
• Operation
• Maintenance
• Part List and Drawing
CAUTION
Read all precautions and instruc-
tions in this manual before using
this equipment. Save this manual
for future reference.
Sears, Roebuck and Co., Hoffman Estates, IL 60179
Advertisement
Table of Contents

Related Manuals for ProForm TREADMILL 831.24623.0


Summary of Contents for ProForm TREADMILL 831.24623.0
- Page 1 Model No. 831.24623.0 TREADMILL EXERCISER Serial No. User’s Manual Serial Number Decal • Assembly • Operation • Maintenance • Part List and Drawing CAUTION Read all precautions and instruc- tions in this manual before using this equipment. Save this manual for future reference.
-
Page 2: Table Of Contents
HOW TO FOLD AND MOVE THE TREADMILL ........ -
Page 3: Important Precautions
2. Use the treadmill only as described. 3. Place the treadmill on a level surface, with at least eight feet of clearance behind it and two feet on each side. Do not place the treadmill on any surface that blocks air openings. - Page 4 SAVE THESE INSTRUCTIONS The decals shown below have been placed on your treadmill. If a decal is missing, or if it is not legible, please call toll-free 1-888-533-1333 and order a free replace- ment decal.
-
Page 5: Before You Begin
BEFORE YOU BEGIN Thank you for selecting the new PROFORM WALK 375E treadmill. The CROSSWALK 375E tread- mill offers a selection of features designed to make your workouts at home more effective and enjoyable. And when you’re not exercising, the CROSSWALK 375E treadmill can be folded up, requiring less than half the floor space of other treadmills. -
Page 6: Assembly
During shipping, a small amount of lubricant may be transferred to the top of the walking belt or the shipping carton. This is a normal condition and does not affect treadmill perfor- mance. If there is lubricant on top of the walking belt, simply wipe off the lubricant with a soft cloth and a mild, non-abrasive cleaner. - Page 7 Wheel Bolt; the Wheel should turn freely. 3. With the help of a second person, carefully tip the treadmill onto its right side. Do not fully fold the treadmill until it is completely assembled. Insert the other Extension Leg (63) into the base of the Uprights (69).
- Page 8 5. Set the Console (43) face down on a soft surface to avoid scratching the Console. Next, set one of the Handrails (71) on the Console as shown. Attach the Handrail with three 3/4” Screws (2). Make sure that the console wire is not pinched.
- Page 9 10. Make sure that all parts are properly tightened before you use the treadmill. Note: Extra hardware may be included. Keep the included hex keys in a secure place; the large hex key is used to adjust the walking belt (see page 19).
-
Page 10: Operation And Adjustment
Failure to use a properly functioning surge suppressor could result in damage to the control system of the treadmill. If the control system is damaged, the walking belt may change speed, accelerate or stop unexpect- edly, which may result in a fall and serious injury. - Page 11 Calorie Goal Programs As you walk or run on the treadmill, the console will dis- play the approximate number of calories you have burned. If desired, you can set a goal to burn either 300...
-
Page 12: Manual Mode
Speed increase button, or one of the ten num- bered buttons. Change the incline of the treadmill as desired. To change the incline of the treadmill, press the Incline increase or decrease button until the de- sired incline level is reached. -
Page 13: Calorie Goal Program
To change the speed of the walking belt or the in- cline of the treadmill at any time during the pro- gram, press the Speed or Incline buttons. Note: If you change the speed of the walking belt, you may not reach your calorie goal. - Page 14 THE INFORMATION MODE/DEMO MODE The console features an information mode that keeps track of treadmill usage information and allows you to select a unit of measurement for the console. To select the information mode, insert the key into the console while holding down the Stop button, and then release the Stop button.
- Page 15 HOW TO USE THE UPPER BODY ARMS As you walk on the treadmill, you can hold the handrails or use the upper body arms. To exercise your arms, shoulders, and back for a total body work- out, move the upper body arms forward and back as you walk on the treadmill.
-
Page 16: How To Fold And Move The Treadmill
HOW TO FOLD THE TREADMILL FOR STORAGE Before folding the treadmill, adjust the incline to the lowest position. If this is not done, the treadmill may be per- manently damaged. Next, unplug the power cord. CAUTION: You must be able to safely lift 45 pounds (20 kg) to raise, lower, or move the treadmill. - Page 17 HOW TO LOWER THE TREADMILL FOR USE 1. Hold the treadmill with your right hand as shown. Pull the latch knob to the left and hold it. Pivot the frame downward until it is past the latch pin. 2. Hold the metal frame firmly with both hands, and lower it to the floor.
-
Page 18: Troubleshooting
PROBLEM: The power turns off during use SOLUTION: a. Check the circuit breaker located on the treadmill frame near the power cord (see the drawing above). If the circuit breaker has tripped, wait for five minutes and then press the switch back in. - Page 19 1/2 of a turn. Be careful not to overtighten the walking belt. Then, plug in the power cord, insert the key, and run the treadmill for a few minutes. Repeat until the walking belt is centered. b. If the walking belt slips when walked on, first remove the key and UNPLUG THE POWER CORD.
-
Page 20: Conditioning Guidelines
For maximum fat burning, adjust the speed and incline of the treadmill until your heart rate is near the middle number in your training zone. Aerobic Exercise If your goal is to strengthen your cardiovascular sys- tem, your exercise must be “aerobic.”... - Page 21 SUGGESTED STRETCHES The correct form for several basic stretches is shown at the right. Move slowly as you stretch—never bounce. 1. Toe Touch Stretch Stand with your knees bent slightly and slowly bend forward from your hips. Allow your back and shoulders to relax as you reach down toward your toes as far as possible.
- Page 22 NOTES...
-
Page 23: Part List
PART LIST—Model No. 831.24623.0 No. Qty. Description Hood 3/4” Screw Motor Belt Motor Tension Bolt 3/8” Star Washer Motor Star Washer Flywheel Drive Motor Foot Rail Cover Reed Switch Latch Warning Decal Frame Spacer Frame Pivot Nut/Motor Nut Frame Pivot Bolt Walking Platform Screw, Rear Handrail Endcap... -
Page 24: Exploded Drawing
EXPLODED DRAWING—Model No. 831.24623.0 R0706A... - Page 25 Part 2 of 4...
- Page 26 Part 3 of 4...
- Page 27 Part 4 of 4...
-
Page 28: Warranty
® Marca Registrada / 90 DAY FULL WARRANTY If this Sears Treadmill Exerciser fails due to a defect in material or workmanship within 90 days of the date of purchase, call 1-800-4-MY-HOME repair proves impossible). The drive motor is warranted for 3 years from the date of purchase.