Table of Contents
Advertisement
User Guide (English)
Introduction
Please see this guide's
and its accessories, and then refer to the
Box Contents
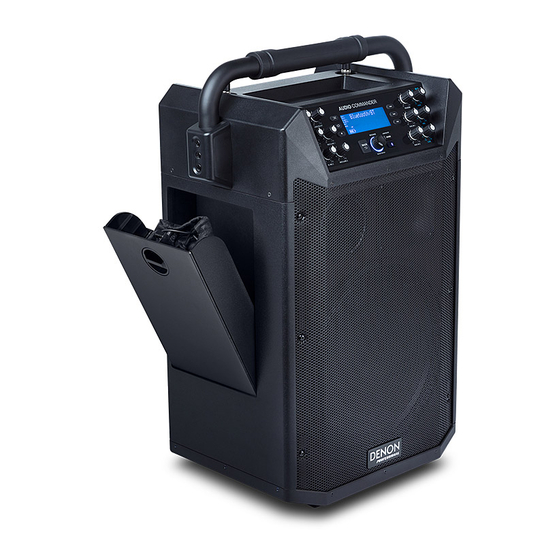
Audio Commander
Wireless Handheld Microphone
Headset Microphone
Wireless Beltpack Transmitter
Power Cable
User Guide
Safety & Warranty Manual
Support
For the latest information about this product (documentation, technical specifications, system
requirements, compatibility information, etc.) and product registration, visit denonpro.com.
For additional product support, visit denonpro.com/support.
The accessories can be stored in the side panel compartments.
Rechargeable Batteries
Rechargeable lead-acid batteries are the same type used in automobiles. As with your car
battery, how you use this battery has a significant impact on its lifespan. With proper use and
treatment, a lead-acid battery can last for years. Here are some recommendations for getting
the longest life from the internal battery.
General Usage Charge fully before use.
Charge fully before storing.
Storage
For best product longevity, do not store at exceedingly hot (greater than
90°F / 32°C) or exceedingly cold (less than 32°F / 0°C) temperatures.
It is acceptable to leave your sound system plugged in. This will not
overcharge the battery.
If you leave the battery level low and do not charge it for 6 months, it may
permanently lose capacity.
Repair
If the battery fails to charge, check the fuse near the power cable input. If
the fuse is not intact, please replace it.
The battery can be replaced (details in the Technical Specifications).
For Warranty and Parts, contact the Parts Dept. at 401-658-3743 or by
visiting denonpro.com/support.
Bring the unit to a recycling center or dispose of in accordance with local
Disposal
ordinances.
chapter to see an example of how to use Audio Commander
chapter to start using Audio Commander.
3
Advertisement
Table of Contents

Related Manuals for Denon Audio Commander


Summary of Contents for Denon Audio Commander
- Page 1 User Guide (English) Introduction Please see this guide’s Setup chapter to see an example of how to use Audio Commander and its accessories, and then refer to the Operation chapter to start using Audio Commander. Box Contents Audio Commander Wireless Handheld Microphone...
- Page 2 Features Front Panel AUDIO 11 12 Master Volume: A d j u s t t h i s k n o b t o control the level for the master volume going to the Line Output. Wireless Mic Volume 1: Adjust this knob to control the level for the wireless mic receiver Wireless Mic Volume 2: Adjust this knob to control the level for the wireless mic receiver USB/SD/BT Volume: Adjust this knob to control the level for the USB, SD, and Bluetooth sources.
- Page 3 6. Mic/Line Switch: Press this switch in to have the gain set for mic level sources. Have the switch in the outward position for line-level sources. 7. Line Output: Connect this 1/4” TRS (6.35 mm) output to another Audio Commander. 8. Wireless Receivers: Select the wireless mic channel using the Up/Down buttons and press the Set button to link the channel to the wireless mic.
- Page 4 Display 1. Input Sources 2. Power Charging Indicator 3. Battery Level 4. USB/SD Card Folder 5. USB/SD Card Track 6. Track Playback Time Setup Items not listed under Introduction > Box Contents are sold separately. Media Player Wireless Microphone Microphone Guitar Tablet Power...
- Page 5 Headset Microphone Setup Headset Microphone Beltpack Transmitter Power...
- Page 6 RF LED will illuminate on the receiver showing the mic is matched to that channel. 3. Adjust the wireless microphone gain using the W. Mic 1 knob on Audio Commander. 4. As you speak, watch the AF indicator on W. Mic Receiver 01 to make sure a signal is being received.
- Page 7 Pairing a Bluetooth Device 1. Turn on your Bluetooth device. 2. Navigate to your Bluetooth device’s setup screen, find “Audio Commander” and connect. Note: If your Bluetooth device prompts for a pairing code, enter “0000”. Note: Use the Mode button to select Bluetooth as the source.
- Page 8 3. Ensure the Line/Mic switch is set to Line. 4. Play your music on the first Audio Commander. 5. Adjust the Master volume knob on the first Audio Commander and then adjust the Mic/Line volume on the second Audio Commander.