Advertisement
Advertisement
Table of Contents

Related Manuals for Q-See QCW3MP1B


Summary of Contents for Q-See QCW3MP1B
-
Page 1: Quick Start Guide
WI-FI SECURITY BULLET CAMERA QUICK START GUIDE ENGLISH... - Page 2 WELCOME! Congratulations on your latest purchase and welcome to the Q-See family. This guide includes everything you will need to help get your camera up and running right out of the box. We are excited to have you on board and thank...
-
Page 4: What's Included
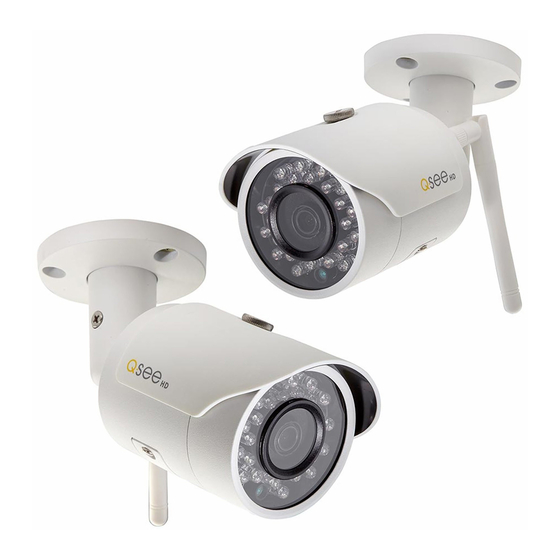
WHAT’S INCLUDED Camera Grommet Wi-Fi Antenna Mounting Hardware Also included: 1 power supply & 1 weather seal (seal is for custom installs) - Page 5 FEATURES BEST IN CLASS NIGHT VISION EASY SETUP Setting the resolution See what’s happening in Less fuss, more bar higher than 1080p pitch dark monitoring MOTION ALERT MICRO SD CARD SUPPORT ADD-ON Get alerts about Internal back up memory for Expand your current important activity video storage...
-
Page 7: Get Connected
GET CONNECTED Find the desired location for your camera to be placed. If you are going to be mounting the camera, please use the included mounting hardware to secure the camera firmly to the wall. Please make sure that you test the system completely before mounting the cameras. •... - Page 8 STEP 1 REGISTRATION Before installing, please register your device at www.q-see.com/register on the Q-See Support Portal to receive critical updates and support for your system. Registering will also help us to assist you with any technical or warranty issues if ever necessary.
- Page 9 STEP 2 DOWNLOAD & INSTALL THE QC VIEW APP NOTE: Ensure that your mobile device is connected to the Wi-Fi network you wish to use for your camera. Download the QC View App from the App Store on your mobile device. Once the App has been installed select the Menu...
- Page 10 STEP 3 ADD A NEW DEVICE In Device Manager, Click “+” to add a new device. Select “Wi-Fi configuration” and create a name for your camera. Tap the QR code icon in the SN field and then scan the QR code located on the back camera panel (see photo below).
- Page 11 STEP 4 ADD A WI-FI DEVICE Configure the network settings by entering the password your Wi-Fi network. NOTE: The Wi-Fi network should be the same one used by your mobile device. STEP 5 START LIVE PREVIEW Once your device has been added successfully, select Start Live Preview to view the feed from your camera.
- Page 12 STEP 6 VIEW THE LIVE VIDEO FEED Your camera has been set up successfully. You can now access your camera feed anytime and anywhere using the QC View App. ADJUST THE BULLET CAMERA SHADE You can adjust the bullet camera shade according to your lighting requirements.
- Page 13 NVR. The NVR has to be connected to the same network as your mobile device for the initial setup process. Visit www.q-see.com/support to verify if your system is compatible. *This screenshot is from a QC Series NVR.
-
Page 14: Additional Features
ADDITIONAL FEATURES MICRO SD MEMORY CARD CAMERA RESET BUTTON The micro SD memory card slot is located under If you wish to change the existing Wi-Fi network the bottom panel of the camera. Push the card to a different network, while the camera is in firmly to load the card. -
Page 15: Warranty And Support
Wi-Fi connection. Please make sure that this cable is never exposed to moisture. WARRANTY & SUPPORT Q-See is always here to answer your questions and take your valued suggestions. Our focus is providing excellent customer support and always working to improve our customers’ experience.