
Related Manuals for Azden 310UDR


Summary of Contents for Azden 310UDR
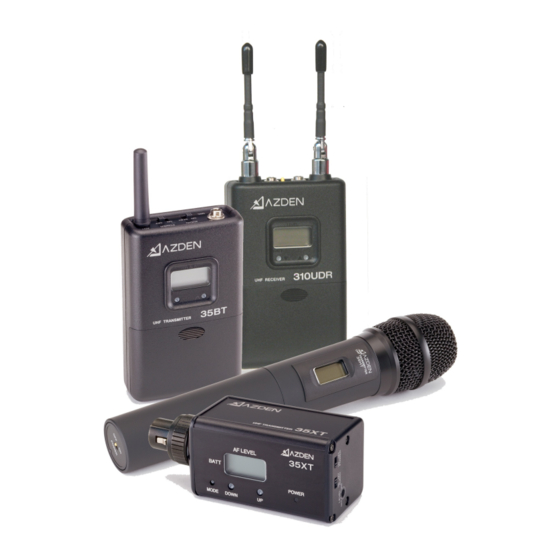
- Page 1 310 DIVERSITY CAMERA-MOUNT UHF WIRELESS MICROPHONE SYSTEM 310UDR - 35BT - 35HT - 35XT INSTRUCTION MANUAL...
- Page 3 If your system came with more than one transmitter, they cannot be used simultaneosly with the same 310UDR receiver. The purpose is to give you the option of using one or the other. When using multiple 310 systems in the same area, set the frequencies for each system to be at least 16 channels apart.
- Page 4 For 3-pin XLR inputs: Use the supplied mini-to-XLR cable. Plug the mini-plug end of the cable into the 310UDR Receiver (use the screw-down sleeve to secure it to the receiver) and plug the XLR end into the microphone inputs on the video camera.
- Page 5 7. Battery Compartment Remove the battery compartment lid by sliding it down. Install two fresh alkaline “AA” batteries. Make sure the battery polarity is correct as marked inside the battery compartment. Alkaline batteries will perform best. 8. Headphone Level Adjustment Turn the dial to adjust headphone audio level.
- Page 6 14. AUDIO Switch It is best to set the AUDIO switch to “STBY” (standby) prior to first turning the POWER switch “ON”. When you are ready to begin transmitting, turn the AUDIO switch ON. The STBY position acts as a mute function that maintains the RF signal but turns off the audio.
- Page 7 21. Phantom Power Switch Flip this switch to “48V” to turn on phantom power. Use only for microphones that require phantom power. 22. LCD Display Multifunctional display shows battery life, audio level and frequency selection. Refer to “LCD Display Readouts” in this manual for further details. 23.
- Page 8 LEVEL 30- 02 BATT 310UDR (RECEIVER) A. Battery level indicator: 3 bars = high, 1 bar = low B. Reception level indicator: 4 bars = high, 1 bar = low C. Audio connection indicator. If not lit, this indicates a loss in audio connection at the receiver.
-
Page 9: Detailed Set Up Instructions
The frequency of each unit may be changed by pressing the Up and Down channel buttons located under the LCD in the case of the 35BT, 35XT and 310UDR, or inside the battery compartment in the case of the 35HT. - Page 10 Avoiding Interference and Drop Outs • Interference from other electro-magnetic sources in the environment is always a risk with any wireless radio technology. When using the system in a new location, always listen with headphones and observe the quality of the audio for a few minutes before you start filming.
-
Page 12: Specifications
2 “AA” Rechargeable Ni-MH (2 x 1.2V) Dimensions: ɸ1 7/8” x 9 9/16”L (48 x 234.5mm) Weight: Azden Corp., 200 Valley Road, Suite 101, Mt. Arlington, NJ 07856 Tel : + 1.973.810.3070 Fax: +1.973.810.3076 E-Mail: sales@azden.com Web: www.azden.com © 2017 Azden Corp.