
Related Manuals for Daikin FHA35AVEB


Summary of Contents for Daikin FHA35AVEB
-
Page 1: Installation Manual
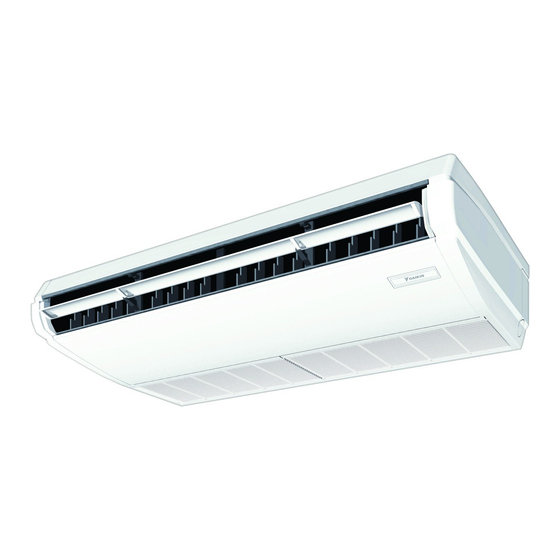
INSTALLATION MANUAL Split System air conditioners FHA35AVEB FHA50AVEB FHA60AVEB FHA71AVEB FHA100AVEB FHA125AVEB FHA140AVEB... - Page 2 3P471028-2A...
-
Page 3: Table Of Contents
CONTENTS WARNING 1. SAFETY PRECAUTIONS..........1 • Ask your local dealer or qualified personnel to carry out 2. BEFORE INSTALLATION..........2 installation work. 3. SELECTION OF INSTALLATION LOCATION ....4 Improper installation may result in water leakage, electric 4. PREPARATION BEFORE INSTALLATION ..... 5 shocks or a fire. -
Page 4: Before Installation
CAUTION Contact DAIKIN INDUSTRIES CZECH REPUBLIC s.r.o. • Install drain piping according to this installation manual to details U Nové Hospody 1/1155, 301 00 Plzeň Skvrňany, Czech Republic ensure good drainage, and insulate the piping to prevent THE ABOVE TABLE RELATES TO THE MODELS condensation. - Page 5 ACCESSORIES CARRY OUT THE WORK GIVING CAUTION TO THE FOL- Check if the following accessories are attached to the LOWING ITEMS AND AFTER THE WORK IS COMPLETED indoor unit. CHECK THESE AGAIN. 1. Items to be checked after the installation work is completed (1) Drain (2) Metal (3) Washer...
-
Page 6: Selection Of Installation Location
2. Items to be checked at delivery [ Required installation space (mm) ] Check Items to be checked *30 or more *30 or more column Have you carried out field setting? (if necessary) Are the control box cover, the air filter and the suction grille attached? Does the cool air discharge during the cooling opera- Fig. -
Page 7: Preparation Before Installation
• Please do not take out the product giving a lot of care to the PREPARATION BEFORE INSTALLATION or the loca- resin side panel and discharge horizontal blade and the air tions of indoor unit hanging bolts, piping outlet outlet. holes, drain piping outlet hole, and electric wiring inlet hole. - Page 8 (5) Remove the parts of the indoor unit. 3) Remove the hanger. 1) Remove the suction grille. • Loosen 2 bolts for installing the hanger at both sides • Slide the suction grille fixing knobs (35, 50 class: 2 (M8) (4 places at left and right) within 10mm. places for each, 60~140 class: 3 places for each) (Refer to Fig.
-
Page 9: Installation Of The Indoor Unit
INSTALLATION OF THE INDOOR UNIT It is easy to attach the optional parts before installing the ≤ 1° indoor unit. Refer to also the installation manual attached to the optional parts. For installation, use the attached installation parts and specified parts. (1) Fix the hanger to the hanging bolt. - Page 10 • Remove the stay for packing and delivering (reinforcing • Make sure to bring the seam of joint insulating material (6) plate) before refrigerant piping work. and (7) to the top. (Refer to Fig. 18) • The refrigerant is pre-charged in the outdoor unit. Gas side piping insulating method •...
- Page 11 (1) For rear side piping • After piping is finished, cut the removed penetration • Remove the rear piping penetration cover, and connect cover along the shape of piping, and install it. the piping. (Refer to Fig. 16 and Fig. 18) Also, for top panel penetration cover, as it was before removed, put the horizontal blade motor and thermistor (2) For upward piping...
-
Page 12: Drain Piping Work
DRAIN PIPING WORK CAUTION (1) Carry out drain piping. If drain stagnates in the drain piping, the piping may be • Carry out drain piping so that drainage is ensured. clogged. • Drain piping can be connected from the following direc- tions: For right rear/right side, refer to Fig. -
Page 13: Electric Wiring Work
• Do not deflect the drain hose (1) inside of the indoor unit. • After the drain piping work, install the stay for packing and (Refer to Fig. 27) delivering (reinforcing plate), which was removed in the (It may cause abnormal noise such as bubbling noise.) section of ‘‘6. -
Page 14: How To Connect Wirings And Wiring Example
SPECIFICATIONS FOR FIELD WIRING • Use the required wirings, connect them securely and fix For the wiring of outdoor units, refer to the installation manual these wirings so that external force may not apply to the ter- attached to the outdoor units. minals. - Page 15 (4) Connect the remote controller wiring led from the routing WARNING hole to the terminals (P1 and P2) of the terminal block (X1M: 6P). (There is no polarity.) When wiring, form the wirings orderly so that the control After this is done, use the wiring fixture (11) and clamp (4) box cover can be securely fastened.
- Page 16 WIRING EXAMPLE NOTE NOTE NOTE NOTE CAUTION 1. Terminal numbers of outdoor and indoor units must be matched. Be sure to install an earth leakage breaker to the outdoor 2-1. Connect the remote controller only to the master unit. unit. 2-2.
-
Page 17: Mounting Suction Grille · Decoration Side Panel
(2) Connect crossover wiring between the terminals (P1, P2) MOUNTING SUCTION GRILLE · DECORATION SIDE inside the control box for the remote controller. (There is no PANEL polarity.) (Refer to Fig. 34 and Table 3) Install securely in the reverse order when decoration side panel and suction grille were removed. - Page 18 11-2 WHEN USING WIRELESS REMOTE CONTROLLER 11-6 SETTING NUMBER OF THE CONNECTED INDOOR • When using a wireless remote controller, it is necessary to UNITS AS SIMULTANEOUS OPERATION SYSTEM set the wireless remote controller address. • When using in simultaneous operation system mode, Refer to the installation manual attached to the wireless change the SECOND CODE No.
-
Page 19: To Perform A Test Run
2. Start the test run. ( 3 ) ( 7 ) Table 9 Earth Power supply Earth Power supply Action Result leakage 220 - 240V leakage 220 - 240V breaker breaker 50Hz 50Hz Cool Outdoor Outdoor Set to Go to the home menu unit unit °C... - Page 20 5. Stop the test run. Malfunc- Descriptions and mea- Table 11 Remarks tion code sures Action Result Indoor Printed Circuit Press at least 4 seconds. Board failure The Service Settings menu is Drain level abnormal displayed. Freeze-up protector or stopped by high pressure control (NOTE 1) Select Test Operation.
- Page 21 Electric expansion valve The compressor engines and Electric thermal (Outdoor malfunction (Outdoor turbines may be overloaded unit) unit) and disconnected. Cooling/heating switch Stall prevention (Outdoor The compressor may be malfunction (Outdoor unit) locked. unit) Transmission malfunc- Discharge piping tem- tion between inverter and perature malfunction outdoor control unit (Out- (Outdoor unit)
- Page 22 CAUTION After test operation is completed, check the items mentioned in the clause 2 “2. Items to be checked at delivery” on page 3. If the interior finish work is not completed when the test opera- tion is finished, for protection of the air conditioner, ask the cus- tomer not operate the air conditioner until the interior finish work is completed.
-
Page 23: Unified Wiring Diagram Legend
UNIFIED WIRING DIAGRAM LEGEND Unified Wiring Diagram Legend For applied parts and numbering refer to the wiring diagram sticker supplied on the unit. Part numbering is realized by Arabic numbers in ascending order for each part and is represented in the overview below by symbol “*” in the part code. CIRCUIT BREAKER CIRCUIT BREAKER PROTECTIVE EARTH... -
Page 24: Pattern Layout Overview
PATTERN LAYOUT OVERVIEW English... - Page 26 4P469440-1B 2017.04...