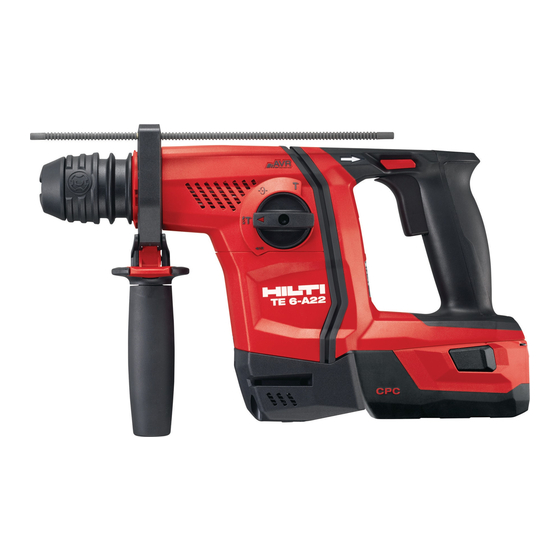
Hilti TE 6-A22 Operating Instructions Manual
Hide thumbs
Also See for TE 6-A22:
- Original operating instructions (224 pages) ,
- Manual (178 pages) ,
- Original operating instructions (228 pages)
Table of Contents
Advertisement
Quick Links
Advertisement
Table of Contents

Related Manuals for Hilti TE 6-A22


Summary of Contents for Hilti TE 6-A22
- Page 1 TE 6-A22 English Printed: 03.02.2017 | Doc-Nr: PUB / 5329716 / 000 / 00...
- Page 2 Printed: 03.02.2017 | Doc-Nr: PUB / 5329716 / 000 / 00...
- Page 3 1 Information about the documentation 1.1 About this documentation • Read this documentation before initial operation or use. This is a prerequisite for safe, trouble-free handling and use of the product. • Observe the safety instructions and warnings in this documentation and on the product. •...
- Page 4 1.4 Product information Hilti products are designed for professional use and may be operated, serviced and maintained only by trained, authorized personnel. This personnel must be informed of any particular hazards that may be encountered. The product and its ancillary equipment can present hazards if used incorrectly by untrained personnel or if used not in accordance with the intended use.
- Page 5 ▶ Prevent unintentional starting. Ensure the switch is in the off‐position before connecting to battery pack, picking up or carrying the tool. Carrying power tools with your finger on the switch or energising power tools that have the switch on invites accidents. ▶...
- Page 6 ▶ If the battery is too hot to touch, it may be defective. In this case, place the power tool in a non-flammable location, well away from flammable materials, where it can be kept under observation and left to cool down. Contact Hilti Service after the battery has cooled down. English...
- Page 7 3 Description 3.1 Overview of the product Dust shield chuck English Printed: 03.02.2017 | Doc-Nr: PUB / 5329716 / 000 / 00...
- Page 8 Troubleshooting section. 3.4 Items supplied Rotary hammer, side handle, depth gauge, operating instructions. You can find other system products approved for your product at your local Hilti Center or online at: www.hilti.com. 4 Technical data 4.1 Rotary hammer TE 6A22...
- Page 9 accurate estimation of exposure should also take into account the times when the power tool is switched off, or when it is running but not actually being used for a job. This can significantly reduce exposure over the total working period. Identify additional safety measures to protect the operator from the effects of noise and/or vibration, for example: maintaining the power tool and accessory tools, keeping the hands warm, organization of work patterns.
- Page 10 5.3 Removing the battery 1. Press the release buttons on the battery. 2. Pull the battery out toward the rear. 5.4 Fitting the side handle CAUTION Risk of injury! Loss of control over the rotary hammer drill. ▶ Check that the side handle is fitted correctly and tightened securely. Check that the clamping band is engaged in the groove in the tool.
- Page 11 5.5 Fitting and adjusting the depth gauge ▶ Fit the depth gauge, if necessary, and adjust it correctly. 5.6 Fitting / removing the chuck CAUTION Risk of injury! The depth gauge, if fitted but not used, might hinder the operator. ▶...
- Page 12 1. Lightly grease the connection end of the accessory tool. ◁ Use only genuine Hilti grease. Using the wrong grease can result in damage to the tool. 2. Push the accessory tool into the chuck as far as it will go (until it engages).
- Page 13 5.10 Chisel positioning ▶ Set the function selector switch to the position. 6 Types of work Warning! Risk of damage! ▶ Operation of the direction of rotation and/or function selector switch while the tool is running may result in damage to the tool. ▶...
- Page 14 • Do not operate the cordless tool if signs of damage are found or if parts malfunction. Have the tool repaired by Hilti Service immediately. • After cleaning and maintenance, fit all guards or protective devices and check that they function correctly.
- Page 15 ▶ Clean the dust shield on the chuck with a dry, clean cloth at regular intervals. ▶ Clean the sealing lip by wiping it carefully and then grease it again lightly with Hilti grease. ▶ It is essential that the dust shield is replaced if the sealing lip is damaged.
- Page 16 Remove the battery and keep it under observation. Allow it to cool down. Contact Hilti service. The rotary hammer has been over- ▶ Use a more powerful tool. loaded. The insert tool can’t be re- The chuck is not pulled back fully.
- Page 17 10.1 DCD dust control ring The DCD dust control ring is an accessory for Hilti rotary hammer drills. It collects a high percentage of the dust produced by overhead work and it attaches quickly and easily to the rotary hammer drill.
- Page 18 English Printed: 03.02.2017 | Doc-Nr: PUB / 5329716 / 000 / 00...
- Page 19 Printed: 03.02.2017 | Doc-Nr: PUB / 5329716 / 000 / 00...
- Page 20 Hilti = registered trademark of Hilti Corp., Schaan 20170126 Printed: 03.02.2017 | Doc-Nr: PUB / 5329716 / 000 / 00...