Table of Contents
Advertisement
5.960-851 04/03/2005041
DO NOT USE THIS PRODUCT ON DELICATE FABRICS
INCLUDING DRALON, ANY ITEMS PROTECTED BY
SCOTCH GUARD OR ANY SIMILAR SUBSTANCE.
BEFORE CLEANING UPHOLSTERY TEST ON A
SECTION NOT NORMALLY VISIBLE.
CAUTION
Contents
1. Equipment features .................. 2
2. SAFETY INSTRUCTIONS ......... 3
3. Getting started ......................... 6
4. Information on usage ............... 8
5. How to use the accessories ..... 8
6. Maintenance ........................... 11
7. Safety devices ........................ 12
8. General information ................ 12
replacement parts .................. 13
10. Technical specifications ......... 14
11. Spare Parts List ...................... 15
K 1405
Advertisement
Table of Contents

Summary of Contents for Kärcher K 1405
-
Page 1: Table Of Contents
K 1405 5.960-851 04/03/2005041 Contents 1. Equipment features ....2 2. SAFETY INSTRUCTIONS ..3 3. Getting started ......6 4. Information on usage ....8 5. How to use the accessories ..8 6. Maintenance ......11 7. Safety devices ......12 8. -
Page 2: Equipment Features
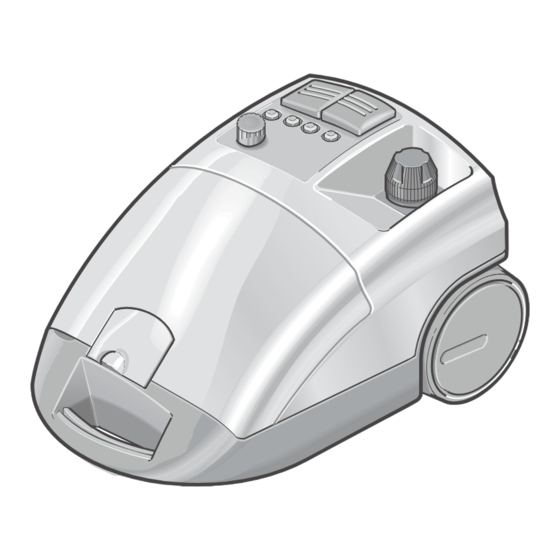
1. Equipment features A1 Cover on main unit socket A2 Safety cap A3 Funnel inlet for filling boiler A4 Rotary knob for steam control A5 Indicator lamp – heater switch (orange) A6 Indicator lamp – heater (orange) A7 Indicator lamp –... -
Page 3: Safety Instructions
– If a 13 Amp BS 1363 plug is used it should be fitted with a 13 Amp fuse If any doubt, contact your nearest Karcher Authorised Agent or Qualified Electrician... - Page 4 2. SAFETY INSTRUCTIONS • When replacing couplings on power or ex- Steam Cleaner tension cords, the splash protection and • If you notice any transport damage while mechanical strength must be maintained. unpacking the unit, notify your dealer im- Observe the maintenance instructions. mediately.
- Page 5 2. SAFETY INSTRUCTIONS Cleaning of electrical appliances Moving the Unit • When cleaning electrical appliances • The unit must be switched OFF and secu- (including electric cookers), they must be rely fastened while moving it between cut off from the mains (switch off circuit locations.
-
Page 6: Getting Started
3. Getting started 3.1 Unpacking the cleaner • The circular brush (E2) can be attached to While you are unpacking the cleaner, check the spot nozzle to obtain better cleaning that all accessories have been included. If any results.Line up both grooves in the circular items are missing, please contact your dealer. - Page 7 3. Getting started • When the orange lamp for the heater (A6) be discharged briefly after the steam switch goes out again, the cleaner is ready for use. (C3) has been released, until the pressure in the steam hose has dropped. You can accele- When the appliance is switched on, do rate this process by briefly turning the handw- NOT place in a vertical position.
-
Page 8: Information On Usage
3. Getting started 4. Information on usage 3.8 Transporting the unit 4.1 Cleaning textiles • If you have been working with the extension Before you use the steam cleaner on textiles tubes (D1) and the floor nozzle (G1), it is qui- including delicate fabrics like Dralon, velvet, lea- te easy to transport the unit, e.g. -
Page 9: How To Use The Accessories
5. How to use the accessories 5.1 Steam gun (C1) • If there are traces of detergent or polish on The steam gun can be used without any additio- the surface that you are cleaning (e.g. wax, nal accessories. liquid polish, etc.), this could result in st- Typical applications: reaks. - Page 10 5. How to use the accessories 5.5 Household iron 5.7 Wallpaper remover The household iron is available as a The wallpaper remover is available special accessory - see page 12 as a special accessory - see page 12 • Firmly insert the modular accessory plug on •...
-
Page 11: Maintenance
6. Maintenance 6.1 Cleaning the boiler In order to avoid damage to the cleaner, only Note: If you always use demineralised or distil- use products that have been approved by Kärcher. led water, it will not be necessary to clean the •... -
Page 12: Safety Devices
7. Safety devices 8. General information This steam cleaner is equipped with several 8.1 Warranty safety devices which provide multiple levels of The applicable warranty conditions in different safety. The most important safety devices are countries are issued by the respective national described below. -
Page 13: Accessories And Replacement Parts
9. Accessories and replacement parts Only accessories and replacement parts ap- proved by the manufacturer may be used with this cleaner. Original accessories and original replacement parts guarantee that the cleaner remains safe and reliable to operate. On the last page of these operating instructions there is a picture of the cleaner with the order numbers for the individual parts. -
Page 14: Technical Specifications
10. Technical specifications Voltage ..........220-240 V Type of current ...... single phase, 50 Hz Voltage in hand-gun ........24 V Heater power consumption ...... 2250 W Max. operating pressure ......3.2 bar Permissible operating pressure ....5.7 bar Heating time (per litre of water) ..approx. 4.5 min Max. -
Page 15: Spare Parts List
11. Spare Parts List... - Page 16 EU Declaration of Conformity We hereby declare that the equipment described below conforms to the relevant fundamental safety and health requirements of the appropriate EU Directives, both in its basic design and construction as well as in the version marketed by us.This declaration will cease to be valid if any modifications are made to the machine without our express approval.


