Braun FP3020 Owner's Manual
Hide thumbs
Also See for FP3020:
- Manual (103 pages) ,
- Instructions manual (20 pages) ,
- Manual (27 pages)
Advertisement
Advertisement
Table of Contents

Related Manuals for Braun FP3020


Summary of Contents for Braun FP3020
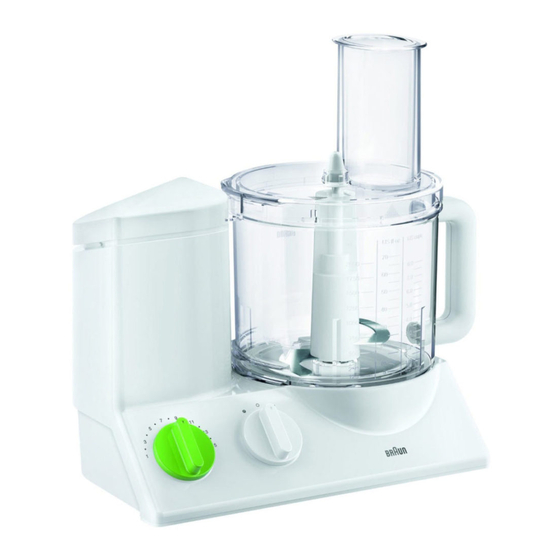
- Page 1 FOOD PROCESSOR Owner’s Manual...
-
Page 2: Year Warranty
1 YEAR WARRANTY Manufacturer warrants, subject to the conditions stated below, that from the date of purchase, this product will be free from mechanical defects for a period of ONE (1) year. Manufacturer, at its option, will repair or replace this product found to be defective during the warranty period. -
Page 3: Important Safeguards
Return appliance to the nearest authorized service facility for examination, repair or adjustment. 7. The use of accessory attachments not recommended by Braun may result in fire, electric shock or injury to persons. 8. Do not use outdoors. - Page 4 Optional Optional pg 2...
- Page 5 12. Coarse Slicing Insert - b (Optional) 13. Fine Shredding Insert - c 14. Coarse Shredding Insert - d 15. Grating Insert - e 16. French-Fries System (Optional) 17. Kneading Hook 18. Whipping Attachment 19. Citrus Press 20. Chopper Attachment Model#: FP3020 pg 3...
-
Page 6: Operating Instructions
OPERATING INSTRUCTIONS READ ALL INSTRUCTIONS BEFORE USE CAUTIONS: ∙ This appliance is designed for household use only and for processing normal household quantities. ∙ Blades are sharp. Handle carefully! ∙ Keep hands, hair, clothing, as well as spatulas and other utensils away from beaters (knife assembly) during operation to reduce the risk of injury to persons, and/or damage to the mixer. - Page 7 2. Put desired attachment onto drive shaft of the bowl and push it down as far as it will go. 3. Put the lid onto the bowl matching the arrow on the lid with the arrow on the bowl. Turn the lid clockwise guiding its nose rim into the safety lock opening of the motor...
- Page 8 1. The pulse mode is activated by turning the motor switch to the pulse position (to the left). The switch does not catch at this setting. Hold the switch in pulse position or turn it to pulse position repeatedly. 2. Before activating the pulse mode, set the desired speed with the speed regulator.
-
Page 9: Pasta Dough
3. Add liquids by pouring them through the filling tube of the lid while the motor is running. Note: when kneading with the blade, do not add ingredients like raisins or nuts which are not supposed to be cut. These have to be added manually after removing the kneaded dough from the food processor bowl. - Page 10 2. Pour in milk on speed 6 for 15 seconds. 3. Set the food processor to speed 15, using the "pulse" function, carefully fold in flour; pulse 10-15 times. Method Two: 1. Pour all ingredients except liquids into the food processor bowl, process ingredients on speed 15 for 1 minute.
- Page 11 Chopping With The Blade Product Preparation Speed Mode Time/Pulse Amount Hard Bread Quartered 45 secs Rolls Ice Cubes Whole 1 min Apples 4 Cups Quartered 15 secs Chocolate 2 Cups Broken Coarse: 15 sec, Cool Fine: 30 sec Eggs Whole Pulse Cheese 2 Cups...
- Page 12 SLICING, SHREDDING, GRATING Insert Speed Processing Examples 11. a - Fine Cucumbers, Cabbage, Raw Slicing Potatoes, Carrots, Onions, Radishes 12. b - Coarse Cucumbers, Kohlrabi, Raw Slicing (Optional) Potatoes, Onions, Banan- as, Tomatoes, Mushrooms, Celery 13. c - Fine Cheese (soft to medium), Shredding Cucumbers, Carrots, Raw Potatoes, Apples...
-
Page 13: Whipping Cream
4. Never reach into the filling tube when the motor is running. Always use the pusher (see figure E). Note: When processing juicy or soft food, you will obtain better results at a lower speed. Hard food should be processed at a higher speed. Do not overload the processor bowl. - Page 14 JUICING Use the citrus juicer to make fresh squeezed juice. Use caution when pressing juice, do not press too hard. 19 - Citrus Press 1. Remove lid from food processor bowl (See figure a). 2. Attach citrus press to food processor bowl by aligning the arrow on the citrus press with the arrow on the food processor bowl, then rotate the citrus...
-
Page 15: Cleaning And Maintenance
5. Hold citrus press in place and pour freshly squeezed juice into a clean glass (see figure e). 5. To remove citrus press from food processor bowl rotate the citrus press to align the arrows on the citrus press and the food processor bowl and lift (see figure f). - Page 16 RELIABLE CARE SERVICE CENTER 103 Pleasant Avenue ∙ Upper Saddle River ∙ NJ 07458 855.927.4383 | service@braunpartsusa.com V5.16...