Advertisement
Quick Links
Setup/
Sensor
Sensor
Help
Popcorn
Reheat
Control
Keep Warm
Defrost
Lock
On/Off
VMOD241SS
Setup/
Setup/
Sensor
Sensor
Sensor
Sensor
Help
Help
Popcorn
Popcorn
Reheat
Reheat
Control
Control
Keep Warm
Keep Warm
Defrost
Defrost
Lock
Lock
On/O
On/O
DMOD241SS
Viking Installation Guide
Sensor
Sensor
Start
Start
OPEN
OPEN
1
Cook
Cook
Add-A-Minute
Add-A-Minute
6
Stop/
Stop/
Reheat
Reheat
CLOSE
CLOSE
Clear
Clear
Sensor
Sensor
Start
OPEN
1
1
Cook
Cook
Add-A-Minute
6
6
Stop/
Reheat
Reheat
CLOSE
Clear
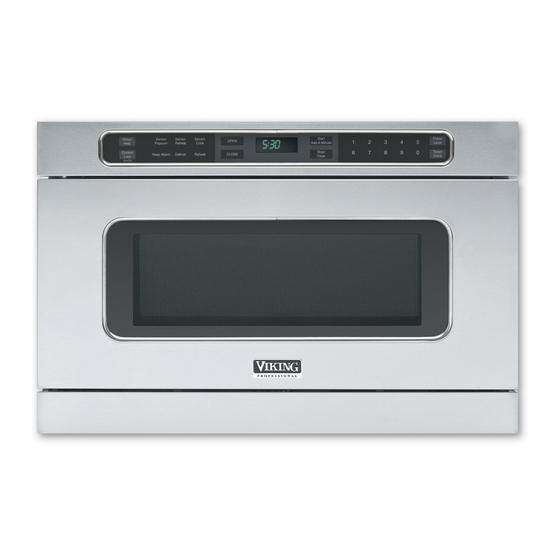
DrawerMicro™ Oven
Power
Power
2
3
4
5
Level
Level
7
8
9
0
Timer/
Timer/
Clock
Clock
Power
2
2
3
3
4
4
5
5
Level
7
7
8
8
9
9
0
0
Timer/
Clock
111 Front Street
Greenwood, Mississippi 38930 USA
Advertisement

Related Manuals for Viking DrawerMicro VMOD241SS


Summary of Contents for Viking DrawerMicro VMOD241SS
- Page 1 Viking Installation Guide Setup/ Sensor Sensor Sensor Sensor Start Start Power Power OPEN OPEN Help Popcorn Reheat Cook Cook Add-A-Minute Add-A-Minute Level Level Control Stop/ Stop/ Timer/ Timer/ Keep Warm Defrost Reheat Reheat CLOSE CLOSE Lock Clear Clear Clock Clock...
-
Page 2: Important-Please Read And Follow
IMPORTANT–Please Read and Follow! IMPORTANT SAFETY • Before beginning, read these instructions thoroughly and carefully. INSTRUCTIONS • Because the kit includes metal parts, caution should be used in handling and installation to • WARNING: If the information in this manual is avoid the possibility of injury. -
Page 3: Important Notes To The Installer
If there is any damage, do not Care Manual. Read all and follow carefully. operate the appliance and contact your dealer • Be sure your DrawerMicro Oven is installed and or a VIKING AUTHORIZED SERVICER. grounded properly by a qualified installer or service technician. -
Page 4: Clearances And Dimensions
DrawerMicro Oven Measurements Clearances and Dimensions • Dimensions that are shown in figure 1 must (6") Electrical outlet location be used. Given dimensions provide minimum Anti-Tip block clearance. Locate electrical outlet in the shaded 3 ¹⁄₂" 5" area in the upper left-hand corner of the cutout. 14 ¹³₁₆"... -
Page 5: Drawer Installation
Drawer Installation • If the DrawerMicro Oven is ever moved to a Electrical Outlet different location, the Anti-Tip block must also be Location moved and installed. When installed to the wall, make sure that the screws completely penetrate the dry wall and are secured in wood or metal so 5"... -
Page 6: Grounding Instructions
3-Prong 3-Prong Plug Refer to the warranty in your Use and Care Manual Receptacle for Viking’s toll-free service number and address. Please call or write if you have inquiries about your Ground microwave product and/or need to order parts. Receptacle Box...