Table of Contents
Advertisement
Quick Links
31-49049
239D4535P002
08-14 GE
monogram.com
Installation
Instructions
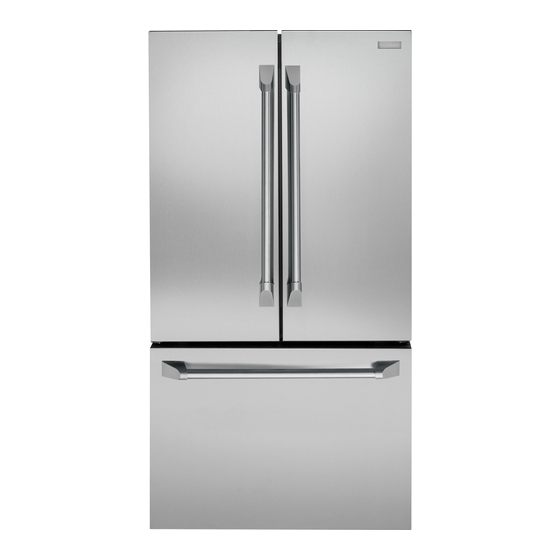
Double-Door, Bottom-Drawer
Free-Standing Refrigerator
Français
For a French version of this manual, visit
our Website at monogram.com.
Pour la version française de ce manuel, visitez
notre site Web sur monogram.com
Español
For a Spanish version of this manual, visit
our Website at monogram.com.
Para consultar una version en español de
este manual de instrucciones, visite nuestro
sitio de internet monogram.com.
Advertisement
Table of Contents

Summary of Contents for Monogram zwe23pshss
- Page 1 Français For a French version of this manual, visit our Website at monogram.com. Pour la version française de ce manuel, visitez notre site Web sur monogram.com Español For a Spanish version of this manual, visit our Website at monogram.com. Para consultar una version en español de este manual de instrucciones, visite nuestro sitio de internet monogram.com.
-
Page 2: Table Of Contents
ARE REQUIRED FOR PROPER INSTALLATION. • Unplug the refrigerator before cleaning or making repairs. For Monogram local service in your area, call 1.800.444.1845. For Monogram service in Canada, call 1.800.561.3344 For Monogram Parts and Accessories, call 1.800.626.2002. - Page 3 Safety Information Ce symbole représente une alerte de sécurité. Ce symbole vous avise de dangers possibles pouvant causer la mort, des blessures ou autres. Tous les messages de sécurité seront précédés du symbole d’alerte de sécurité ainsi que des mots « DANGER », «...
-
Page 4: Planning Information
Planning Information PRODUCT DIMENSIONS AND CLEARANCES ZWE23E Models 28 11/16" SPECIFICATIONS (72.9) 24 3/8" (61.9) Overall Width 36" (91.4 cm) 36" 2" (91.4) (5.1) 13/16" Overall Height 70 1/2" (179.1 cm) (2.1) Overall Depth 30 11/16" (76.2 cm) Door Clearance 21 1/4"... - Page 5 Planning Information PRODUCT DIMENSIONS AND CLEARANCES ZWE23P Models SPECIFICATIONS 28 11/16" (72.9) Overall Width 36" (91.4 cm) 24 3/8" (61.9) 36" 2 13/16" (91.4) (7.1) 13/16" Overall Height 70 1/2" (179.1 cm) (2.1) Overall Depth 31 1/2" (78.7 cm) Door Clearance 22 1/8"...
-
Page 6: The Installation Space
Installation Instructions TOOLS REQUIRED FLOORING • Adjustable wrench For proper installation, this refrigerator must be placed on • 3/8” socket ratchet/driver a level surface of hard material that is at the same height • Phillips head screwdriver as the rest of the flooring. This surface should be strong •... -
Page 7: Step 1 Measure Cabinet Opening
Installation Instructions STEP 2 LOCATE ANTI-TIP BRACKET WARNING A. Place the anti-tip floor bracket locator template Under certain (included inside the anti-tip kit) onto the floor up circumstances, this against the rear wall, within W, and in line with the refrigerator can tip forward. -
Page 8: Step 2. Install Anti-Tip Bracket
Installation Instructions STEP 2A LOCATE ANTI-TIP FLOOR STEP 2B INSTALL ANTI-TIP BRACKET BRACKET (CONT.) (CONT.) Figure 2 – Acceptable Screw CONCRETE Wall and Floor Construction: Placement Locations A. Anchors required (not provided): 4 each 1/4” x 1 1/2” lag bolts Preferred Installation –... -
Page 9: Step 4 Remove The Freezer Drawer
Installation Instructions STEP 3 INSTALL THE REFRIGERATOR STEP 5 REMOVE THE FRESH BEFORE MOVING REFRIGERATOR FOOD DOORS INDOORS A. Securely tape the door shut with masking tape or IMPORTANT: have a second person support the door. Doors and passageways into the installation location require a 31-1/4”... -
Page 10: Step 6 Move The Refrigerator
Installation Instructions STEP 5 REMOVE THE FRESH STEP 5 REMOVE THE FRESH FOOD DOORS (CONT) FOOD DOORS (CONT) Note: for proper installation later, please follow the next D. Disconnect the water line from the back of the unit step carefully. by pressing down on the dark grey collar while pulling up on the water line. -
Page 11: Step 7 Replace The Freezer Drawer
Installation Instructions STEP 8 LEVEL THE FREEZER DRAWER STEP 7 REPLACE THE FREEZER DRAWER Locate the height adjuster cam in the freezer door. Slightly loosen the three door attachment ATTACH AND SECURE THE DRAWER FRONT screws on both sides using a 3/8” hex socket TO THE SLIDES driver. -
Page 12: Step 9 Replace Fresh Food Doors
Installation Instructions STEP 9 REPLACE FRESH FOOD DOORS STEP 10 INSTALL WATER LINE Recommended copper water supply kits are WX8X2, WX8X3 A. Reinstall center hinge first and torque the screws or WX8X4, depending on the amount of tubing you need. to 65 in-lbs. -
Page 13: Step 11 Connect Water Supply
Installation Instructions STEP 12 PLUG IN THE REFRIGERATOR STEP 11 CONNECT WATER SUPPLY A cold water supply is required for automatic ice maker operation. If there is not a cold water supply, you will need to provide one. See Installing the Water Line section. NOTES: •... -
Page 14: Step 14. Level Doors
Installation Instructions STEP 14 LEVEL THE DOORS STEP 15 REMOVE PACKAGING START ICEMAKER Remember a level refrigerator is necessary for getting the doors perfectly even. If you need help, review the previous section on leveling the Power Switch refrigerator. When When the left the left... - Page 15 Notes...
- Page 16 NOTE: While performing installations described in this book, safety glasses or goggles should be worn. For Monogram local service in your area, call ® 1.800.444.1845. NOTE: Product improvement is a continuing endeavor at General Electric. Therefore, materials, appearance and specifications are subject to change without notice.


