Advertisement
Quick Links
Download this manual
See also:
User Manual
Advertisement

Related Manuals for EverFocus EHD935 Series


Summary of Contents for EverFocus EHD935 Series
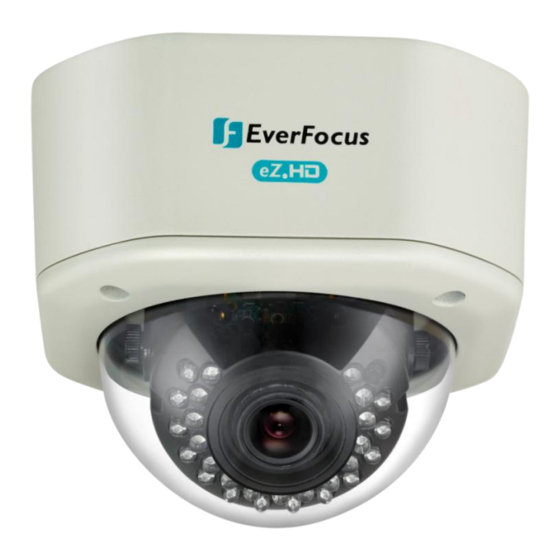
- Page 1 EHD935 eZ.HD Series 720p Analog High Definition True Day/Night Outdoor IR Dome Vandal Camera Quick Installation Guide Copyright © EverFocus Electronics Corp, Release Date: Nov., 2014...
-
Page 2: Packing List
Introduction This Quick Installation Guide will instruct you the installation steps of the EHD935 cameras. Model Image Sensor and Lens Resolution IR LEDs Day / Night 1/2.8" SONY 1.37M pixels CMOS EHD935 720p Yes (28 LEDs) True Day/Night 2.8-12mm DC Iris Packing List Camera Body x 1 Screw x 4... -
Page 3: Installation And Adjustment
Installation and Adjustment For Ceiling Mount / Wall Mount users: Stick the Template Plate on the position where you want to attach the camera, drill the four holes on the Template Plate for screwing the Adapter Plate with the supplied Screws and Anchors. Drill the hole in the centre of the template plate only if you want to wire the cables through the wall / ceiling. - Page 4 If you want to wire the cable through the side of the camera, follow the steps below: a. Remove the Circle Plate from the camera. You can simply loosen the Circle Plate using a coin. b. Run the cable through the Cable Conduit. c.
- Page 5 Connect the camera to a AHD DVR or a portable monitor with the 12VDC or 24VAC power source using the supplied DC Power Pigtail Cable or a power adapter. Using the Test Lead for viewing the video image while adjusting camera angles. You can also use the OSD Menu Joystick to configure camera settings.
- Page 6 Push the Joystick up / down to select among menu items. Push the Joystick left / right to adjust the level of the selected item. Press the Joystick to enter the submenu or exit the OSD Setup Menu. Note: The function button is not only for direction control, also for switching Video format and Video output.
- Page 7 Tear apart the outer packing ( figure 1 ) to take out the Desiccant Bag ( figure 2 ), then make it folded ( figure 3 ) and put it into the camera housing ( figure 4 ). Note: It’s recommended to close the cover cap immediately in case of reducing the absorption capacity of the Desiccant Bag inside the camera .
-
Page 8: Everfocus Electronics Corp
EverFocus USA - California: EverFocus USA - New York: 1801 Highland Avenue, Unit A, Duarte, CA 91010, 415 Oser Avenue, Unit S, Hauppauge, NY 11788, USA TEL: +1 631 436 5070 TEL: +1 626 844 8888...