Planet ICA-H652 Quick Installation Manual
Hide thumbs
Also See for ICA-H652:
- User manual (82 pages) ,
- User manual (116 pages) ,
- Quick installation manual (12 pages)

Related Manuals for Planet ICA-H652


Summary of Contents for Planet ICA-H652
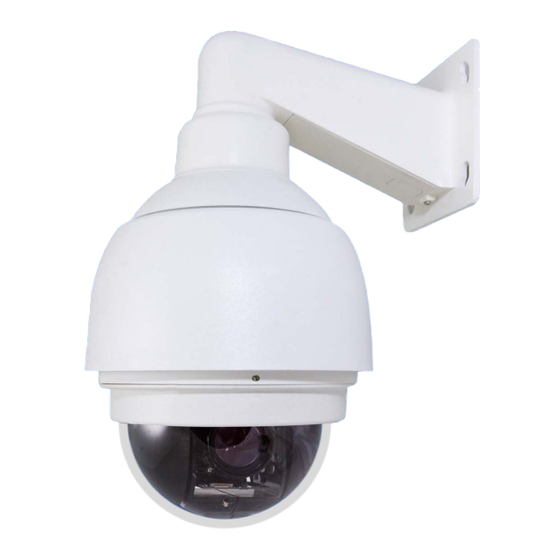
- Page 1 H.264 36x Outdoor Speed Dome Internet Camera ICA-H652 Quick Installation Guide Version 1.1...
- Page 2 Table of Contents Verify The Contents Inside Package Box ............3 Physical Installation ..................4 Further Configuration ..................12...
-
Page 3: Verify The Contents Inside Package Box
Verify The Contents Inside Package Box The package should contain the below items. If any item is missing or damaged, please contact the seller immediately. Dome Camera with Compact Pendent Mount Data Cable Outdoor Mount Kit Waterproof Rubber Dome Cover Bracket screws kit Security Tool Lubricant... -
Page 4: Physical Installation
Physical Installation 1. During the installation, please take care and avoid crash. That may cause the device damage or cause injury of the installer. 2. Please make sure the hardware had been located on the wall properly. If the hardware drops down, it is possible make someone injury or hurt. - Page 5 Step 3 Attach the dome cover to the camera body. Before doing that, apply some lubricant on the cover’s water-proof rubber to make the installation process smoother. The tiny protrusion on the dome cover must align with one of the four holes on the dome body.
- Page 6 Step 5 Use the M3 screw to screw the dome cover and camera body together. Step 6 Make a cable entry hole on the wall to recess the cables. Otherwise, users could push up the Cable Entry Board on the Compact Pendent Mount’s Mounting Plate to place the cables, as shown in the photo below.
- Page 7 Step 7 Fix the Compact Pendent Mount on the wall with proper screws and screw anchors. The screws and screw anchors don’t attach in package Note Step 8 Attach the Waterproof Rubber to the Outdoor Wall Mount.
- Page 8 Step 9 Pass the network and data cables through the Compact Pendent Mount with the Data Cable’s 22-pin cable coming out of the outlet. 1. The network cable doesn’t attach in package 2. Please block the cable entry hole with the supplied sponge to avoid insects entering the Pendent Mount.
- Page 9 Step 11 Use the safety hook hanging the camera, and connect the cables to the Dome Camera.
- Page 10 Step 12 Join the Dome Camera to the Outdoor Mount Kit with the supplied M5 screw and washers. Step 13 Connecting power wires of AC adapter with Power Input connector of data cable. Please check the color of power wire carefully, and screwed that with connector properly.
- Page 11 Then according to the practical local power voltage to adjust the power switch, and connect the power cord with adapter and power outlet. Voltage Switch Use only the power adapter shipped with the unit to ensure correct functionality Note Step 15 Connecting the network cable with switch. ICA-H652...
- Page 12 Further Configuration For detail configuration, please check user’s manual on the bundled CD. If you have any other questions, please contact the dealer where you purchased this product or you can contact PLANET directly at the following Email address: support_ica@planet.com.tw...