Table of Contents
Advertisement
Quick Links
Download this manual
See also:
Instruction Manual
Advertisement
Table of Contents

Summary of Contents for Revo REHVDPTZ12-1
-
Page 1: Network Camera
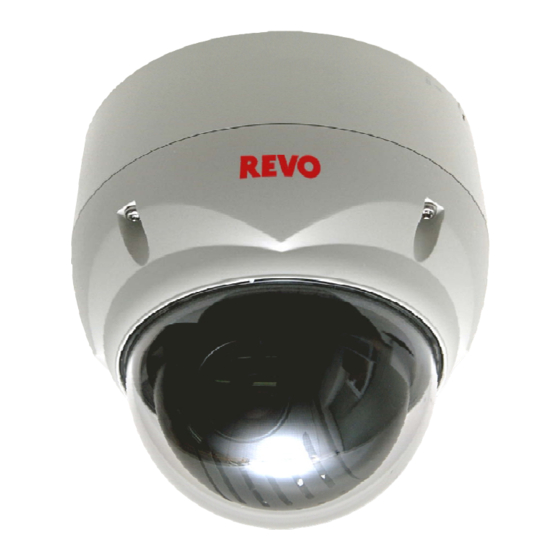
Quick Installation Guide REHVDPTZ12-1 REVO ELITE HD 12x Full-HD Mini-PTZ NETWORK CAMERA Please read this guide thoroughly before use and keep it handy for future reference. - Page 3 1. Description The network camera supports the network service for a sensor image with progressive scan, which can be monitored on a real-time screen regardless of distances and locations. By using its dedicated program, many users are able to have an access to the network camera at once or a single user can monitor various network cameras at the same time.
-
Page 4: Key Features
1.2 Key Features Brilliant video quality The network camera offers the highly efficient H.264 video compression, which drastically reduces bandwidth and storage requirements without compromising image quality. Motion JPEG is also supported for increased flexibility. Triple Streams The network camera can deliver triple video streams simultaneously at full frame rate in all resolutions up to 1920 x 1080 using Motion JPEG and H.264. -
Page 5: Installation
2. Installation 2.1 Installation The dome camera is for use in surface or pendent mounting applications, and the mounting member must be capable of supporting loads of up to 3.5 lb (1.6 kg). (Pendent mounting must use pendent mount accessory.) The dome camera’s mounting bracket should be attached to a structural object, such as hard wood, wall stud or ceiling rafter that supports the weight of the dome camera. - Page 6 CAUTION: Before installing mounting bracket to surface pre-adjust the four mounting screws "A" on the base of the dome camera to best match the mounting bracket locked position. Unscrew the locking screw on the side of the dome's base and fit the tab of the mounting bracket into the locking slot. Screws "A" should not be too tight or too loose when the dome is in the locked position.
-
Page 7: Basic Configuration Of Camera System
2.2 Basic Configuration of Camera System Connector Wire Color Description 24VAC or 12VDC+ 3-pin terminal block WHITE 24VAC or 12VDC- PINK GRAY ALARM INPUT BROWN 6-pin terminal block YELLOW ALARM OUTPUT GREEN RS485+ BLUE RS485- Ethernet, RJ-45 port compatible with RJ-45 BLACK 10/100Mbps having PoE functionality. - Page 8 2.3 Connections Connecting the Network Connect a standard RJ-45 cable to the network port of the camera. Generally a cross-over cable is used for directly connection to PC, while a direct cable is used for connection to a hub. ...
-
Page 9: Network Connection & Ip Assignment
2.4 Network Connection & IP assignment The camera supports the operation through the network. When a camera is first connected to the network, it is necessary to allocate an IP address to the device with the “SmartManager” utility on the CD. (Default IP 192.168.30.220) 1) Connect the network camera/device to the network and power up. -
Page 10: Operation
3. Operation The network camera can be used with Windows® operating system and browsers. The recommended browsers are Internet Explorer®, Safari®, Firefox®, Opera™ and Google® Chrome® with Windows. NOTE: To view streaming video in Microsoft Internet Explorer, set your browser to allow ActiveX controls. -
Page 11: Access From The Internet
3.2 Access from the internet Once connected, the network camera is accessible on your local network (LAN). To access the network camera from the Internet you must configure your broadband router to allow incoming data traffic to the network camera. To do this, enable the NAT traversal feature, which will attempt to automatically configure the router to allow access to the network camera. - Page 12 1) General controls Live View Page Setup Page Help Page The video drop-down list allows you to select a customized or pre-programmed video stream on the Live View page. Stream profiles are configured under Setup > Basic Configuration > Video & Image. For more information, please see “3.5.1 Basic Configuration >...
-
Page 13: Network Camera Setup
3.5 Network Camera Setup This section describes how to configure the network camera, and is intended for product. Administrators, who have unrestricted access to all the Setup tools; and Operators, who have access to the settings for Basic Configuration, Live View, Video & Image, Audio, Event, Dome Configuration, System You can configure the network camera by clicking Setup in the top right-hand corner of the Live View page. -
Page 14: System Requirement For Web Browser
System Requirement for Web Browser Operating System: Microsoft Windows OS Series CPU: Intel Core 2 Duo 2Ghz or higher, 1GB RAM or more, 10GB free disk or higher VGA: AGP, Video RAM 32MB or higher (1024x768, 24bpp or higher) General Performance Considerations When setting up your system, it is important to consider how various settings and situations will affect performance. - Page 16 REVO ELITE HD 12x Full-HD Mini-PTZ NETWORK CAMERA Printed in Korea 50303765A...


