Table of Contents
Advertisement
Quick Links
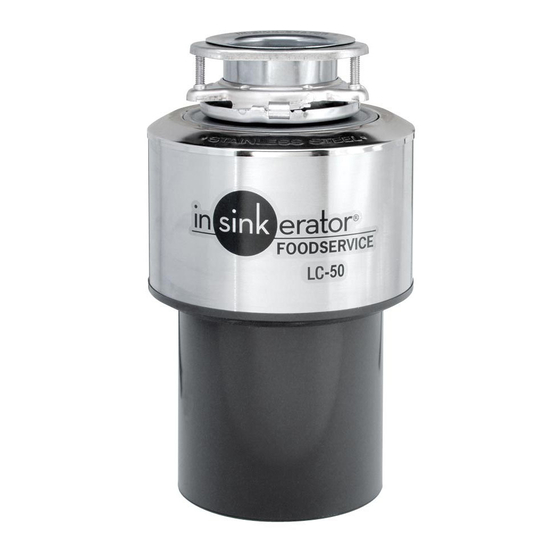
LC-50 FOOD WASTE DISPOSER
www.insinkerator.com
Installation Manual
The Danger signal indicates an immediately hazardous situation which, if not
avoided, will result in death or serious injury.
The Warning signal alerts you to potential hazards or unsafe practices which,
if not avoided, could result in severe personal injury or death.
The Caution signal alerts you to hazards of unsafe practices which, if not avoided,
may result in minor personal injury or property damage.
Please be certain that the person who installs or uses this appliance carefully reads
and understands the Safety Instructions contained in this manual.
Part No. 13693 - January 2008
Advertisement
Table of Contents

Related Manuals for InSinkErator LC-50


Summary of Contents for InSinkErator LC-50
- Page 1 LC-50 FOOD WASTE DISPOSER Installation Manual The Danger signal indicates an immediately hazardous situation which, if not avoided, will result in death or serious injury. The Warning signal alerts you to potential hazards or unsafe practices which, if not avoided, could result in severe personal injury or death.
-
Page 2: Table Of Contents
The warranty includes parts and labor, provided the service is performed by an InSinkErator Factory Authorized Service Center. This warranty does not apply if failure is due to: faulty or improper electrical installation, faulty or improper plumbing installation, product abuse or misuse, accidental damage, grinding elements jammed by foreign objects, clogged drain lines, or an improperly sized unit (as specified by InSinkErator). -
Page 3: Introduction
Introduction REQUIRED TOOLS/MATERIALS The model LC-50 food waste disposer is designed specifically for light foodservice use in applications The following items are needed to install the disposer: such as: • Screwdriver • Grocery/convenience stores • Pipe wrench • Office/church kitchens •... -
Page 4: Typical Installation
Typical Installation Dimension Inches 14-9/16 6-13/16 5-3/4 37.0 17.3 10.2 20.3 14.6 B* – Distance from bottom of sink to center line of disposer outlet. Add 1/2" (13mm) when stainless steel sinks are used. C* – Length of discharge tube from center line of disposer outlet to end of discharge tube. -
Page 5: Removing Existing Disposer
Removing Existing Disposer ELECTRICAL SHOCK FALLING HAZARD Disconnect power before installing or servicing unit. Do not position your head or body under the Test the circuit with a voltmeter or circuit tester to disposer. It could fall during installation. ensure the power is off. If there is no existing disposer, disconnect sink drain and skip to step 9. -
Page 6: Installing The Disposer
Removing Existing Disposer If the new disposer mounting is the same as the old one, you can go to step 14. Loosen the 3 screws on the mounting assembly. Using a screwdriver, remove the snap ring. Remove old plumber’s putty from sink with putty knife. Remove flange from sink. - Page 7 Installing the Disposer Fiber Gasket Optional Backup Ring Mounting Ring Insert fiber gasket, backup ring and mounting ring. Hold Place a weight such as the disposer on the sink flange in place while inserting snap ring. to hold it in place. Use a towel to prevent scratching sink.
-
Page 8: Electrical Connections
Electrical Connections ELECTRICAL SHOCK PERSONAL INJURY/PROPERTY DAMAGE • Disconnect power before installing or servicing If the electrical installer is not experienced in unit. Test the circuit with a voltmeter or circuit electrical installation, we recommend seeking tester to ensure the power is off. competent professional assistance. -
Page 9: Final Installation
Final Installation Rubber Gasket Metal Flange Screw Discharge Tube Rotate the disposer around. Place the rubber gasket Hang disposer by aligning 3 mounting tabs with slide-up ramps on mounting ring. on the end of the discharge tube and slide on the metal flange from the reverse end. -
Page 10: Operating Instructions
Operating Instructions Important – The model LC-50 is designed specifically for light commercial use. Examples of these applications include: grocery/convenience store delis, fast food restaurants, office/church kitchens, and bed and breakfast inns. Use of this disposer in applications other than those named above may void your warranty. -
Page 11: Operating Instructions
Operating Instructions PERSONAL INJURY ELECTRICAL SHOCK • Read all instructions before using the appliance. Improper connection of the equipment-grounding conductor can result in a risk of electric shock. • To reduce the risk of injury, close supervision is required when an appliance is used near children. •... -
Page 12: Troubleshooting
Troubleshooting ELECTRICAL SHOCK Disconnect power before servicing. Troubleshooting for problems other than what is listed below should be performed by a qualified service person. Troubleshooting performed by untrained personnel could result in electrical shock or damage to the disposer. Disconnect power before servicing. PROBLEM POSSIBLE CAUSE SOLUTION... -
Page 13: For Dishwasher Or Direct Water Connection
Troubleshooting ELECTRICAL SHOCK Disconnect power before servicing. FOR OPTIONAL DISHWASHER OR DIRECT WATER CONNECTION Troubleshooting for problems other than what is listed below should be performed by a qualified service person. Troubleshooting performed by untrained personnel could result in electrical shock or damage to the disposer. Disconnect power before servicing.