Table of Contents
Advertisement
Quick Links
Advertisement
Table of Contents

Related Manuals for Mitsubishi 230SB


Summary of Contents for Mitsubishi 230SB
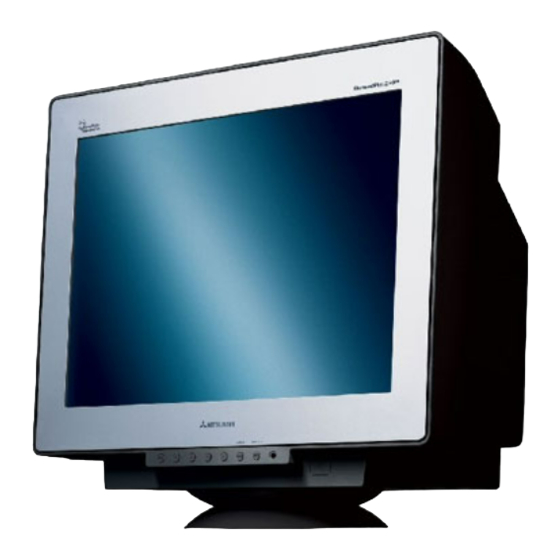
- Page 1 User’s Manual www.nec-mitsubishi.com...
-
Page 2: Table Of Contents
Index Declaration ... English-1 Safety Instruction ... English-2 Warning ... English-2 Caution ... English-2 Contents ... English-3 Quick Start ... English-4 Controls ... English-5 Recommended use ... English-8 Specifications ... English-10 Features ... English-11 Monitor Troubleshooting ... English-12 TCO’99 ... English-13... -
Page 3: Declaration
Declaration VCCI Statement Declaration of the Manufacturer We hereby certify that the colour monitor Diamond Plus 230 is in compliance with Council Directive 73/23/EEC: – EN 60950 Council Directive 89/336/EEC: – EN 55022 – EN 61000-3-2 – EN 61000-3-3 – EN 55024 and marked with NEC-Mitsubishi Electric Visual Systems Corporation... -
Page 4: Safety Instruction
Safety Instruction TO PREVENT FIRE OR SHOCK HAZARDS, DO NOT EXPOSE THIS UNIT TO RAIN OR MOISTURE. ALSO, DO NOT USE THIS UNIT’S POLARIZED PLUG WITH AN EXTENSION CORD RECEPTACLE OR OTHER OUTLETS UNLESS THE PRONGS CAN BE FULLY INSERTED. REFRAIN FROM OPENING THE CABINET AS THERE ARE HIGH VOLTAGE COMPONENTS INSIDE. -
Page 5: Contents
Contents Your new Diamond Plus 230 monitor box* should contain the following: • Diamond Plus 230 Monitor with tilt/swivel base • Power cord • Video Signal Cable (VGA - VGA) • User’s Manual • Sales Office List • CD-ROM: Includes complete User’s Manual in PDF format and Windows related files (INF file and colour profile). To see the complete User’s Manual, Acrobat Reader 4.0 must be installed at your PC. -
Page 6: Quick Start
Quick Start To attach the Diamond Plus 230 1. Turn off the power to your computer. 2. If necessary, install the display card into your system. For more information, refer to the display card manual. 3. For the PC: Connect one end of the signal cable to the connector of the display card in your system (Figure A.1). Tighten all screws. -
Page 7: Controls
Controls OSM (On-Screen Manager) control buttons on the front of the monitor function as follows: Main Menu EXIT Exits the OSM menu. NOTE: Moves the highlighted area left/right to CONTROL select one of the sub-menu. NOTE: CONTROL -/+ Has no function. NOTE: SELECT/ Enters sub-menu. -
Page 8: Geometry Controls
Colour Control/Colour Control System Colour presets 1 through 5 selects the desired colour setting. The bar is replaced by the colour setting choice from 1, 2, 3, sRGB, 5. Each colour setting is adjusted at the factory to the stated Kelvin. If a setting is adjusted, the name of the setting will change from Kelvin to Custom. - Page 9 Tools 2 Language: OSM controls menus are available in six languages. OSM Position: You can choose where you would like the OSM controls menu to appear on your screen. Selecting OSM Position allows you to manually adjust the OSM controls menu left, right, up or down. OSM Turn Off: The OSM controls menu will stay on as long as it is in use.
-
Page 10: Recommended Use
Recommended use Safety Precautions and Maintenance • DO NOT OPEN THE MONITOR. There are no user serviceable parts inside and opening or removing covers may expose you to dangerous shock hazards or other risks. Refer all servicing to qualified service personnel. •... - Page 11 • Clean your monitor A special coating is provided on the glass (CRT) surface of this monitor to reduce a reflection and static electricity on the glass surface. Due to the delicate coating on the glass surface, use a lint-free, nonabrasive cloth (cotton or equivalent) and a non-alcohol, neutral, nonabrasive cleaning solution to minimise dust.
-
Page 12: Specifications
1024 x 768 @ 50 to 138 Hz 1280 x 1024 @ 50 to 105 Hz 1600 x 1200 @ 50 to 91 Hz ... NEC-Mitsubishi Electronics Display cites 1800 x 1350 @ 50 to 81 Hz 1800 x 1440 @ 50 to 76 Hz... -
Page 13: Features
Reduced Magnetic Field Technology: Reduces magnetic and alternating electric field emissions and static electricity, addressing ergonomic concerns regarding potential risks from extended computer monitor use. Multiple Frequency Technology: Automatically adjusts monitor to the display card’s scanning frequency, thus displaying the resolution required. -
Page 14: Monitor Troubleshooting
Monitor Troubleshooting No picture • Display card should be completely seated in its slot. • Power Button and computer power switch should be in the ON position. • Signal cable should be completely connected to display card/computer. • Check connector for bent or pushed-in pins. Image is scrolling or unstable •... -
Page 15: Tco'99
TCO’99 Diamond Plus 230 Congratulations! You have just purchased a TCO’99 approved and labeled product! Your choice has provided you with a product developed for professional use. Your purchase has also contributed to reducing the burden on the environment and also to the further development of environmentally adapted electronics products.