Kärcher WV 50 Operator's Manual
Window cleaner
Hide thumbs
Also See for WV 50:
- Operating instructions manual (184 pages) ,
- Operator's manual (21 pages) ,
- Operation manual (20 pages)

Related Manuals for Kärcher WV 50


Summary of Contents for Kärcher WV 50
- Page 1 WV 50 English ..2 Français ..8 Español ..15 59652490 (01/14)
-
Page 2: Specifications
Subject to technical modifications! call: 1-800-537-4129 You will need to fax or email your receipt to a customer service agent. All other informa- tion can be found at: www.karcherresidential.com Customer Support Mexico Call: 01-800-024-13-13 for help or visit our website: www.karcher.com.mx 2 English... -
Page 3: Important Safety Instructions
IMPORTANT SAFETY INSTRUCTIONS When using this product basic precautions Do not use to pick up flammable or – should always be followed, including the combustible liquids, such as gasoline, following: or use in areas where they may be pre- sent. Do not charge the unit outdoors. -
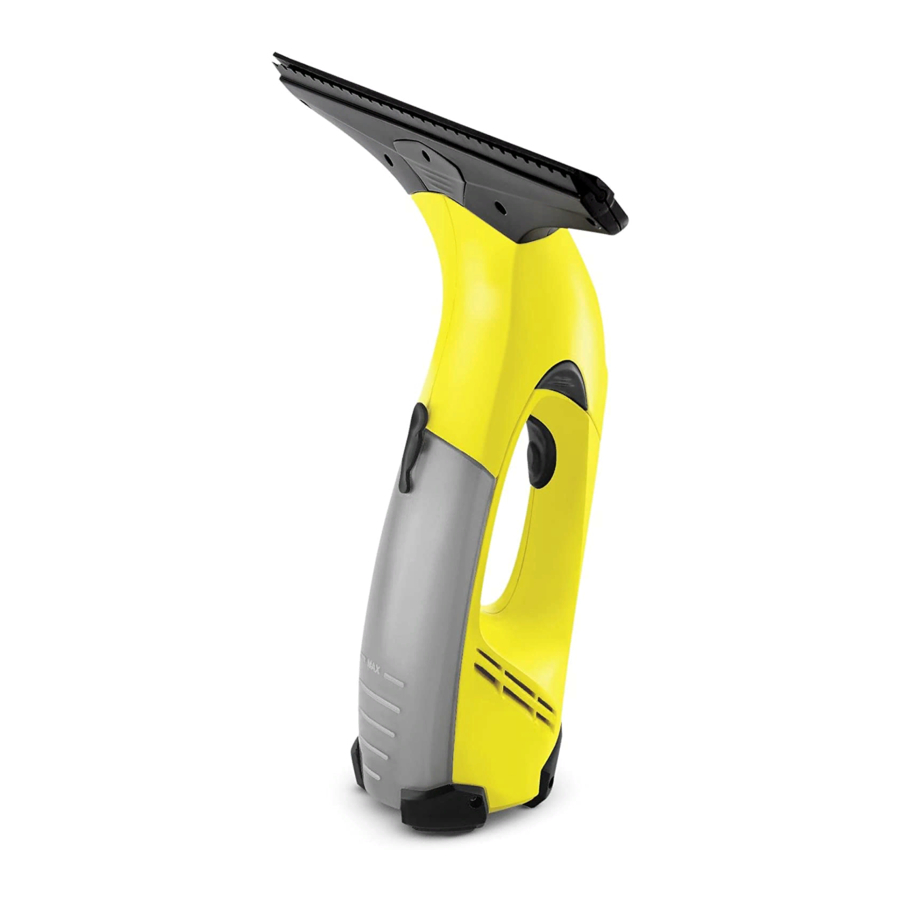
Page 4: Description Of Appliance
Start up 1 Charger with charging cable Description of the Appliance 2 Basic appliance When unpacking the product, make sure 3 Charging box that no accessories are missing and that 4 Charge/operations display none of the package contents have been 5 Support leg damaged. - Page 5 Assemble the appliance Start working Place the attachment on the suction Apply conventional window cleaner to cleaning area. head with the removable lips until you hear it lock in. Switch the appliance on, the charge/op- erations display will illuminate. ...
-
Page 6: Emptying The Reservoir During Operation
Finish up your work / clean Emptying the reservoir during appliance operation Once the max. fill level (mark) of the dirt Turn off the appliance. water reservoir is reached, please empty First, release the attachment with the the tank. pull-off lips and remove it from the suc- ... -
Page 7: Remove Battery Pack/Dispose
Troubleshooting Disposal of Appliances This appliance includes a built-in battery Machine does not start Check the charge/operations display: pack; please remove this battery pack be- No signal or slowly blinking signal: fore disposing of the old appliance. Charge the battery. Remove battery pack and dispose of ... -
Page 8: Caractéristiques Techniques
120-127 V USA et Canada 60 Hz Pour enregistrer ce produit, veuillez visiter : N° de pièce 1.633-109.0 www.karcher-register.com Sous réserve de modifications Pour l'assistance technique, aller à : techniques ! www.karcher-help.com Pour faire valoir une demande en garantie, appeler : 1-800-537-4129 Il vous faudra faxer votre reçu, ou l'envoyer... -
Page 9: Consignes De Securite Importantes
CONSIGNES DE SECURITE IMPORTANTES En utilisant ce produit, toujours observer Ne rien introduire dans les orifices. Ne – une certaine prudence élémentaire, in- pas utiliser l’appareil si les orifices sont cluant notamment : obstrués. Protéger les orifices de la poussière, des peluches, des cheveux et autres matières susceptibles de ré- duire le débit d'air. - Page 10 Remarques relatives à l'accumulateur Risque de court-circuit ! Ne pas enfi- cher d'objets conducteurs (par ex. tour- nevis ou équivalent) dans la douille de chargement. Le chargement de l'accumulateur n'est permis que avec l'appareil de charge original ci-joint ou avec l'appareil de charge autorisé...
-
Page 11: Mise En Service
Mise en service 1 Appareil de charge avec câble de Description de l’appareil charge Contrôler le matériel lors du déballage pour 2 Appareil de base constater des accessoires manquants ou 3 Prise de charge des dommages. Si des dégâts dus au 4 Affichage de charge / de service transport sont constatés, il faut en informer 5 Pied... - Page 12 Montage de l'appareil Commencer le travail Enfoncer l'extension avec lèvres exten- Appliquer le détergent selon les indica- tions du fabricant de la manière habi- sibles sur la ventouse, jusqu'à ce qu'elle s'encliquette de façon audible. tuelle et décoller la saleté. ...
-
Page 13: Terminer Le Travail / Nettoyer L'appareil
Terminer le travail / nettoyer Vider la cuve durant le travail l'appareil Si le niveau de remplissage maximal (re- père) du réservoir d'eau sale est atteint, vi- Mettre l’appareil hors tension. der le réservoir. Déverrouiller en premier l'extension ... -
Page 14: Service De Dépannage
Service de dépannage Elimination de l’appareil hors d'usage L'appareil ne démarre pas Contrôler l'affichage de charge / de service: Cet appareil contient une batterie intégrée Pas de signal ou signal clignotant lente- qui doit être démontée avant l'élimination ment : Charger l'accumulateur. de l'appareil mis au rebut. - Page 15 Li-Ion EE.UU. y Canadá Área de tensión de la batería 3,6 V Para registrar este producto, visite: Entrada de energía 120-127 V www.karcher-register.com 60 Hz Para ayuda técnica, visite: Nº de pieza 1.633-109.0 www.karcher-help.com Si necesita presentar un reclamación de la Reservado el derecho a realizar modifi- garantía, llame a: 1-800-537-4129...
-
Page 16: Instrucciones De Seguridad Importantes
INSTRUCCIONES DE SEGURIDAD IMPORTANTES Al utilizar este producto, tome siempre las Mantener el cabello, la ropa floja, los – precauciones básicas, incluidas las si- dedos y todas las partes del cuerpo ale- guientes: jadas de los orificios y partes móviles. Usar con especial cuidado cuando lim- –... -
Page 17: Descripción Del Aparato
Puesta en marcha 1 Cargador con cable Descripción del aparato 2 Equipo básico Cuando desempaque el contenido del pa- 3 Clavija de carga quete, compruebe si faltan accesorios o si 4 Indicador de carga/funcionamiento el aparato presenta daños. Informe a su 5 Base de apoyo distribuidor en caso de detectar daños oca- 6 Mango... - Page 18 Montar aparato Comenzar con el trabajo Insertar el módulo con labios de extrac- Administrar el detergente de modo con- vencional según instrucciones del fabri- ción en el cabezal de aspiración hasta que se oiga como encaja. cante y eliminar la suciedad. ...
-
Page 19: Terminar El Trabajo / Limpiar El Aparato
Terminar el trabajo / limpiar el Vaciar el recipiente durante el aparato trabajo Si se ha alcanzado el máximo nivel de lle- Desconexión del aparato nado (marca) del depósito de agua sucia, Primero desbloquear accesorio adicio- vaciar el depósito. nal con labios de extracción y retirar del ... -
Page 20: Subsanación De Averías
Subsanación de averías Desecho del aparato usado Este aparato contiene una batería integra- El aparato no se pone en marcha da, debe desmontarse antes de eliminar el Comprobar indicador de carga/funciona- miento: aparato usado. No hay señal o señal con lenta intermi- Desmontar y eliminar la batería tencia: Cargar la batería. - Page 24 59652490 (01/2014) Español 21...