Kärcher WV 50 Operation Manual
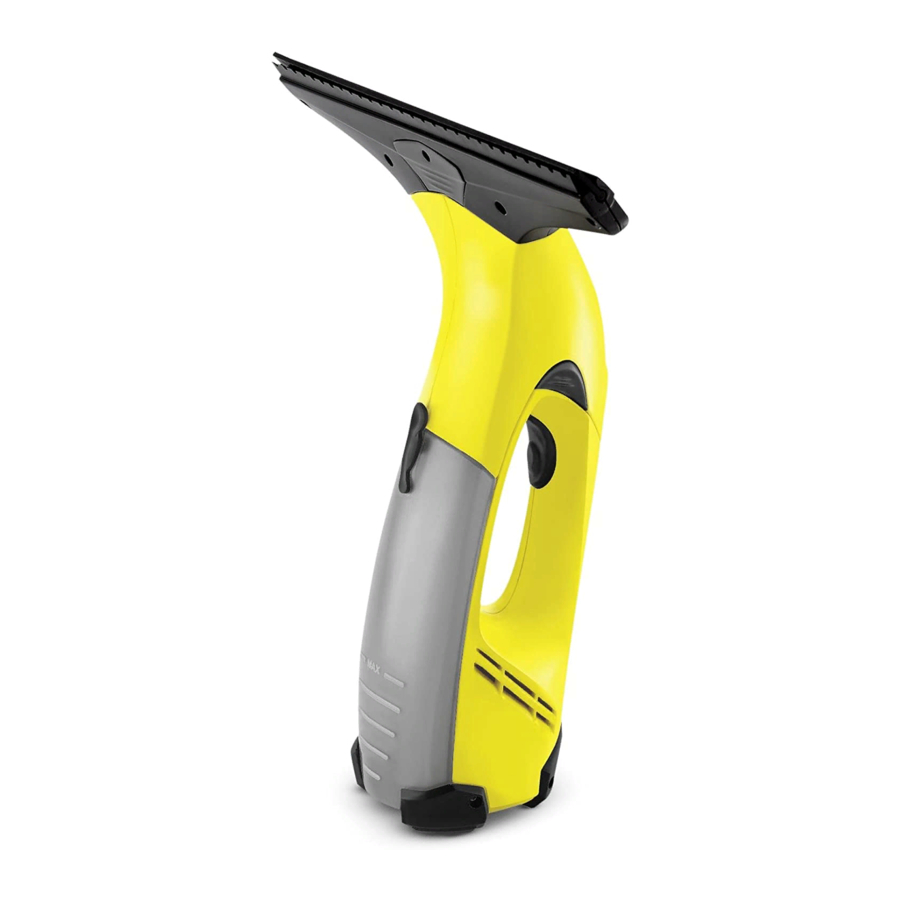
Window cleaner
Hide thumbs
Also See for WV 50:
- Operating instructions manual (184 pages) ,
- Operator's manual (25 pages) ,
- Operator's manual (7 pages)
Table of Contents
Advertisement
Available languages
Available languages
Advertisement
Chapters
Table of Contents

Related Manuals for Kärcher WV 50


Summary of Contents for Kärcher WV 50
- Page 1 WV 50 English Français Español 59633640 07/09...
-
Page 2: Table Of Contents
All other informa- 600 mA tion can be found at: 1,5 lbs www.karcherresidential.com Li-Ion 3,6 V 120-127 V Call: 01-800-024-13-13 for help or visit our 60 Hz website: www.karcher.com.mx 1.633-109.0 Proper use Customer Support USA and Canada Customer Support Mexico... -
Page 3: Important Safety Instructions
IMPORTANT SAFETY INSTRUCTIONS When using this product basic precautions should always be followed, including the following: 1 DO NOT LEAVE appliance unattended when plugged in. Unplug from outlet when not in use and before servicing. 2 DO NOT USE outdoors or on wet sur- faces. -
Page 4: Start Up
Description of the Appliance When unpacking the product, make sure that no accessories are missing and that none of the package contents have been damaged. If you detect any transport dam- ages please contact your retailer. For household use only! English Start up 1 Charger with charging cable... -
Page 5: Charge The Battery
Charge the battery Insert the charger delivered with the ap- pliance into a proper socket. Insert the charging cable plug to the back of the appliance. Note: During the charging process, the charge/operating display blinks. Once the battery is fully charged, it will be perma- nently illuminated. -
Page 6: Finish Up Your Work / Clean Appliance
Finish up your work / clean appliance Turn off the appliance. First, release the attachment with the pull-off lips and remove it from the suc- tion head, then release the suction head and remove. Clean the suction head and the attach- ment with the pull-off lips under running water (do not wash in dishwater). -
Page 7: Disposal Of Appliances
Disposal of Appliances This appliance includes a built-in battery pack; please remove this battery pack be- fore disposing of the old appliance. Remove battery pack and dispose The appliance may only be opened in order to dispose of the battery pack. Caution when opening the appliance avoid short circuits. -
Page 8: Caractéristiques Techniques
100 ml teur en assume le risque. 20 min 12 W Pour enregistrer ce produit, veuillez visiter : 3,0 h www.karcher-register.com Pour l'assistance technique, aller à : www.karcher-help.com 600 mA Pour faire valoir une demande en garantie, appeler : 1-800-537-4129 0,7 kg Il vous faudra faxer votre reçu, ou l'envoyer... -
Page 9: Consignes De Securite Importantes
CONSIGNES DE SECURITE IMPORTANTES En utilisant ce produit, toujours observer une certaine prudence élémentaire, in- cluant notamment: 1 NE PAS LAISSER l'appareil sans sur- veillance lorsqu'il est branché. Débran- cher l'appareil lorsqu'il n'est pas utilisé et avant de procéder à l'entretien. 2 NE PAS UTILISER en extérieur ou sur des surfaces humides. -
Page 10: Mise En Service
Description de l’appareil Contrôler le matériel lors du déballage pour constater des accessoires manquants ou des dommages. Si des dégâts dus au transport sont constatés, il faut en informer le revendeur. A usage domestique seulement ! Français Mise en service 1 Appareil de charge avec câble de charge 2 Appareil de base 3 Prise de charge... -
Page 11: Charger L'accumulateur
Charger l'accumulateur Brancher le chargeur dans une prise de courant réglementairement. Brancher le connecteur du câble de charge sur le côté arrière de l'appareil. Remarque : L'indicateur de charge / de service clignote pendant le processus de charge. Lorsque l'accumulateur est com- plètement chargé, l'indicateur est allumé... -
Page 12: Terminer Le Travail / Nettoyer L'appareil
Terminer le travail / nettoyer l'appareil Mettre l’appareil hors tension. Déverrouiller en premier l'extension avec des lèvres extensibles et la retirer de la tête d'aspiration, puis déverrouiller la tête d'aspiration et l'enlever. Nettoyer la tête d'aspiration et l'exten- sion avec les lèvres extensibles à l'eau courante (pas adapté... -
Page 13: Elimination De L'appareil Hors D'usage
Elimination de l’appareil hors d'usage Cet appareil contient une batterie intégrée qui doit être démontée avant l'élimination de l'appareil mis au rebut. Démonter la batterie et l'éliminer L'ouverture de l'appareil est autorisée exclusivement pour l'élimination de la batterie. Précaution, Eviter les courts-circuits à... -
Page 14: Datos Técnicos
IP X4 único que correrá con este riesgo. 100 ml 20 min Para registrar este producto, visite: 12 W www.karcher-register.com 3,0 h Para ayuda técnica, visite: www.karcher-help.com Si necesita presentar un reclamación de la 600 mA garantía, llame a: 1-800-537-4129 0,7 kg Tendrá... -
Page 15: Instrucciones De Seguridad Importantes
INSTRUCCIONES DE SEGURIDAD IMPORTANTES Al utilizar este producto, tome siempre las precauciones básicas, incluidas las si- guientes: 1 NO ABANDONAR la unidad mientras esté enchufada. Desenchufar cuando no esté en uso y antes de revisar. 2 NO USAR en exteriores o sobre super- ficies húmedas. -
Page 16: Puesta En Marcha
Descripción del aparato Cuando desempaque el contenido del pa- quete, compruebe si faltan accesorios o si el aparato presenta daños. Informe a su distribuidor en caso de detectar daños oca- sionados durante el transporte. Sólo para uso doméstico. Español Puesta en marcha 1 Cargador con cable 2 Equipo básico 3 Clavija de carga... -
Page 17: Cargar La Batería
Cargar la batería Introducir el cargador en el enchufe de forma correcta. Introducir el enchufe del cable de recar- ga en la parte posterior del aparato. Indicación: Durante el proceso de carga el indicador de carga / funcionamiento parpa- dea. Si la batería está completamente car- gada, luce continuamente. -
Page 18: Terminar El Trabajo / Limpiar El Aparato
Terminar el trabajo / limpiar el aparato Desconexión del aparato Primero desbloquear accesorio adicio- nal con labios de extracción y retirar del cabezal de aspiración, después desblo- quear y retirar el cabezal de aspiración Limpiar el accesorio adicional y el cabe- zal de aspiración con los labios con agua corriente (no apto lavavajillas). -
Page 19: Desecho Del Aparato Usado
Desecho del aparato usado Este aparato contiene una batería integra- da, debe desmontarse antes de eliminar el aparato usado. Desmontar y eliminar la batería El aparato solo debe abrirse para elimi- nar la batería. Abrircon cuidado el aparato, para evi- tar cortocircuitos al desmontar la ba- tería. - Page 20 59633640 (07/09)