Cuisinart WM-SW2N1 Series - Sandwich Maker Manual
- Instruction and recipe booklet (24 pages) ,
- Instruction and recipe booklet (8 pages)
Advertisement
For your safety and continued enjoyment of this product, always read the instruction book carefully before using.
IMPORTANT SAFEGUARDS
When using an electrical appliance, basic safety precautions should always be taken, including the following:
- READ ALL INSTRUCTIONS.
- Unplug from outlet when not in use and before cleaning. Allow to cool before cleaning appliance.
- Do not touch hot surfaces. Use handles and knobs.
- To protect against fire, electric shock, and injury to persons, DO NOT IMMERSE CORD, PLUG, OR UNIT in water or other liquids.
- Close supervision is necessary when any appliance is used by or near children.
- Do not operate any appliance with a damaged cord or plug or after the appliance malfunctions or has been damaged in any manner. Return appliance to the nearest Cuisinart Authorized Service Facility for examination, repair, or adjustment.
- The use of accessory attachments not recommended by Cuisinart may result in fire, electric shock, or injury to persons.
- Do not use outdoors.
- Do not let power cord hang over edge of table or counter, or touch hot surfaces.
- Do not place on or near a hot gas or electric burner, or in a heated oven.
- Unplug the unit when finished cooking.
- Do not use appliance for other than its intended use.
- Extreme caution must be used when moving an appliance containing hot oil or other hot liquids.
- To disconnect, remove plug from wall outlet.
![]()
TO REDUCE THE RISK OF FIRE OR ELECTRIC SHOCK, REPAIR SHOULD BE DONE ONLY BY AUTHORIZED PERSONNEL. DO NOT REMOVE THE BASE PANEL. NO USER-SERVICEABLE PARTS ARE INSIDE.- Do not operate your appliance in an appliance garage or under a wall cabinet. When storing in an appliance garage, always unplug the unit from the electrical outlet. Not doing so could create a risk of fire, especially if the appliance touches the walls of the garage or the door touches the unit as it closes.
- This appliance is not to be operated in the open position.

SAVE THESE INSTRUCTIONS
FOR HOUSEHOLD USE ONLY
SPECIAL CORD SET INSTRUCTIONS
A short power-supply cord is provided to reduce the risks resulting from becoming entangled in or tripping over a longer cord.
Longer extension cords are available and may be used if care is exercised in their use.
If a long extension cord is used, the marked electrical rating of the extension cord should be at least as great as the electrical rating of the appliance, and the longer cord should be arranged so that it will not drape over the countertop or tabletop where it can be pulled on by children or animals, or tripped over unintentionally.
NOTICE
This appliance has a polarized plug (one blade is wider than the other). To reduce the risk of electric shock, this plug will fit in a polarized outlet only one way. If the plug does not fit fully in the outlet, reverse the plug. If it still does not fit, contact a qualified electrician. Do not attempt to modify the plug in any way.
FEATURES AND BENEFITS

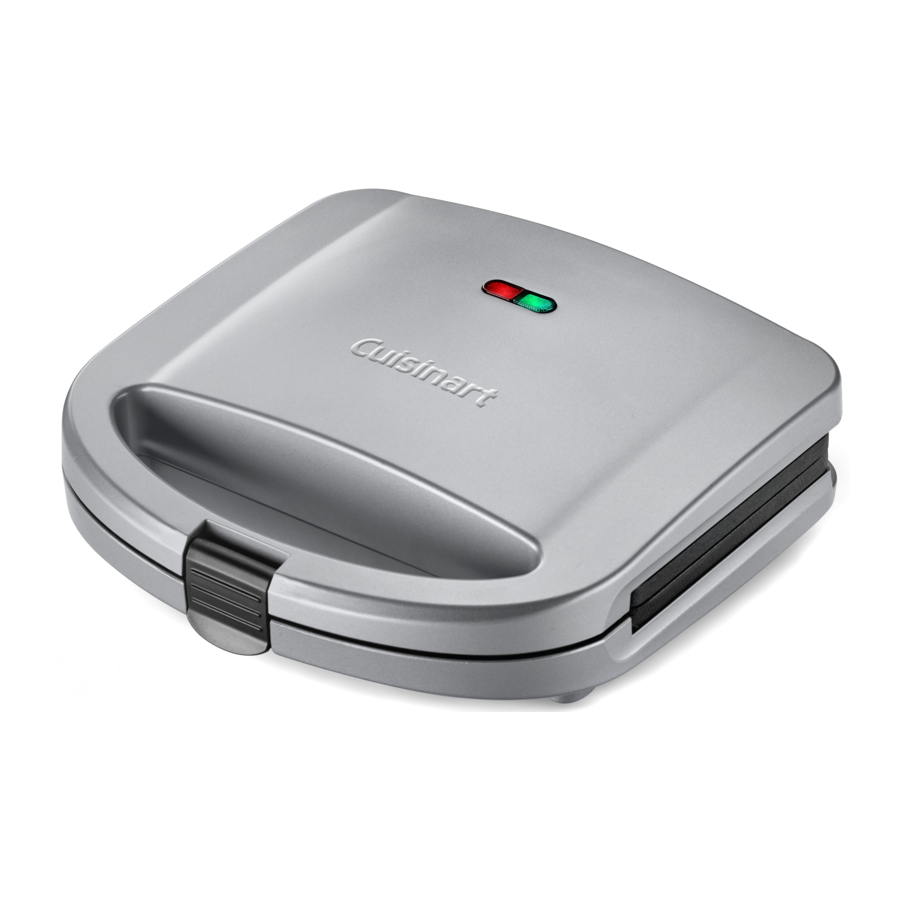
- Indicator Lights
- Red light illuminates when Sandwich Maker is plugged in and preheating
- Green light illuminates when Sandwich Maker is ready to cook
- Green light illuminates again when food is ready to eat
- Lock Down Lid
- Lock on handle secures contents while cooking
- Rubber Feet
- Will not mark countertop
- Keep unit steady
- Nonstick Plates
- Wipe clean after use
- Sandwich "divider" feature for easy serving
- Cord Storage (not shown)
- Cord wraps around base for easy storage
- BPA Free (not shown)
- All materials that come in contact with food are BPA free
NOTE: The cooking plates of this Cuisinart® Sandwich Maker have been treated with a special nonstick coating. Before the first use, we suggest you season the plates by using oil; apply with a paper towel or pastry brush. You may find it helpful to repeat this process before each use of the Sandwich Maker.
INSTRUCTIONS FOR USE
- Before using your Cuisinart® Sandwich Maker for the first time, remove all protective paper and wrapping. Remove any dust from shipping by wiping the plates with a damp cloth.
- To preheat the Sandwich Maker, close lid and plug cord into a wall outlet. The red light will go on to signal power. The green indicator light will go on when unit is ready to use.
NOTE: The first time you use your Sandwich Maker, it may have a slight odor and may smoke a bit. This is normal, and common to appliances with a nonstick surface. - When the green indicator light goes on, place ingredients on bottom plate according to recipes provided. Close the lid and lock it.
- The green light will go off and the red light will once again illuminate. It may take several seconds for the red light to come on. This is normal.
- Once the cooking cycle is finished, the green light will come on again.*
- Unlock, lift lid and remove food by gently loosening the edges with a heatproof plastic spatula. Never use metal utensils, as they may damage the nonstick coating.
- Always disconnect the plug from the wall outlet once cooking is completed.
* See specific instructions for cooking eggs.
TIPS AND HINTS FOR USING YOUR CUISINART® SANDWICH MAKER
Preheat Cuisinart® Sandwich Maker completely before using. For quick-to-assemble sandwiches and pastries, preheat the Sandwich Maker while preparing the food to be grilled.
Close the lid, but do not lock the Sandwich Maker while preheating. When preparing more than one batch of sandwiches, keep lid closed to maintain even heat.
You may use a variety of breads with excellent results in the Cuisinart® Sandwich Maker, from whole wheat to cinnamon raisin for sweeter sandwiches. Breads that are a "standard" thickness (approximately ½ inch) are best.
For best results, we recommend that the bread be as close as possible to the size of the sandwich plate (5 x 41⁄2 inches). Breads may be trimmed prior to cooking to fit as needed. Bread selections may be hand sliced from whole loaves. (Use the scraps to make fresh breadcrumbs or in sweet or savory bread puddings. Visit www.cuisinart.com for recipes.)
NOTE: When assembling sandwiches, leave at least a ½-inch border around the edges of the bread for optimal sealing.
Butter, margarine, or olive oil are recommended for coating the outside of bread when making sandwiches. "Light" versions of margarines are not recommended, as they do not withstand heat (check manufacturer's labels for cooking recommendations for best results).
Have butter or margarine at room temperature when spreading on bread, or melt and apply with a pastry brush.
For best results, moist ingredients, such as sliced tomatoes or fruits, pickles, etc., should be blotted or patted dry with a paper towel. Sauces, such as tomato sauce or salsa, can be drained for a short time in a strainer lined with a coffee filter to remove excess liquid.
Use well-drained, leftover cooked vegetables or thawed, well-drained frozen vegetables as additions to your sandwiches and omelets.
Firm-textured breads will yield a crispier sandwich than breads with a softer texture.
Use a heatproof silicone spatula or wooden utensil to lift sandwich/pastry/omelet from the Cuisinart® Sandwich Maker. Avoid using metal utensils, which may scratch the nonstick coating of the Sandwich Maker.
For best results, allow hot sandwiches to rest for 2–3 minutes before cutting and serving. The fillings will be very hot, and will run less if allowed to cool slightly.
Unplug the Sandwich Maker and allow unit to cool completely with lid open before cleaning.
CLEANING AND MAINTENANCE
Once you have finished cooking in the Sandwich Maker, remove plug from electrical outlet. Leave top lid open so plates begin to cool.
When cool, brush excess crumbs from Sandwich Maker with a soft pastry brush, then gently wipe clean with a dampened, soft cloth, such as one made of microfiber.
Never take your Sandwich Maker apart for cleaning. Simply brush crumbs from grooves, and absorb any excess cooking oil or excess fillings by wiping with a dry cloth or paper towel.
You may clean the cooking plates by wiping with a damp cloth as well. This will prevent staining or sticking from buildup of oil or fillings. Be certain plates have cooled completely before cleaning. If food adheres to plates, simply pour a little cooking oil onto area and let stand approximately 5 minutes, allowing buildup to soften for easy removal.
To clean exterior, wipe with a soft, dry cloth. Never use an abrasive cleanser or harsh pad. NEVER IMMERSE CORD, PLUG OR UNIT IN WATER OR OTHER LIQUIDS. DO NOT PUT IN DISHWASHER.
Any other servicing should be performed by an authorized service representative.
STORAGE
Store with cord wrapped securely around base. For compact storage, stand Sandwich Maker upright on its back end. The Sandwich Maker has been designed with a special latch so lid stays closed during storage.

Documents / Resources
References
Download manual
Here you can download full pdf version of manual, it may contain additional safety instructions, warranty information, FCC rules, etc.
Advertisement
Thank you! Your question has been received!


Need Assistance?
Do you have a question about the WM-SW2N1 Series that isn't answered in the manual? Leave your question here.