Daikin ERGA08EAV3H Manuals
Manuals and User Guides for Daikin ERGA08EAV3H. We have 6 Daikin ERGA08EAV3H manuals available for free PDF download: Installer's Reference Manual
Daikin ERGA08EAV3H Installer's Reference Manual (300 pages)
Table of Contents
-
-
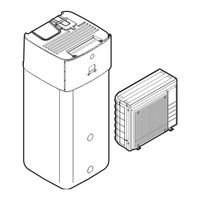
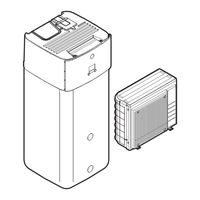
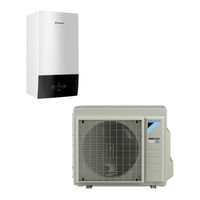
Outdoor Unit23
-
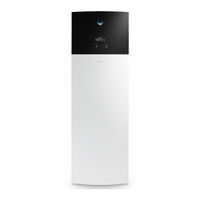
Indoor Unit24
-
-
-
-
Advertisement
Daikin ERGA08EAV3H Installer's Reference Manual (300 pages)
Table of Contents
-
General10
-
Water13
-
Electrical13
-
Outdoor Unit22
-
Indoor Unit24
-
Single Room34
Daikin ERGA08EAV3H Installer's Reference Manual (300 pages)
Table of Contents
-
General10
-
Water13
-
Electrical13
-
Outdoor Unit22
-
Indoor Unit24
-
Single Room35
Advertisement
Daikin ERGA08EAV3H Installer's Reference Manual (272 pages)
Brand: Daikin
|
Category: Air Conditioner
|
Size: 15 MB
Table of Contents
-
General10
-
Water13
-
Electrical13
-
Outdoor Unit22
-
Indoor Unit24
-
Notice48
-
Configuration122
Advertisement