Alcatel 1660SM Manuals
Manuals and User Guides for Alcatel 1660SM. We have 2 Alcatel 1660SM manuals available for free PDF download: Technical Handbook, Installation Handbook
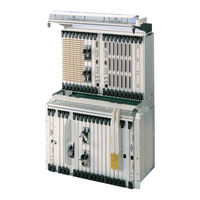
Alcatel 1660SM Technical Handbook (680 pages)
STM 64 Multiservice Metro Node
Brand: Alcatel
|
Category: Multi-service Platforms
|
Size: 4 MB
Table of Contents
-
-
-
Safety Rules
31
-
-
-
Descriptions
63 -
General
65-
-
Application74
-
-
-
Part List
88 -
-
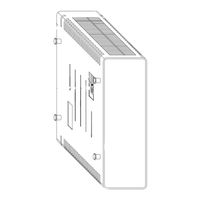
Units Front View
124
-
-
-
-
-
-
ATM In1660Sm231
-
-
-
PR Generalities247
-
PR in 1660SM248
-
-
-
Ethernet Boards277
-
-
General283
-
-
-
-
-
-
-
EPS Protections324
-
Drop & Continue346
-
-
Frames Structure
373 -
-
-
-
Optical Modules
429 -
Optical Modules
430 -
Optical Ports
472 -
Optical Port
525 -
Isa Es-16
545 -
ANY HOST C Card
550 -
Coadm1
555 -
Coadm2
557 -
Comdx8
559 -
PQ2/EQC Card
566 -
Matrixe Card
569 -
CONGI Card
573 -
SERVICE Card
578
-
-
-
-
-
-
Maintenance
659 -
Maintenance
661-
General Rules
662 -
Repair Form
666
Advertisement
Alcatel 1660SM Installation Handbook (140 pages)
STM-64 Multiservice Metro Node
Brand: Alcatel
|
Category: Multiplexer
|
Size: 9 MB
Table of Contents
-
-
General13
-
Unpacking13
-
Unpacking14
-
Warehousing14
-
-
-
-
-
-
-
Connections72
-
Connections73
-
-
Phone Jack116
-
-
-
Annexes
135
Advertisement