Sign In
Upload
Manuals
Brands
acti Manuals
Security Camera
D3 series
acti D3 series Manuals
Manuals and User Guides for acti D3 series. We have
1
acti D3 series manual available for free PDF download: Installation Manual
acti D3 series Installation Manual (56 pages)
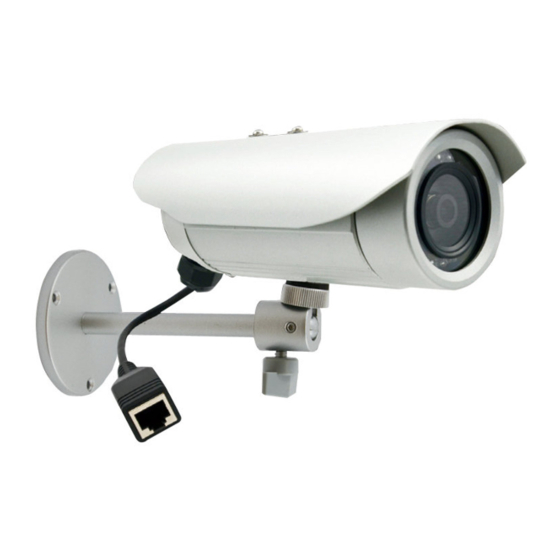
Bullet with Bundled Removable Bracket
Brand:
acti
| Category:
Security Camera
| Size: 2 MB
Table of Contents
Table of Contents
2
Mounting Solutions
4
Installation Procedures Using the Bundled Bracket
5
Installation Using the Bundled Bracket and Sealant Tape
6
Step 1: Install the Bracket
6
Step 2: Install the Camera
7
Step 3: Connect the Cables
7
Step 4: Access the Camera Live View
8
Step 5: Adjust the Viewing Angle and Focus
8
Step 6: Attach the Sunshield
8
Installation Using the Bundled Bracket and Flex Conduit
9
Step 1: Remove the Pre-Installed Network Cable ("Pigtail")
10
Step 2: Prepare the Conduit Gland and Flex Conduit
11
Step 3: Install the Ethernet Cable
12
Step 4: Connect the Ethernet Cable
13
Step 5: Install the Bracket
14
Step 6: Install the Camera
15
Step 7: Connect the Camera to the Network
15
Step 8: Access the Camera Live View
15
Step 9: Adjust the Viewing Angle and Focus
15
Step 10: Attach the Sunshield
15
Installation Using the Bundled Bracket and Naked Cable
16
Step 1: Remove the Pre-Installed Network Cable ("Pigtail")
17
Step 2: Install the New Ethernet Cable
18
Step 3: Install the Bracket
19
Step 4: Install the Camera
20
Step 5: Connect the Camera to the Network
21
Step 6: Access the Camera Live View
21
Step 7: Adjust the Viewing Angle and Focus
21
Step 8: Attach the Sunshield
21
Installation Procedures Using the Heavy Duty Bracket
22
Installation Using the Heavy Duty Bracket and Sealant Tape
23
Step 1: Install the Bracket
23
Step 2: Install the Camera
24
Step 3: Connect the Cables
25
Step 4: Access the Camera Live View
26
Step 5: Adjust the Viewing Angle and Focus
26
Step 6: Attach the Sunshield
26
Installation Using the Heavy Duty Bracket and Flex Conduit
27
Step 1: Remove the Pre-Installed Network Cable ("Pigtail")
28
Step 2: Prepare the Conduit Gland and Flex Conduit
29
Step 3: Install the Ethernet Cable
30
Step 4: Connect the Ethernet Cable
31
Step 5: Install the Bracket
32
Step 6: Install the Camera
33
Step 7: Connect the Camera to the Network
34
Step 8: Access the Camera Live View
34
Step 9: Adjust the Viewing Angle and Focus
34
Step 10: Attach the Sunshield
34
Installation Using the Bundled Bracket and Naked Cable
35
Step 1: Remove the Pre-Installed Network Cable ("Pigtail")
36
Step 2: Install the New Ethernet Cable
37
Step 3: Install the Bracket
39
Step 4: Install the Camera
40
Step 5: Connect the Camera to the Network
41
Step 6: Access the Camera Live View
41
Step 7: Adjust the Viewing Angle and Focus
41
Step 8: Attach the Sunshield
41
Appendices
42
How to Access the Camera Live View
42
How to Adjust Focus
50
D3X / E3X Series
50
D4X / E41 / E41A / E42 / E42A / E43 / E43A Series
52
How to Attach the Sunshield
53
How to Make an Ethernet Cable
54
Safety Information
55
Advertisement
Advertisement
Related Products
ACTi D31
ACTi D32
ACTi D92
ACTi D11
ACTi D71A
ACTi D81A
ACTi D8 Series
ACTi D22V
ACTi D82A
Acti D61A
acti Categories
Security Camera
IP Camera
DVR
Server
Network Hardware
More acti Manuals
Login
Sign In
OR
Sign in with Facebook
Sign in with Google
Upload manual
Upload from disk
Upload from URL