Table of Contents
Advertisement
Advertisement
Table of Contents

Summary of Contents for InFocus LightCast
- Page 1 009-1596-00...
-
Page 3: Table Of Contents
Contents Overview ....................................3 Key Features ..................................3 Accessories ..................................3 Hardware Setup ...................................3 First Time Use ..................................4 LightCast ....................................6 LightCast App ................................6 AirPlay ....................................7 Miracast ..................................8 BigNote ....................................9 Create a drawing object ..............................9 Add a text object ................................9 Import an image ................................10 Adjust the BigNote size ..............................10... - Page 4 Page 2...
-
Page 5: Overview
• Your LightCast module should only be operated from the power source indicated on the label. • Unplug the AC power cord from the power outlet if the LightCast module will not be used for an extended period of time. -
Page 6: First Time Use
First Time Use Switch to the LightCast source. If this is the first time you have used the LightCast module, the following Welcome screen displays. Using your finger or a mouse, tap or click the arrow to move to the next screen. - Page 7 Enter the Device Name and WiFi Connection information, and tap or click the arrow to move to the next screen. (The LAN information populates when a LAN connection is detected.) After all the settings are entered, the LightCast home page displays. Select between the Cast, BigNote, and Browser features: Cast: displays instructions on how to wirelessly display your computer, tablet, or phone content on the panel using LightCast, AirPlay, or Miracast.
-
Page 8: Lightcast
LightCast LightCast App Launch the LightCast App on the device. Follow the onscreen instructions. Page 6... -
Page 9: Airplay
Open the Control Center on your device by swiping up from the bottom of your iPad or iPhone screen. Tap the Airplay icon. Select the device name listed in step 4 of the LightCast Connect with AirPlay window. Using an OS X device Select the Airplay icon from the menu bar on OS X device. -
Page 10: Miracast
Using an Android tablet Launch the MiraCast App. Navigate to WiFi Settings. Search for and select the device name listed in step 4 of the LightCast Connect with Miracast window. Mirror your screen. Using a Windows PC Open the Charms menu on the right side of the Windows PC desktop. -
Page 11: Bignote
Tap the Move icon and drag the text box to the desired location. Tap OK. Note: To edit an existing text box, verify Text is enabled and tap the existing text box. Edit as desired and tap OK. LightCast User Guide Page 9... -
Page 12: Import An Image
Import an image Tap Import Pic and browse to the image. Tap Open. Supported image types include JPG, BMP, TIF, PNG, PCD and TGA. While the object is highlighted, you can copy, delete, re-size (using the sizing handles), or move (using the move handle) the object. -
Page 13: Navigate Around Bignote
Tap the Thumbnail View page that you want to review. Note: In the above example, BigNote contains four pages. This view changes as pages are added and deleted. To close the Canvas tool, tap the Close icon. LightCast User Guide Page 11... -
Page 14: Modify Bignote Objects
Modify BigNote objects Select the BigNote objects using either the Select or the Lasso tool. The objects are outlined. To copy the objects: Tap Copy. Tap Paste. Tap and drag the copied objects to the desired location. When finished, tap Cancel or tap away from the objects. To move the objects: Tap and drag the selected objects to the desired location. -
Page 15: Add A Background
Note: Although the background cannot be selected, moved or re-sized, you can replace the background by following steps 1-3 again, or erase the background by tapping Clear BG. Save the BigNote file Tap Save. The Save option dialog box displays. Type a file name in the Name text box. LightCast User Guide Page 13... -
Page 16: Email The Bignote File
Select the file type: File Type Option Choose this file type if you want to... MWBX use the file on a Mondopad device with v1.8 or later. Saves the file with a .wmbx extension. create an image file. create a printable document for others to view. MP1.6 use the file on a Mondopad device with v1.6 or earlier. -
Page 17: Bignote Tools
BigNote Tools Icon Tool Name Description Home Tap to go to the LightCast home page. Drawing Tap to select a drawing object. NOTE: Each object has its own color, pen width, and Objects pen transparency setting. Colors, Size Tap the color you want to use for the currently selected drawing object. - Page 18 Windows operating system on the display device. Toolbar Tap to turn the simplified quick access tool bar on and off. Connect Tap to connect multiple LightCast whiteboards together, so users can share ideas and drawings with each other. Page 16...
-
Page 19: Browser
Favorite Tap to add the current view to your Favorite list. Back Tap to go back to the previous webpage. Forward Tap to go back to the next webpage. Refresh Tap to refresh the browser. LightCast User Guide Page 17... -
Page 20: Connect Using A Wifi Network
Settings Connect using a WiFi network From the Settings menu, tap WiFi Settings. The WiFi submenu displays. Tap or click On to use a WiFi connection. If the list of available WiFi networks does not automatically display, tap the Refresh button. Tap or click the desired WiFi network. -
Page 21: Set Up Bluetooth
If the list of available (or already paired) devices does not automatically display, tap the Refresh button. Tap or click the desired device and follow the onscreen prompts to pair your device to the LightCast module. Change the device name From the Settings menu, tap or click Name in the Device section. -
Page 22: Update The Device
To reset the device to factory defaults: Tap or click the Factory Reset check box and then the Reset button. Reboot the device From the Settings menu, tap or click Reboot to reboot the LightCast module. The device reboots immediately. Reset the registration parameters From the Settings menu, tap or click Reset to reset the LiteShow device registration. -
Page 23: Resize The Image
Resize the image From the Settings menu, tap or click Resize to digitally zoom the LightCast display window smaller or larger, up to 100%. Software Version From the Settings menu, the current software version displays next to Software Version. LightCast User Guide... -
Page 24: Troubleshooting
Troubleshooting Problem Solution No power • Check if the power adapter is properly connected to a power outlet and to the LightCast module. No image • Reconnect the HDMI cable or AV cable. • Verify that the InFocus display is turned on. -
Page 25: Limited Warranty
If a hardware defect arises and a valid claim is received within the Warranty Period, at its option and to the extent permitted by law, InFocus will either (1) repair... - Page 26 InFocus or an InFocus Authorized Service Provider (“ASP”) or your own installation of customer-installable parts as instructed by InFocus; (h) to a product or part that has been modified to alter functionality or capability without the written permission of InFocus (including use of an unauthorized mount); (i) to defects caused by normal wear and tear or otherwise due to the normal aging of the product;...
- Page 27 InFocus or its Authorized Distributors originally sold the hardware product. InFocus will provide warranty service either (i) at an ASP location, where service is performed at the location, or the ASP may send the product to an InFocus repair...
- Page 28 InFocus specifies in the materials shipped with a replacement CSR part wheth- er a defective part must be returned to InFocus. In cases where it is required to return the defective part to InFocus, you must...
-
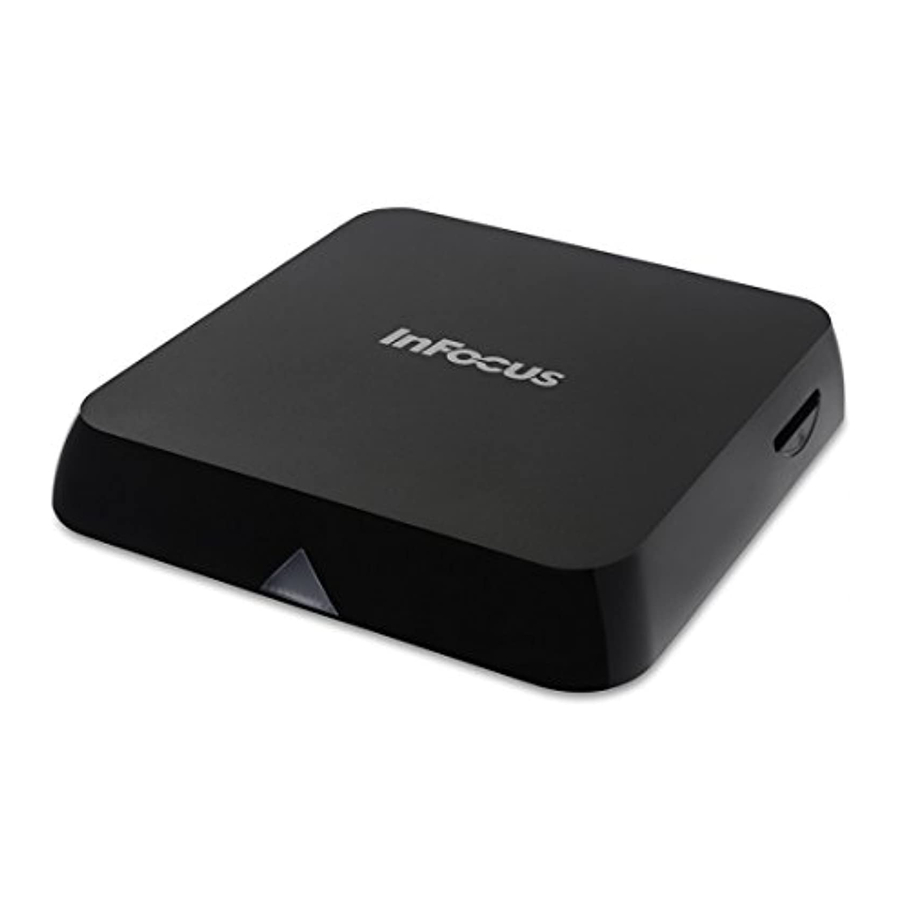
Page 29: Specifications
Dimensions (W x L x D) 5.06" x 5.06" x 1.18" / 128.5mm x 128.5mm x 30mm Weight .56 lbs / 256g Electrical range for video 1.0V +/-0.1V Electrical range for audio 2.0V +/-0.2V Power Supply 5V DC; 2A LightCast User Guide Page 27... - Page 30 Page 28...
Need help?
Do you have a question about the LightCast and is the answer not in the manual?
Questions and answers