Table of Contents
Advertisement
Installation, OPERATION, & MAINTENANCE INSTRUCTIONS
1128 Sherborn Street ▪ Corona, CA 92879-2089 ▪ (951) 281-1830 ▪ FAX (951) 281-1879
All Imperial Mfg. Co. equipment is manufactured for use with the type of gas specified on the rating plate
and for installation in accordance with ANSI Z223.1/NFPA 54 (latest edition) of the National Fuel Gas Code, the
National Gas Installation Code, CSA/B149.1 or the Propane Installation code, CSA/B149.1, as applicable.
WARNING: Improper installation, adjustment,
alteration, service or maintenance can cause property
damage, injury or death. Read the installation,
operating and maintenance instructions thoroughly
before installing or servicing this equipment.
Instructions to be followed in case the user smells gas are to be posted in a prominent location in the kitchen area.
This information shall be obtained by contacting the local gas company or gas supplier.
IMPORTANT
Installing, Operating and Service Personnel:
Installation of the equipment should be performed by qualified, certified, licensed and/or authorized
personnel who are familiar with and experienced in state/local installation codes. Operation of the equipment should
be performed by qualified or authorized personnel who have read this manual and are familiar with the function of
the equipment. Service of the equipment should be performed by qualified personnel who are knowledgeable with
Imperial Ranges.
The equipment is inspected & crated carefully by skilled personnel before leaving factory. The transportation company assumes
full responsibility for safe delivery upon acceptance of this equipment. If shipment arrives damaged:
1.
Visible loss or damage: Note on freight bill or express delivery and have signed by person making delivery.
2.
File claim for damages immediately: Regardless of extent of damages.
Concealed loss or damage: If damage is noticed after unpacking, notify transportation company immediately and file "Concealed
Damage" claim with them. This should be done within fifteen (15) days from date delivery is made to you. Retain container for
inspection
OWNERS MANUAL
PLEASE RETAIN THIS MANUAL FOR FUTURE REFERENCE
SHIPPING DAMAGE CLAIM PROCEDURE
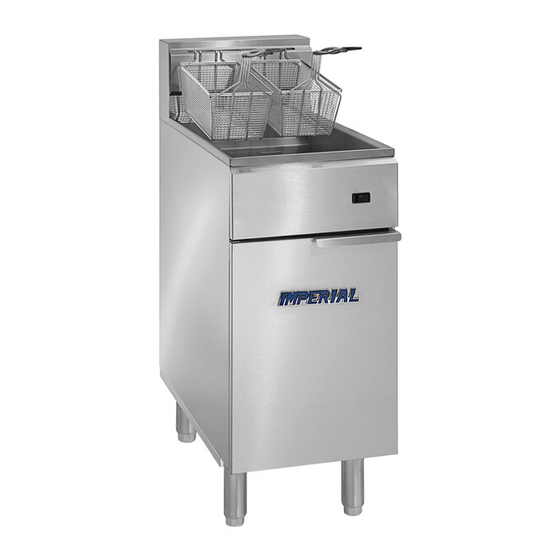
GAS FRYERS
DO NOT STORE OR USE GASOLINE OR OTHER
FLAMMABLE VAPORS OR LIQUIDS IN THE
1
®
FOR YOUR SAFETY
VICINITY OF THIS OR ANY OTHER
APPLIANCE
.
Advertisement
Table of Contents

Summary of Contents for Imperial IFS series
- Page 1 1128 Sherborn Street ▪ Corona, CA 92879-2089 ▪ (951) 281-1830 ▪ FAX (951) 281-1879 GAS FRYERS All Imperial Mfg. Co. equipment is manufactured for use with the type of gas specified on the rating plate and for installation in accordance with ANSI Z223.1/NFPA 54 (latest edition) of the National Fuel Gas Code, the National Gas Installation Code, CSA/B149.1 or the Propane Installation code, CSA/B149.1, as applicable.
- Page 2 Sealants on pipe joints must be resistive to propane gas. Check for leaks at all connections with soap solution. Do not use flame to check for leaks. Imperial fryers are equipped with millivolt control system, it does not need an outside power source. VENTILATION: Proper ventilation is very important for the proper function of your fryer as well as to remove unwanted vapors and products of combustion.
- Page 3 LEVELING: After setting in position, level the fryer front to back and left to right. If it is not leveled, the fryer may not function properly. LIGHTING INSTRUCTIONS: Set the thermostat and the gas cock dial on the combination gas valve to the “OFF” position. Wait for five minutes Turn gas cock dial on the combination gas valve to “PILOT”...
- Page 4 PREPARATION FOR USE: New units have a coating of oil on the interior of the vessel. Remove this coating with hot soapy water, washing soda, or any other grease dissolving liquid. Rinse thoroughly and drain until all residues are removed. Wipe dry. Clean the baskets, crumb screen and clean-out rod (if supplied). PILOT OPERATION: Check &...
- Page 5 WARNING All water must be removed before adding oil or shortening. Not doing so can result in splattering of hot oil. STAINLESS STEEL: All stainless steel body parts should be wiped regularly with hot soapy water during the day and with a liquid cleaner designed for this material at the end of each day.
- Page 6 THERMOSTAT/HI-LIMIT: Drain vessel. Unscrew and remove the bulb holding down the bracket. Unscrew the nut at the vessel bottom. Pull the bulb out from underneath. Pull the thermostat knob out. Unscrew the thermostat/hi-limit from the mounting bracket. Reverse the procedure to install. FOR SERVICE OR ORDERING PARTS: Have the following information ready before contacting for service or ordering.
- Page 7 TROUBLE SHOOTING PROBLEM PROBABLE CAUSE REMEDY Pilot will not light A. No gas A. Turn main gas valve "ON" B. Set gas cock dial on B. Gas cock dial not set at "Pilot" combination gas valve to "Pilot". position and depressed. Depress and hold while lighting A.
Need help?
Do you have a question about the IFS series and is the answer not in the manual?
Questions and answers
what orifice do i need to convert fryer ifs-40 105000 from gas to propane