Sign In
Upload
Download
Table of Contents
Contents
Add to my manuals
Delete from my manuals
Share
URL of this page:
HTML Link:
Bookmark this page
Add
Manual will be automatically added to "My Manuals"
Print this page
×
Bookmark added
×
Added to my manuals
Manuals
Brands
EOTech Manuals
Thermal cameras
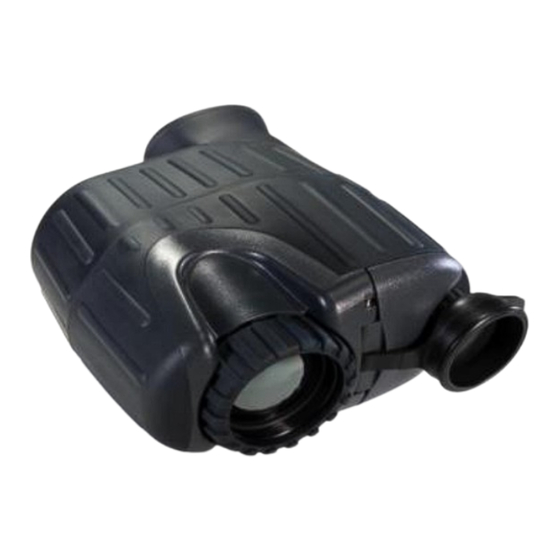
X320
User manual
EOTech X320 User Manual
Hide thumbs
1
2
3
4
5
Table Of Contents
6
7
8
9
10
11
12
13
14
15
16
17
18
19
20
21
22
23
24
25
26
27
28
29
30
31
32
33
34
35
36
page
of
36
Go
/
36
Contents
Table of Contents
Troubleshooting
Bookmarks
Table of Contents
Table of Contents
1 Introduction
Handling & Precautions
2 Operation
Holding the Camera
Loading the Batteries
Turning on the Power
Camera Shutter
The Thermal Imaging Camera
Focusing for Close-Up Operation
Cleaning
3 Gui
Multi-Function Button Settings
4 Accessories
Operating with Video & External Power
Specifications
Frequently Asked Questions
Trouble Shooting Guide
Warranty
Advertisement
Quick Links
1
Loading the Batteries
2
Specifications
Download this manual
User Manual
X320 and X640 Thermal Imager
See the Unseen
Table of
Contents
Previous
Page
Next
Page
1
2
3
4
5
Advertisement
Table of Contents
Need help?
Do you have a question about the X320 and is the answer not in the manual?
Ask a question
Questions and answers
Related Manuals for EOTech X320
Thermal cameras EOTech X640 User Manual
(36 pages)
This manual is also suitable for:
X640
Table of Contents
Print
Rename the bookmark
Delete bookmark?
Delete from my manuals?
Login
Sign In
OR
Sign in with Facebook
Sign in with Google
Upload manual
Upload from disk
Upload from URL


Need help?
Do you have a question about the X320 and is the answer not in the manual?
Questions and answers