Advertisement
Table of Contents
Advertisement
Table of Contents

Subscribe to Our Youtube Channel
Summary of Contents for Primera PR608MSX
- Page 1 PR608MSX Built-In Electric Oven User Manual...
- Page 2 ACKNOWLEDGMENT Thank you for purchasing our product. We hope you enjoy using the many features and benefits it provides. Before using this product please study this entire Instruction Manual carefully. Keep this manual in a safe place for future reference. Ensure that other people using the product are familiar with these instructions as well.
- Page 3 SAFETY HINTS Do not use the oven unless you are wearing something on your feet. Do not touch the oven with wet or damp hands or feet. For oven: Oven door should not be opened often during the cooking period. The appliance must be installed by an authorized technician and put into use.
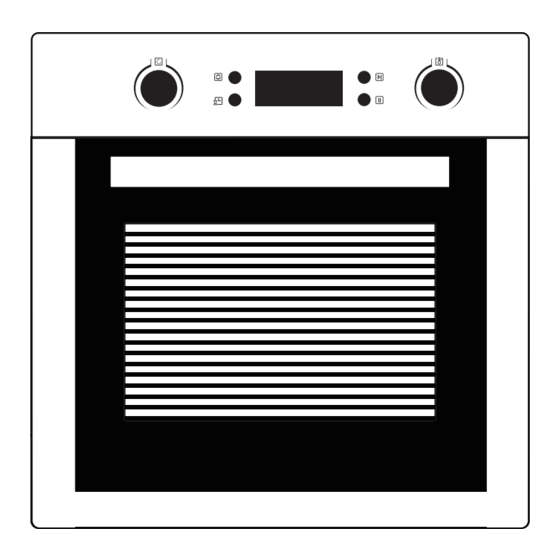
- Page 4 PRODUCT DESCRIPTION Start button Remind button Time button Stop button Symbol Function description Oven Lamp: which enables the user to observe the progress of cooking without opening the door. Defrost: The circulation of air at room temperature enables quicker thawing of frozen food, (without the use of any heat).
- Page 5 OPERATION INSTRUCTIONS 1. Clock Setting After connectiong the unit to the power, the symbols 0:00 will be visible on the display. 1> Press " ", the hour figures will flash. 2> Rotate " K2" to adjust the hour figures, the input time should be within 0--23. 3>...
- Page 6 6. Reminder Function: The oven has 9 hours reminder, this function will help to remind you to start cooking in a certain time from1 minute to 9 hours. Only when oven in standby mode and clock setting, the reminder can be set. Follow below to set the reminder: 1>...
- Page 7 ACCESSORIES Wire shelves : For grill .dishes, cake pan with items for roasting and grilling. Slider bracket : These shelf support rails on the right and left sides of the oven can be removed for cleaning oven walls. Universal pan: For cooking large quantities of food such as moist cakes, pastries, frozen food etc,or for collecting fat/ spillage and meat juices.
- Page 8 This s door is re emovable do oor, also in ner glass is s removable e constructio on, the rem moval proc cedure is as below: 1、 F Firstly as sho own in figure 1-1, open the e oven door to maximum position, stir r the toggle c...
- Page 9 3、As shown in Figure 3-1, there are two layers between the door bracket and the rubber bumper, the middle glass can be inserted into the empty area between the two layers. For removal of the middle glass, user can refer to step 1 and step 2 shown in Figure 3-2, remove the middle glass in layer 1 first, then follow the step 1 and step 2 shown in Figure 3-3 to remove the middle glass in layer 2.
- Page 10 SECURING THE OVEN TO THE CABIET 1. Fit oven into the cabinet recess. 2. Open the oven door. 3. Secure the oven to the kitchen cabint with two distance holders "A" which fit the holes in the oven frame and fit the two wood screws "B".
- Page 11 CLEANING AND MAINTENANCE For the sake of a good appearance and reliability, keep the unit clean. The modern design of the unit facilitates maintenance to a minimum. The parts of the unit which come into contact with food have to be cleaned regularly.
- Page 12 Table and tips Time Cooking Shelf Temp. 1st side 2nd side Food Weight Dish Method position (min.) (min.) Baking tray Beef 10-15 8-10 Pork 90-100 ------ wire shelves 1.2kg ------ Chicken 50-60 wire shelves Small cakes wire shelves ------ 0.3-0.4kg 20-25 wire shelves 1.2kg...
Need help?
Do you have a question about the PR608MSX and is the answer not in the manual?
Questions and answers