
Subscribe to Our Youtube Channel
Related Manuals for SMC Networks DC3-DAKOTA

Summary of Contents for SMC Networks DC3-DAKOTA
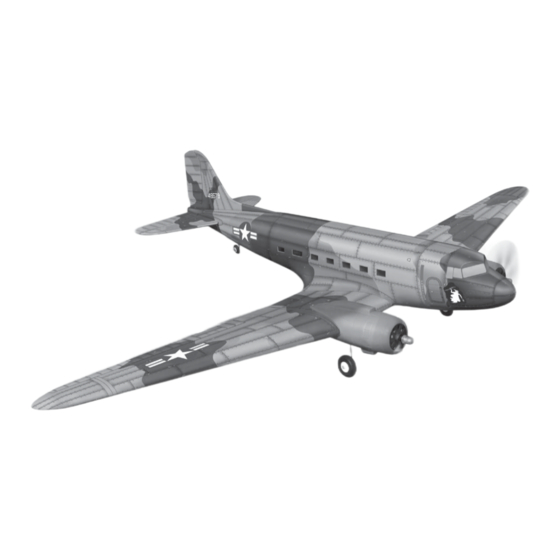
- Page 1 Instruction Manual Wingspan : 2150mm Length : 1440mm Weight : 2500gr - 3000gr Radio : 4 channel / 4 servo standard Motor : 2 motor brushless AXI 2826...
- Page 2 Instruction Manual DC3 - DAKOTA Instruction Manual DC3 - DAKOTA KIT CONTENTS: We have organized the parts as they come out of the box for better identification during assembly. We recommend that you regroup the parts in the same manner. This will ensure you have all of parts required before you begin assembly MAIN GEAR ASSEMBLY AILERON CONTROL SYSTEM...
-
Page 3: Installing The Aileron Servo
Instruction Manual DC3 - DAKOTA Installing the aileron servo Iron the covering if necessary. Glue the hinges by C.A glue. Remove the covering. Using the thread and the collar as a guide. Tape the servo lead into the end of the thread. Pull the servo lead out. - Page 4 Instruction Manual DC3 - DAKOTA Mark the holes from the control horn onto the bottom of Secure the control horn. the aileron and INLINE with the servo arm. Secure the nylon control horn. Insert the clevis into the metal rod. Insert the silicone tube into the clevis.
- Page 5 Instruction Manual DC3 - DAKOTA Attach the nylon snap keeper to the aileron servo arm. And make the same way for the second aileron servo. Installing the horizontal and the vertical Center line Make the center line onto the stabilizer. Remove the covering.
- Page 6 Instruction Manual DC3 - DAKOTA Remove the covering. Remove the covering. Glue the horizontal to the fuselage using the epoxy glue. Glue the horizontal to the fuselage using the epoxy glue. Glue the elevator hinge by C.A glue. Insert the rudder into the vertical stabilizer. Glue the hinge by C.A glue.
-
Page 7: Installing The Elevator Pushrod
Instruction Manual DC3 - DAKOTA Installing the elevator pushrod Drill a hole for the control horn. Install the control horn. Secure the control horn. Secure the nylon control horn onto the elevator. Make the same way for the second control horn. Remove the covering from the slot. - Page 8 Instruction Manual DC3 - DAKOTA Insert the elevator pushrod into the fuselage. Insert the clevis to the control horn. Make the same way for the second elevator pushrod. Installing the tail gear and the rudder pushrod The tail gear. Bend “L” the rod. Insert the rod to the nylon arm.
- Page 9 Instruction Manual DC3 - DAKOTA Install the wheel and the collar into the tail gear. Secure the tail gear. Remove the covering. Secure the screw. Drill a hole for the control horn. Install the control horn. Secure the control horn. Install the nylon control horn.
- Page 10 Instruction Manual DC3 - DAKOTA Insert the clevis into the metal rod. Insert the silicone tube into the clevis. Remove the covering from the slot. Insert the rudder pushrod into the fuselage. Attach the clevis to the control horn. Installing the servo of the elevator and the rudder Install the elevator servo and secure it.
- Page 11 Instruction Manual DC3 - DAKOTA Prepare the metal connector. Secure the elevator pushrod. Attach the nylon clasp. Install the rudder servo and secure it. Cut away the rudder pushrod. Prepare the metal connector. Secure the rudder pushrod. Attach the nylon clasp.
-
Page 12: Installing The Main Landing Gear
Instruction Manual DC3 - DAKOTA Installing the main landing gear The landing gear. Install the collar. Install the wheel. Secure the landing gear. Install the motor. Installing the cowl The cowling. Glue the wooden engine plate to the cowl. - Page 13 Instruction Manual DC3 - DAKOTA Glue the wooden plate to the cowl. Slide the cowl into the wing. Secure the cowl onto the wing by screw. Secure the cowl. Slide the cowl. Secure the cowl. Installing the wing strut, receiver and battery Remove the covering.
- Page 14 Instruction Manual DC3 - DAKOTA Receiver Screw Elevator Secure the wing. Install the receiver. Install the battery.
-
Page 16: Control Throws
Instruction Manual DC3 - DAKOTA BALANCING CONTROL THROWS 1. It is critical that your airplane be balanced correctly. 1. We highly recommend setting up a plane using the Improper balance will cause your plane to lose control throws listed. control and crash. 2. - Page 17 Instruction Manual DC3 - DAKOTA I/C FLIGHT GUIDELINES Operate the control sticks on the When ready to fly, first extend the transmitter and check that the control transmitter aerial. surfaces move freely and in the ALWAYS land the model INTO the CORRECT directions.
Need help?
Do you have a question about the DC3-DAKOTA and is the answer not in the manual?
Questions and answers