Advertisement
Table of Contents
Advertisement
Table of Contents

Related Manuals for Icy Box IB-3620U3

Summary of Contents for Icy Box IB-3620U3
- Page 1 Version 1.1 Manual IB-3620 Series IB-RD3620SU3 IB-3620U3...
-
Page 2: Table Of Contents
Version 1.1 Manual IB-3620 Series ONTENT 1. Introduction ..................................3 1.1 General Information ............................. 3 2. Hardware IB-3620 Series............................4 2.1 LED Indication / Button Front Panel ......................4 2.2 Rear View .................................. 5 3. HDD Installation ................................ 6 4. Setting/Changing the RAID mode ........................7 5. -
Page 3: Introduction
Version 1.1 Manual IB-3620 Series 1. I NTRODUCTION 1.1 G ENERAL NFORMATION 1.1.1 Usage cautions User should not modify this device. The environmental temperature should be within +5℃ ~ +35℃. Note: Port multiplier at host computer needed, if connected via eSATA 1.1.2 Power Power voltage: DC 12 V. -
Page 4: Hardware Ib-3620 Series
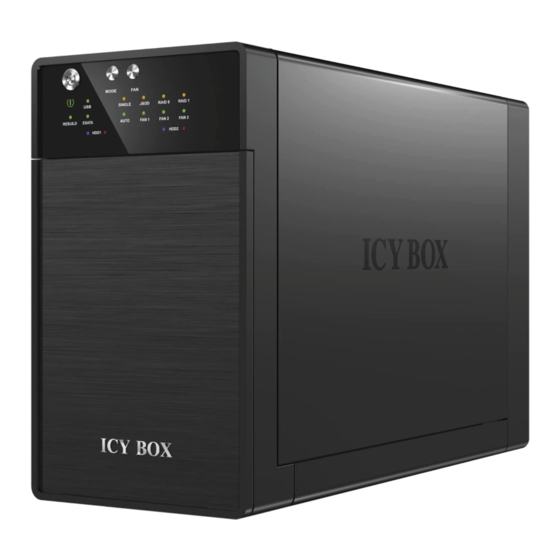
However, as our engineers are always updating and improving the product, your device’s software may have a slightly different appearance or modified functionality than presented in this manual. 2. H IB-3620 S ARDWARE ERIES 2.1 LED I NDICATION UTTON RONT ANEL IB-RD3620SU3 IB-3620U3... -
Page 5: Rear View
FAN speed at level 1 (lowest) 14. FAN 2 FAN speed at level 2 (middle) 15. FAN 3 FAN speed at level 3 (highest) 16. HDD1/HDD2 Blue HDD connected Purple - HDD access HDD error 2.2 R IB-RD3620SU3 / IB-3620U3... -
Page 6: Hdd Installation
Version 1.1 Manual IB-3620 Series 1. Fan 2. Smart Power SYNC switch (see description as below) 3. DC jack 4. USB 3.0 port 5. eSATA port (only IB-RD3620SU3) Note: Port multiplier at host computer needed, if connected via eSATA 6. RAID mode confirmation button (only IB-RD3620SU3) SYNC switch When the computer is off or the data Synchronisation is off. -
Page 7: Setting/Changing The Raid Mode
Version 1.1 Manual IB-3620 Series 4. S RAID ETTING HANGING THE MODE IB-RD3620SU3 Note! Setting/changing the RAID mode requires formatting the drives. Make sure to backup all existing data first! JBOD (RAID0 Spanning) Spanning concatenates multiple hard drives as a single large volume; resulting in a seamless expansion of virtual volumes beyond the physical limitations of separately connected hard drives. -
Page 8: Replace Failed Drive In Raid 1 Mode
Version 1.1 Manual IB-3620 Series - After selecting the RAID mode you want, press and hold the confirmation button at the rear panel (behind the plastic cover) (2) until the device shuts down. - Power on the product again and complete the setting inside Disk management of your computer system. - Page 9 Version 1.1 Manual IB-3620 Series HDD2 has been failed 1. Turn off the power and then remove the failed HDD2 (right). 2. Remove HDD1 (left) and put it into the slot of HDD2 (right). 3. Turn on the power, and wait for about 20 seconds for the system to start up. 4.
-
Page 10: Disk Initialization
Version 1.1 Manual IB-3620 Series 6. D NITIALIZATION 6.1 W XP (32/64 INDOWS If the HDD is uninitialized, you may have to initialize it by doing steps as followed: - At first click "Start", “Execute" at your PC and key in "diskmgmt. msc". - After that please press "RETURN"... -
Page 11: Windows Vista (32/64 Bit)
Version 1.1 Manual IB-3620 Series 3. Disk format completed. 6.2 W (32/64 INDOWS ISTA If the HDD is uninitialized, you may have to initialize it by doing steps as followed: - At first click "Start", “Execute" at your PC and key in "diskmgmt. msc". - After that please press "RETURN"... -
Page 12: Windows 7/8 (32/64 Bit)
Version 1.1 Manual IB-3620 Series Remark: Please enable GPT if the total capacity is more than 2 TB and enable MBR if the total capacity is less than 2 TB. 2. Create new partition and format disk. 3. Disk format completed. 6.3 W 7/8 (32/64 INDOWS... - Page 13 Version 1.1 Manual IB-3620 Series - After that please press "RETURN" key. 1. Start disk initialization. Remark: Please enable GPT if the total capacity is more than 2 TB and enable MBR if the total capacity is less than 2 TB. 2.
-
Page 14: Macintosh O.s. 10.X
Version 1.1 Manual IB-3620 Series 6.4 M O.S. 10.X ACINTOSH If the HDD is uninitialized, you may have to initialize it by doing steps as followed: 1. Click Disk Utility icon 2. HDD initialise… 3. Click Erase... - Page 15 Version 1.1 Manual IB-3620 Series 4. Click Erase 5. HDD format in process...
-
Page 16: References
Version 1.1 Manual IB-3620 Series 6. Format completed 7. R EFERENCES Setting/changing the RAID mode requires formatting the drives. Make sure to backup all existing data first! Please refer to the instructions when switching the RAID mode, otherwise the execution might fail. - Page 17 Version 1.1 Manual IB-3620 Series sleeping mode automatically after 20 seconds.. To take out the HDD from the device, slightly press the handle of the tray to the left and pull the HDD out. USB port of your PC must support power-off function so that the device would go to sleeping mode.
Need help?
Do you have a question about the IB-3620U3 and is the answer not in the manual?
Questions and answers