Table of Contents
Advertisement
R
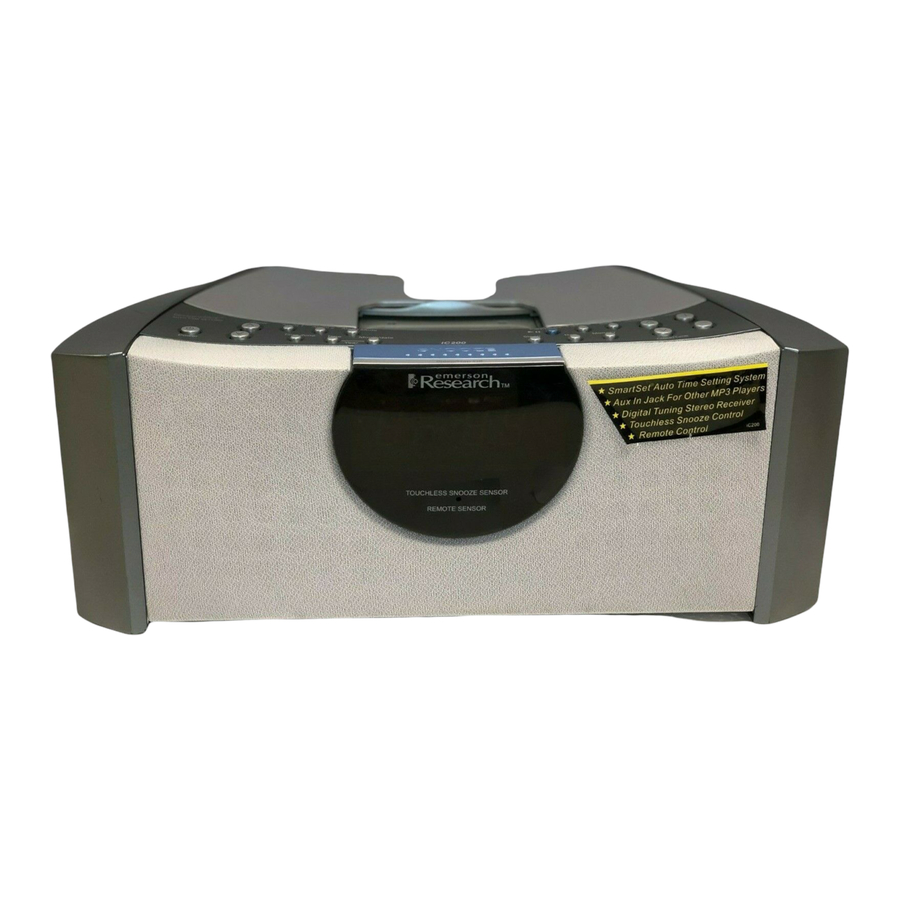
Digital Tuning Stereo Clock Radio
®
with iPod
Docking Station
®
SmartSet
Auto Time Setting System
and Remote Control
(U.S. Patent No. 6,567,344)
Made for all iPod
models including iPod
nano, iPod
shuffle and iPod
mini
®
®
®
®
OWNER'S MANUAL
iC200
(Silver Color)
iC200BK
(Black Color)
Visit our web site at www.emersonradio.com
iC200_042007.p65
48
20/4/2007, 15:43
Advertisement
Table of Contents

Related Manuals for Emerson Research iC200


Summary of Contents for Emerson Research iC200
- Page 1 Remote Control (U.S. Patent No. 6,567,344) Made for all iPod models including iPod nano, iPod shuffle and iPod mini ® ® ® ® OWNER’S MANUAL iC200 (Silver Color) iC200BK (Black Color) Visit our web site at www.emersonradio.com iC200_042007.p65 20/4/2007, 15:43...
-
Page 2: Important Safety Instructions
CAUT I ON TO PREVENT FIRE OR SHOCK HAZARD, DO NOT USE THIS PLUG WITH AN EXTENSION CORD, RECEPTACLE OR OTHER OUTLET UNLESS THE BLADES CAN BE FULLY INSERTED TO PREVENT BLADE EXPOSURE. TO PREVENT FIRE OR SHOCK HAZARD, DO NOT EXPOSE THIS APPLIANCE TO RAIN OR MOISTURE. C AU T I O N RISK OF ELECTRIC SHOCK DO NOT OPEN... - Page 3 Docking Station ® and SmartSet Auto Time Setting System from Emerson Research. This compact ® system has been designed with a powerful amplifier and matching high fidelity speakers to produce the kind of sound that you would only expect from a much larger, more expensive audio system.
- Page 4 1-800-898-9020. One of our service technicians will try and help you resolve your problem. If the problem cannot be resolved by phone you will be advised of the proper procedure to obtain service or a replacement unit. Once again thank you for purchasing this Emerson Research iPod compatible ®...
-
Page 5: Fcc Information
I M P O R TAN T N O T E S • Avoid installing this unit in places • Operate controls and switches as exposed to direct sunlight or close to described in the manual. heat radiating appliances such as •... -
Page 6: Unpacking And Setup
P R E PAR AT I O N F O R U S E Unpacking and Set Up • This carton contains the main unit, the remote control hand set, iPod Support ® Bracket and 5 different iPod adapters so that you can securely connect any ®... -
Page 7: Battery Back-Up System
Battery Back-up System This unit includes a battery back up system powered by a built-in, long life CR2430 lithium battery. The battery maintains the time and alarm settings, the Sleep and Nap timer settings, and the preset station tuner memories as well, whenever the power is interrupted. -
Page 8: Front Panel
L O C AT I O N O F C O N T R O L S AN D I N D I C ATO R S Front Panel Top Panel 14 15 10 11 iC200_042007.p65 20/4/2007, 15:43... - Page 9 Back Panel Left Side Panel iC200_042007.p65 20/4/2007, 15:43...
- Page 10 1.) TOUCHLESS SNOOZE SENSOR. 2.) Speakers. 3.) Multi-Function LED Display. 4.) iPod Support Bracket. ® 5.) REMOTE SENSOR. 6.) 3-Volt Lithium Battery Compartment (Bottom Cabinet). Power “On/Off” Button. 8.) Preset Buttons. 9.) Alarm 1 Button. 10.) Alarm 2 Button. 11.) Alarm Mode Button. 12.) iPod Support Bracket Mounting Holes (Inside iPod Sockets Compartment).
-
Page 11: Led Display
LED Display 1.) MUTE Indicator. 2.) AM Indicator. 3.) Day Of Week Indicators. 4.) SLP (Sleep) Timer Indicator. 5.) NAP Timer Indicator. 6.) Time, Year, Month/date, Volume Level (00-63), Radio Frequencies Display. 7.) AL2 (Alarm 2) Indicator. Battery Low Indicator. 9.) FM ST. -
Page 12: Remote Control
Remote Control 1.) Preset Button. 2.) Preset Button. Tuning/Skip Reverse Button. Power “On/Off” Button. 5.) Infrared Transmitter. 6.) Function Button. 7.) Volume + Button. Tuning/Skip Forward Button. 9.) Volume – Button. 10.) Band Button. 11.) Alarm Stop Button. 12.) Snooze Button. 13.) Battery Compartment (Back Cabinet). -
Page 13: Installing The Remote Control Batteries
Installing The Remote Control Batteries The remote control requires two “AAA” batteries, not included. We recommend that you use a well known brand of alkaline batteries for longest life and best performance. Open the remote control battery compartment by sliding the battery compartment cover in the direction of the ‘arrow’... - Page 14 O P E R AT I N G I N S T R U C T I O N S • Make sure that you have extended the AC power cord to its full length. The FM antenna is built into the power cord. •...
-
Page 15: Date Display
Hold the Time Zone button and then press either the Tuning/Skip (Clock/Time) buttons until your own time zone appears on the display, then release the buttons. The clock display will change to the correct time in the time zone you selected. The clock will always return to the correct time in the zone you selected after every power interruption. - Page 16 Daylight Saving and Leap Year Adjustments All Daylight Saving and Leap Year adjustments are made automatically by the SmartSet internal computer as follows: ® • Start of Daylight Saving Time: At “2:00 AM” on the 2nd Sunday in March, the clock will automatically advance to “3:00 AM”.
-
Page 17: Manual Time Adjustments
Manual Time Adjustments Some people like to set their clocks 5 to 10 minutes fast to make sure that they will always be on time. Even though the SmartSet sets the time by itself, you still have ® the option of adjusting the time manually if you wish. To manually adjust the time display depress and hold the Time button, and press either the Tuning/Skip (Clock/Time) buttons to adjust the time display... - Page 18 Adjusting The Wake Up Times Your SmartSet clock radio has two separate alarms that can be set and used ® independently. You may use the alarms to wake two people at different times, or you may use one alarm for weekdays and the other for weekend wake up times. The procedure for adjusting the wake up time is the same for both Alarm 1 and Alarm 2.
- Page 19 Selecting The Alarm Mode Your SmartSet ® clock radio allows you to select from among three different alarm operation modes for either alarm. The alarm modes are: • Everyday – the alarm will turn on all 7 days. • Weekdays only – the alarm will only turn on Monday through Friday; •...
-
Page 20: Using The Remote Control
Using The Remote Control The remote control unit supplied with this system allows you to perform the following operations: • Switch the system ‘On’ and ‘Off’ . • Select the desired function (iPod / AUX / TUNER). ® • Select the AM or FM bands. •... -
Page 21: Listening To The Radio
Listening To The Radio 1.) Press the Power button on the top panel or remote control to turn the system ‘On. If necessary press the Function button on the top panel or remote control to select the Tuner function. The TUNER indicator appears and the display changes from time to radio frequency. - Page 22 4.) If you tuned to an FM Stereo station the FM ST. indicator appears in the display. 5.) A few seconds after you release the tuning controls the display changes from radio frequency back to the correct time. To see the station frequency again, press the Time button on the top panel.
- Page 23 Presetting Stations In The Tuner Memory You can store a total of 20 stations, 10 FM and 10AM, in the tuner memory for easy recall at any time. 1.) Using either the Automatic or Manual Tuning method described above, tune to the first station you wish to store in the tuner memory.
- Page 24 7.) Press the Band button to switch to the AM band and repeat the above procedure to store up to 10 AM stations in the tuner memory. NOTES: • The FM memories are numbered “F 1” through “F 10”. The AM memories are numbered “A 1”...
- Page 25 Antenna Information The FM antenna is built in the AC power cord. You may have to extend and vary the direction of the AC power cord until you find the position that provides the best reception. The AM bar antenna is inside the cabinet of the main unit. You may need to change the position of the main unit until you find the position that provides the best reception for your favorite AM stations.
- Page 26 iC200_042007.p65 20/4/2007, 15:29...
- Page 27 Listening To Your “Dockable” iPod ® / Charging The Battery IMPORTANT! ® To prevent distortion during iPod playback you should go to the Main Menu of your iPod ® , select the Settings Menu page, select the EQ Setting, and make sure that the EQ function is set to “Off”. (Main Menu >...
- Page 28 2.) Select the correct adapter for your particular iPod ® model from among the 5 different adapters included. Each adapter is engraved with the name and/or size of an iPod model. Place the selected adapter in the ® docking area so that the iPod 30-pin connector ®...
- Page 29 NOTE: After removing the nano adapter remember to slide the 30-pin connector back to the right position before attempting to install any other ® iPod adapter. 4.) After installing the necessary adapter in the docking area and making sure that it is locked in place, mount the support bracket, and then your iPod into the ®...
- Page 30 NOTE: If the Power of this system is ‘ On’ and the iPod function is ® already selected then your iPod will begin to play as soon as it is ® connected to the dock, as long as the iPod HOLD switch is ‘...
- Page 31 Connecting and Playing A 1G (First Generation) iPod ® Shuffle/ Charging The Battery The docking station of this system includes an Apple USB connector specifically designed for the 1G (First Generation) iPod Shuffle with direct USB connector. ® NOTE: If you have a new 2G (Second Generation) iPod ®...
- Page 32 4.) Press the Power button to turn this system ‘On’ if necessary and press the Function button to select the iPod function. The “iPod” indicator appears in the display. 5.) Set the volume control of this system to a medium – high level. Press the VOLUME + button until the volume level display is reading “50”.
-
Page 33: Alarm Operation
Alarm Operation The dual alarms in this system give you the option of waking to the radio, an electronic buzzer tone, or even to your iPod ® ® NOTE: You cannot wake to the iPod Shuffle. You may also program one or both of the alarms for weekdays only, weekends only, or everyday operation. - Page 34 Wake To Buzzer Note: Alarm 1 and Alarm 2 have different buzzer sounds. Alarm 1 is a “single beep” sound. Alarm 2 is a “double beep” sound. You will be able to tell which alarm is going off by the sound that it makes. 1.) Slide the Alarm 1 and/or Alarm 2 selector switches, located on the left side panel to the “Buzzer”...
- Page 35 Wake To Your iPod ® NOTE: You can only wake to the “Dockable” iPod ® . You cannot wake to the ® iPod Shuffle. 1.) Connect your iPod to the docking station as usual, start playback, select the ® song that you would like to play at the wake up time and the desired volume level, then press the Power button to shut the system ‘Off’...
- Page 36 To Cancel The Alarms To cancel the alarm completely so they do not come on at all, slide the appropriate Alarm 1 and/or Alarm 2 selector switches to their “Off”positions. iC200_042007.p65 20/4/2007, 15:43...
- Page 37 SNOOZE Alarm / “TOUCHLESS” SNOOZE When the alarms turn on in the morning you can activate the SNOOZE control to catch a few minutes extra sleep. The Snooze function stops the alarm for 9 minutes and then turns the alarm ‘On’ again. There are three ways to activate the Snooze control: By touching the SNOOZE button on the top panel or the remote control, or by placing your hand in front of the TOUCHLESS SNOOZE SENSOR on the front...
-
Page 38: Sleep Timer
Sleep Timer The Sleep Timer allows you to operate the radio or iPod for up to 99 minutes ® while you are falling asleep and then shuts the power off automatically. 1.) Turn the system ‘On’ and operate the radio or iPod as usual. -
Page 39: Dimmer Control
Nap Timer (Buzzer Alarm Only) The Nap timer function will wake you to the buzzer alarm after a nap of up to 99 minutes without the need to change your regular Alarm 1 or Alarm 2 settings. 1.) If the system is playing, shut the power ‘Off’ . 2.) Press the Nap button on the top panel. - Page 40 ® Listening To A 2G (Second Generation) iPod Shuffle, MP3 Player, Or Other External Source This system includes an Auxiliary Input (Aux) Jack on the back panel so that you can connect older non-dockable iPods , other MP3 players, or personal CD players, ®...
- Page 41 Mute Control (Remote Control Only) If you need to shut off the speakers of this system temporarily press the Mute button on the remote control. The sound stops and the MUTE indicator appears in the display. To cancel the Mute function and restore the sound, press the Mute button again or press the Volume + or –...
-
Page 42: Changing The Lithium Battery
Changing The Lithium Battery Like all batteries, eventually the built in lithium battery will need to be replaced. A number of factors, such as, the length of time between the date the radio was manufactured and the date you plugged it in for the first time determine the amount of time before replacement. - Page 43 4.) Remove the original battery from the holder and insert the new battery into the holder the same way, observing the positive (+) direction. Slide the holder with the new battery back into the slot in the cabinet. 5.) Replace the screw that secures the battery holder in the cabinet. 6.) Turn the radio right side up and confirm that the “...
- Page 44 Resetting The Clock After A Total Memory Loss If you do not change the built in lithium battery within a reasonable period of time after you see the flashing “ ” warning indicator, the lithium battery may become exhausted and will no longer be able to supply back up power to the SmartSet internal computer.
- Page 45 4.) Depress the Month/date button. The display will change from ‘time’ to ‘month/ date’ (mm/dd). While holding the Month/date button, press the Tuning/Skip button to set the display to the correct Month and Date. The Day indicator will change automatically as you adjust the month/date settings. When the correct Month and Date appear on the display, release the buttons.
- Page 46 C AR E AN D M AI N T E N AN C E If the cabinet becomes dusty, wipe it with a soft cloth. If the cabinet becomes smudged or dirty, clean it with a soft, slightly dampened cloth. Never allow water or any liquid to get inside the cabinet.
- Page 47 ALSO HAVE OTHER RIGHTS WHICH VARY FROM STATE TO STATE. AU898M The Serial Number can be found on the back cabinet. We suggest that you record the Serial Number of your unit in the space below for future reference. Model Number: iC200 / iC200BK Serial Number: iC200_042007.p65 20/4/2007, 15:43...
- Page 48 EMERSON Part No. 16-3008 Printed in China 704-05 iC200_042007.p65 20/4/2007, 15:43...
Need help?
Do you have a question about the iC200 and is the answer not in the manual?
Questions and answers