Table of Contents
Advertisement
Quick Links
Advertisement
Table of Contents

Subscribe to Our Youtube Channel
Summary of Contents for Victory RD1
-
Page 1: User Guide
VICTORY RD1 All Valve 28 Watt Guitar Head User Guide... - Page 2 Thank you, and congratulations on acquiring a Victory Amplification RD1. This amp is proudly designed and built by our committed team of engineers and craftsmen in the UK. We value simplicity in operation, flexibility in use and absolutely no compromise in tone. Our aim is simple: to create amplifiers that inspire you ever onwards in your playing and never let you down.
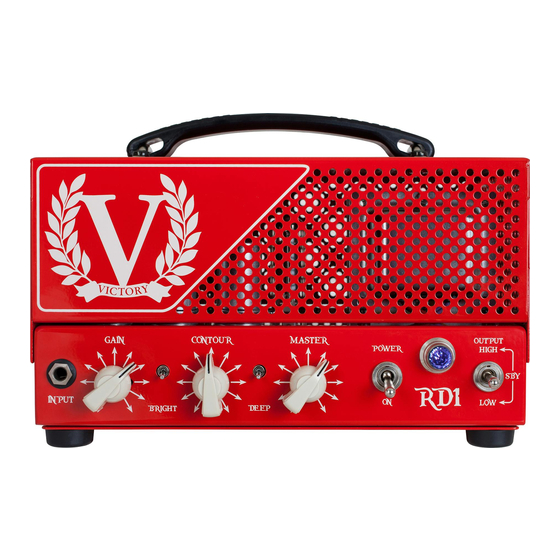
- Page 3 Contour control for a sound with extended midrange and low frequency response simultaneously. Master The Master Volume control is used to set the stage or overall volume of the RD1. If this is turned to maximum, then the RD1 becomes a non-master volume amplifier where the Input Gain control in conjunction with the Volume control on the guitar allows for a wide range of Volumes &...
- Page 4 (i.e. if it’s a 0.5A fuse in the UK @ 230V, it will needs to be a 1A fuse for the USA @ 115V). Always use the correct rating and type of fuse. Victory amplifiers exclusively use UL-approved 20x5mm glass ‘T’ or ‘Timed’ fuses. If you have difficulty acquiring the correct fuses, please contact Victory using enquiries@victoryamps.co.uk.
- Page 5 3. For a pair of 16 Ohm cabinets, use both of the 8 Ohm sockets. It is possible to use a pair of 8 Ohm cabinets with the RD1 but a special series lead needs to be used. Over the page is a diagram of how this is achieved:...
- Page 6 The RD1 has an effects loop, which is a simple, low impedance, series loop. The SEND socket is for connection to the input of effects units. On the RD1 it is a lower impedance version of the signal that appears at the INPUT. Use the send to connect to floor pedals or rack effects such as Delay, Chorus and Reverb etc.
- Page 7 Note that the rubber feet fixings are also used to secure the base plate to the chassis. Remove 4 x M4 screws from the side of the top grill using a No. 2 Posidrive and remove it. Carefully place the RD1 on a clear and secure surface upside down so all its soft bits are exposed.
- Page 8 Please be aware that even in low power mode at 2 watts the output power can still be very loud into a sensitive speaker so be aware of who you may be affecting. Victory takes no responsibility for any physical abuse that may result from your playing.


Need help?
Do you have a question about the RD1 and is the answer not in the manual?
Questions and answers