Advertisement
Quick Links
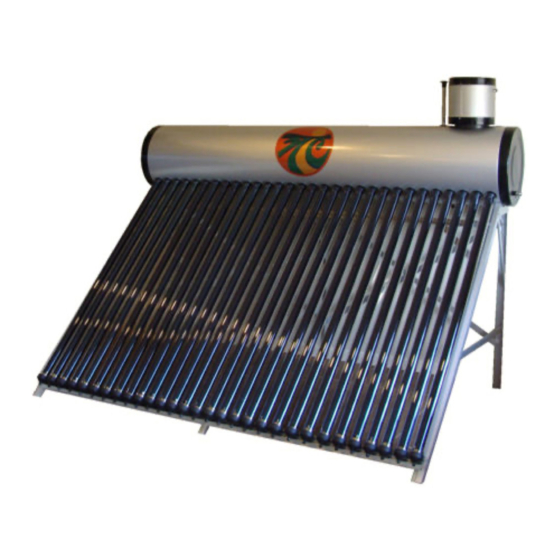
SunMor SM-V30 Solar Water Heater
Installation Manual
by
Congratulations on the purchase of your
new SunMor SM-V30 from Nature's Comfort LLC!
You must read this entire instruction manual before beginning installation to
completely understand system requirements.
Aquastats, heat exchangers, mixing valves, pex pipe, valves and 1" brass pex fittings are all available from
your Nature's Comfort Dealer or you may order directly by calling 877-251-7740 ext 304.
If you should ever have a problem or question refer to this manual or call your dealer. If your dealer does not have the information you
need, request they contact Nature's Comfort and we will further educate them to provide the best possible customer service. Please
keep in mind that Nature's Comfort has no control over the installation, water heater configuration, weather conditions, or the
efficiency of a building's insulation.
Advertisement

Related Manuals for Nature's Comfort SunMor SM-V30

Summary of Contents for Nature's Comfort SunMor SM-V30
- Page 1 SunMor SM-V30 Solar Water Heater Installation Manual Congratulations on the purchase of your new SunMor SM-V30 from Nature’s Comfort LLC! You must read this entire instruction manual before beginning installation to completely understand system requirements. Aquastats, heat exchangers, mixing valves, pex pipe, valves and 1” brass pex fittings are all available from your Nature’s Comfort Dealer or you may order directly by calling 877-251-7740 ext 304.
- Page 2 • The SunMor SM-V30 by Nature’s Comfort LLC is a solar water heater that uses the sun’s radiant energy to heat water through the use of 30 double wall vacuum insulated glass tubes. Each tri-element glass tube has a coating on the outside of the inner layer of glass made up of nitrogen aluminum to absorb heat on top of a copper coating to transfer and hold in the heat.
- Page 3 Assembly - Wear gloves and safety glasses! • Assemble the frame (and mount securely if on a roof), mount the storage tank, auto-fill valve and vent tube. Snap the black plastic tube-end holders in place on the bottom of the frame. •...
- Page 4 • Off the extra port from the auto-fill valve, run a line to drain water that overflows from heat expansion to a desired area. • Run a line from the left copper coil heat exchanger port to the cold water input of your domestic water heater. •...