Table of Contents
Advertisement
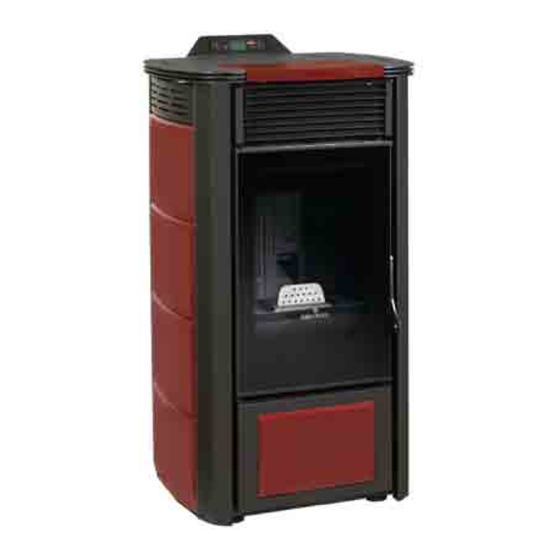
INSTALLATION INSTRUCTIONS AND USER GUIDE
INSTALLATION INSTRUCTIONS AND USER GUIDE
INSTALLATION INSTRUCTIONS AND USER GUIDE
INSTALLATION INSTRUCTIONS AND USER GUIDE
Please rea
Please r
ead attentiv
d attentive e e e ly the
Please r
Please r
ea ea
d attentiv
d attentiv
The instructions
The instructions guide
The instructions
The instructions
1 1 1 1 0 0 0 0 Kw AIR SERIES
Kw AIR SERIES
Kw AIR SERIES
Kw AIR SERIES
ly these se se se instructions before installation
instructions before installation, , , , use and
ly the
ly the
instructions before installation
instructions before installation
maintenance.
maintenance.
maintenance.
maintenance.
guide
guide
guide is an integral part of the product.
is an integral part of the product.
is an integral part of the product.
is an integral part of the product.
use and
use and
use and
Advertisement
Table of Contents


Need help?
Do you have a question about the Princesa and is the answer not in the manual?
Questions and answers
How to reset service message
Hw to reset service message