Table of Contents
Advertisement
Quick Links
IPEVO Presenter for Mac
Quick Start Guide
Introduction
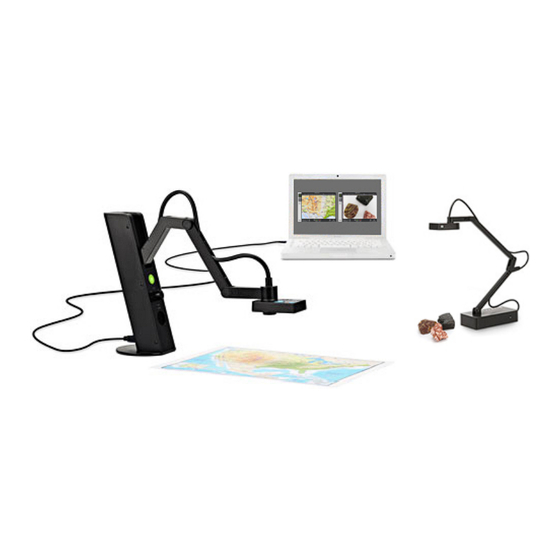
IPEVO Presenter for Mac is designed for use with the IPEVO line of document
cameras, including the Point 2 View, Ziggi-HD, iZiggi-HD and VZ-1. Presenter
displays the live video feed from your camera. It's an ideal solution to send
live video from your computer to your projector for lessons and presentations.
Presenter also contains numerous handy tools and customizations to help you
get the most from your camera.
This guide will help familiarize you with Presenter's functions and settings.
Downloading IPEVO Presenter
Visit
support.ipevo.com
link for the Mac version of Presenter, then follow the prompts to complete
installation.
Presenter is free to use and may be installed on multiple computers.
Questions? Comments?
If you've read this guide and still have questions, we're ready to help. Email
cs@ipevo.com and a member of our Customer Support team will be happy to
assist you.
for the latest version of Presenter. Click the download
Advertisement
Table of Contents

Summary of Contents for Ipevo Presenter
-
Page 1: Quick Start Guide
Quick Start Guide Introduction IPEVO Presenter for Mac is designed for use with the IPEVO line of document cameras, including the Point 2 View, Ziggi-HD, iZiggi-HD and VZ-1. Presenter displays the live video feed from your camera. It's an ideal solution to send live video from your computer to your projector for lessons and presentations. -
Page 2: Camera Mode
Camera Mode The default mode when starting IPEVO Presenter is Camera mode, selectable with the top tab on the left-hand side. This mode displays the live image coming from the doc cam connected to your computer. You can also customize your image in several ways using the pulldown menus and buttons. - Page 3 (the flower icon) to very far away (the infinity icon). To return to Autofocus, uncheck the "AF-Lock" box. (*Manual focus available on select IPEVO document cameras only) Full Screen Clicking this will cause the Presenter window to occupy the entire screen. This is useful for lessons and presentations.
- Page 4 Bottom Menu Functions Select Video Device Select the video device Presenter should use. If properly connected, your device's name should appear here. Special note for iZiggi-HD users – As a wireless document camera, iZiggi-HD connects to your computer via Wi-Fi. First-time connections can take a minute or two to be reflected in the Select Video Device box, so please allow for this delay before selecting iZiggi-HD as your video device.
-
Page 5: Display Mode
Record Record a video of the current video feed. Once you press Record, it will turn into the Stopbutton, which you can press to stop the video recording. The video file will be saved to your hard drive and can be managed in Review mode. Freeze Pause the live image. -
Page 6: Review Mode
Review Mode Select the second tab on the left-hand side to enter Review mode. In this mode, you can view and manage the snapshots (photos) and videos you've taken with your doc cam. Thumbnail Size (or Zoom) Photo Rotate Video Delete AutoShoot Share (or Action) - Page 7 Both photos and videos will be displayed. Photo Display only photos. Video Display only videos. Auto Shoot Display only the automated snapshot series you've taken. Album Display only the photo albums you've created.
- Page 8 Main Window Function Click on an image to select that photo or video, which will become highlighted in a light gray. Use Shift+Click and Command+Click to select multiple files. Double-click on the selected photo or video to make it larger and to enter a slideshow mode.
- Page 9 Albums Press Album on the top menu bar to access your photo albums. Albums are listed by date. To rename an album, double-click on the current name to bring up an editable text field. Or, right-click on the album and select Rename. Albums can be exported as PDF files using the Share function in the bottom-right corner.
-
Page 10: Splitscreen Mode
Splitscreen Mode Have two IPEVO doc cams? Now you can connect both of them to your computer. Presenter will create two screen for the live feeds. Just set one Presenter window to camera A and the other to camera B. The feeds will appear live on the screen so you can view them at the same time. - Page 11 Select Camera 1 Select the camera for the first splitscreen pane. Select Camera 2 Select the camera for the second splitscreen pane. It can be the same or different than Camera 1. Adjust Camera Within the Select Video Device pop-up, hit Adjust Camera to tweak the image coming from the selected camera.
- Page 12 Settings Click on the gear icon on the left-hand side (below the mode tabs) to enter Settings. General Snapshot Recording...
- Page 13 Keep Camera Mode Settings By default, settings you change will stay that way when you launch Presenter in the future. Select No to return to original settings each time you launch Presenter. Create new album by date automatically When checked, any snapshots you take will automatically be placed within an album according to the date when the snapshot was taken.
- Page 14 Hotkeys Please familiarize yourself with common Presenter functions accessible via hotkeys. Zoom in and Zoom out: -, = Mirror (Horizontal) and Mirror (Vertical): alt + h, alt + v Rotate: alt + left, alt + right Rotation reset: alt + r...


Need help?
Do you have a question about the Presenter and is the answer not in the manual?
Questions and answers