Table of Contents
Advertisement
Advertisement
Table of Contents

Related Manuals for SmartPool PT11i


Summary of Contents for SmartPool PT11i
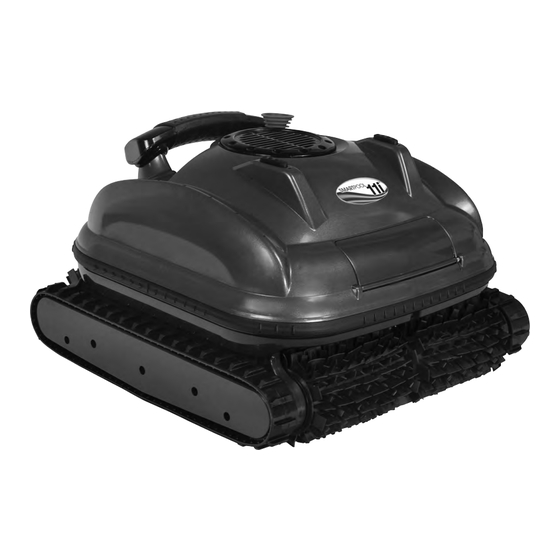
- Page 1 SMARTPOOL PT11i (PT11iRCS) ROBOTIC POOL CLEANER OPERATION MANUAL...
-
Page 2: Important Safety Instructions
Always remember to turn the power supply “OFF” and unplug it from the power outlet before removing the cleaner from the pool. If your robotic pool cleaner is not working as it should or has been dropped or damaged in any way, contact SmartPool LLC Technical Service before using at 1-732-... - Page 3 Congratulations on your purchase of the most technologically advanced automatic pool vacuum available today. Your SmartPool cleaner is easy to use and will make maintaining your pool affordable and effortless. Following these simple directions will insure that the cleaner will quickly and efficiently clean your pool today and for many years to come.
- Page 4 Secure the connection by rotating the black collar in a clockwise direction until it is HOLD HOLD hand tight. Insert the Extension Cord Union on the end of the Extension Cord and secure it by hand tightening the black collar on the end of the cable (Figure E3). NOTE: The Extension Cord Union has two distinctly different sockets to prevent an incorrect connection.
-
Page 5: Installation
INSTALLATION • Walk the cleaner to the furthest point of the pool. • Add 6’/2m of cord to the pool for additional coverage. • Coil up the remaining cable and secure it so that excess cable will not be pulled into the pool (the Velcro strap originally attached to the cable can be used). •... -
Page 6: General Maintenance
GENERAL MAINTENANCE Please follow the below procedures to ensure maximum cleaner performance and overall • Grasp the bottom lid firmly, with one hand and use your other hand to grab the filter bag material and pull it away and up from the bottom lid (see Figure 4). component condition. - Page 7 • To reapply the filter bag, first turn it right side out. Next place the filter bag frame onto the bottom lid being sure that the bag frame seats fully into the channel. Press down on all corners to ensure fit. Check the seat of the filter onto the bottom lid (see Figure 7) FIGURE 9 FIGURE 7 STORING THE CABLE...
- Page 8 Brush Mount with Bearing and Drive Wheel (L & R) NC7114 Quick Drain Door NC7131 Spring for Quick Drain Door NCRC Remote Control NC7129 Antenna for NC7122QR NC3510 Floating Swivel SmartPool reserves the right to revise without notice. SmartPool is not responsible for typographical errors.
-
Page 9: Troubleshooting Guide
TROUBLESHOOTING GUIDE ERROR REASON(S) SUGGESTION(S) AC OUTLET/GFI CHECK AC OUTLET/RESET THE GFI OR TRY ANOTHER OUTLET TURN THE POWER SUPPLY OFF AND UNPLUG THE POWER SUPPLY FROM THE AC OUTLET. WAIT 30 SECONDS AND TURN PUMP AND DRIVE POWER SUPPLY RESET POWER SUPPLY ON. -
Page 10: Year Limited Warranty
Pattern ink can also rub off when they come into contact with objects in the pool. SmartPool LLC is not responsible for, nor does this limited warranty cover pattern removal, abrasion, and...
Need help?
Do you have a question about the PT11i and is the answer not in the manual?
Questions and answers