
Summary of Contents for hisky HMX280
- Page 1 HMX280 HMX280 Instruction Manual v1.0 www.hiskyhobby.com www.openpilot.org Thank you for purchasing our HiSKY-brand products Read this manual carefully before use...
-
Page 2: Table Of Contents
5. Install the Landing Gear 5.1 Installation Procedure of the Landing Gear 6. Install the Motors 6.1 Installation Procedure of Rotors 7. Preparing the HMX280 for Flight and Unlock the Motors 7.1 Mode choice of Transmitter 7.2 Steps of Flight 7.3 Unlock the Motors 7.4 Lock the Motors... -
Page 3: Foreword
Dear Customers: avoid flying alone. Invite experienced pilots to guide Thanks for purchasing a HiSKY radio control aircraft product. In order to quickly and you(two of the most effective methods to practice safely master the operation of the HMX120, please read the manual carefully and then are via a PC flight simulator and/or under the keep it properly for future consultation and reference. -
Page 4: Definition Of Flight Direction
HMX280, while the right hand of pilot is the right side of HMX280.Its head is to the front and its tail is to the back . The direction in which main body of HMX280 is facing up ,and its skids are facing down. -
Page 5: Charging Procedure
6)The time to charge the batter y full is 60 minutes. 5.Install of Landing Gear (Caution: Only the designated Charger can be allowed to charge for HMX280 batter y. The use of other charger may cause the injur y and damage to the people and property.) 5.1 Installation Procedure of the Landing Gear(see the following):... -
Page 6: Install The Motors
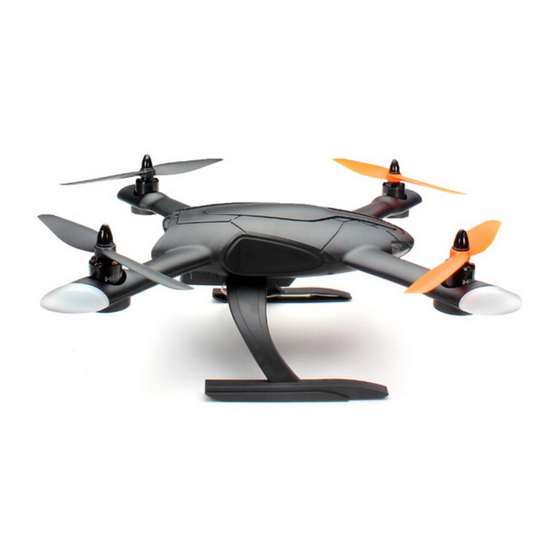
6.Install the rotors Orange rotors Orange rotors 6.1 Installation Procedure of the motors 1)Unscrew the bullet head with screwdriver ; 2)Install the clockwise rotors to M2 and M4 motors; 3)Install the counter-clockwise rotors to M1 and M3 motors. Black rotors Black rotors M1 and M3 rotors are counter-clockwise. -
Page 7: Mode Choice Of Transmitter
The transmitter batter y is low and Replace transmitter batter y and empty rebinding. The HMX280 batter y is low and Replace the HMX280 batter y and Step 3 Step 4 empty rebind... -
Page 8: Selection Of Flight Modes
2 6-axis flight mode default setting is 100% 4) It is a must to practice with the throttle of the transmitter. When the HMX280 Pull up the fifth channel of the transmitter to the 6-axis flight mode. In this mode, quadcopter change from normal flight to stunt flight ,the throttle stick needs the flight control system auto-correct the flight pose when the model out of control. -
Page 9: Exploded View
11.Exploded View... -
Page 10: Parts Of Hmx280
Tapping screws 1.5*5 HMX280 right finger position HMX280-CC3D satellite receiver decoration piece board(semi-finished) HMX280 right rear leg decoration HMX280 battery hatch light piece There are four ports at the bottom of the airframe(see the above picture): HMX280 left front leg decoration...
Need help?
Do you have a question about the HMX280 and is the answer not in the manual?
Questions and answers