Advertisement
Quick Links
Advertisement

Summary of Contents for ClearWater Lights
- Page 1 Installation Manual Universal Kit Krista LED Light Kit Dimmable...
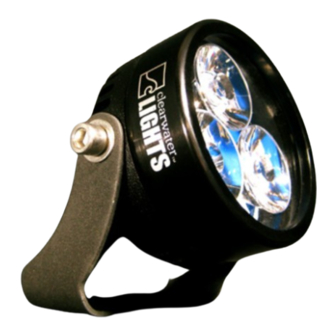
- Page 2 (916) 852-7029. Please take the time to review the included instructions. Installation of the new Clearwater Krista Lights is straightforward. But, be sure to follow some of the suggestions to keep the installation safe and reliable.
- Page 3 “off” the human eye perceives this as dimming. We switch our lights on and off at a rate of 250 times per second, every second. Increased efficiency occurs with the dimming as well. Krista can also be used in a “low”...
- Page 4 Snug the bolts on the clamp so you can now adjust the alignment of your lights. When using the M10 single mount, you can adjust the light left and right allowing a wider range of motion and sight.
- Page 5 Step 2: Mounting The Lights / Light Bar Mount Mounting The Lights: (Light Bar) • Krista comes with an assortment of stainless steel bolts that can allow a variety of installations. A light bar is the easiest installation. Select the correct bolt to fit your bar.
- Page 6 • We have a variety of brackets available for specific bikes where the standard light bar and crash bar mounts do not allow for the instal- lation of Clearwater Lights. Below are images of some of the more popular brackets we offer. You can download a specific manual on- line at our website www.clearwaterlights.com/manuals if needed.
- Page 7 • Mount the Volume Control Knob to handlebar by using supplied bracket and bolt to the existing controls. • Route wires from lights and volume control knob bracket to area under left side of forks. Connections can be made here and be kept weatherproof.
- Page 8 • Locate your bike’s High Beam headlight hot (+) lead. This will make your lights go to full power when you turn on your high beam. Use a Posi-tap to connect one of the white wires from the relay box to this wire.
- Page 9 Step 4: Wiring 4//2012 Page 9...
- Page 10 With a right angle board or object, position the board on the floor and slide it up to the light. The goal is to adjust the lights so that the light is level with the ground. Passengers and luggage may alter the alignment of the light, so further adjustments may be needed.
- Page 11 Posi-Products Installation Instructions: Posi-Twist (A): 1. Strip all wires to be inserted 3/4”. 2. Twist all wires together. 3. Completely unscrew the top from the Posi Twist. 4. Feed the twisted wires through the bottom portion of the Posi-Twist. 5. While ensuring the wires do not slip out of the bottom of the Posi-Twist, attach the top and tighten.
- Page 12 Ride safe! Sincerely, Glenn and the team at Clearwater. The Clearwater Company | 2546 Mercantile Dr. Ste B | Rancho Cordova, CA 95742 Phone: (916) 852-7029 | Fax: (916) 852-9410 | www.clearwaterlights.com Version 7.5 | 12/14/12...
Need help?
Do you have a question about the Lights and is the answer not in the manual?
Questions and answers