Advertisement
Quick Links
Advertisement

Subscribe to Our Youtube Channel
Related Manuals for Zee Z-3020

Summary of Contents for Zee Z-3020
- Page 1 Z-3020 Installation Guide and User Manual...
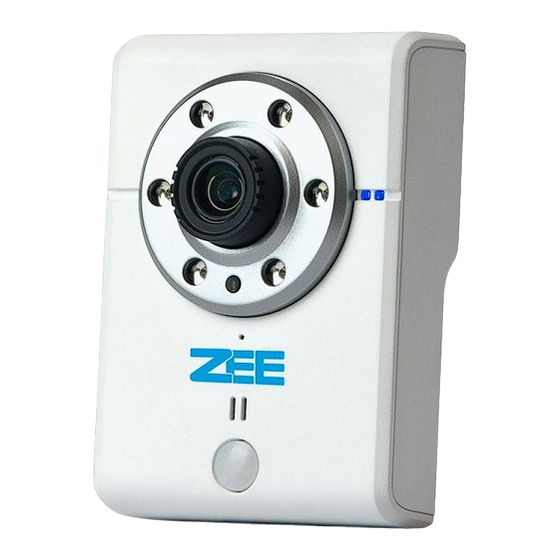
- Page 2 Iveda Z-3020 Installation Guide and User Manual Please use this guide to set up your Z-3020 IP Camera Package Contents Check the package contents against the list below. Camera Z-3020 IP Camera Software CD Installation Guide and User Manual Mounting Bracket...
- Page 3 LED Indicator Definition Color Indication Network Blue Flash Blue during Network activity Power Steady red for booting up process; Steady red 30 seconds when WPS configure Blue Steady blue for booting up completion Flash purple then steady Red during firmware Purple upgrading;...
- Page 4 Install the Hardware and Connect All Cables Wall mounting and Ceiling mounting 1. Use the 3 supplied screws to fix the base plate to a flat surface. 2. Loosen the lock ring to adjust the desired angle of the camera. 3.
- Page 5 Adding Your Camera 1. Connect IP Camera to network router via network cable. 2. Power on IP camera. Please also ensure your router’s DHCP is activated. 3. Visit the hosting URL of your service provider given when you purchased your camera. 4.
- Page 6 7. If no cameras have been added, you will be prompted to add a camera. Otherwise, click “Settings” at the bottom of the page. 8. Clicking will pop up a reminder to ensure the IP camera you are going to bind has already been connected to the network properly.
- Page 7 9. A table will then display for filling in the IP camera’s MAC address and activation code after clicking “Next”. Click “Apply” when finished providing required information. Cameras can also be added by using the Smart phone APP provided by your service provider. 10.
- Page 8 Clicking on the “Share” button at the bottom of the screen will show all cameras that belong to other accounts that are shared with your account. 13. Watching your Cameras Click the “Matrix” at the bottom of the page and you will view the cameras in RTSP streaming.
- Page 9 Basic Functions Tool Bar The tool bar is located in the upper right hand side of each IP cam view for easy management. 1. Lights Indicators Green Light The green light means the IP camera is online and streaming video, therefore its video is successfully displayed on the screen.
- Page 10 You may also choose to mute the camera by clicking the button. When the video does not display well, you can click to reload the media again. You can access the camera’s control UI by clicking the button. The “camera list” with the arrow buttons is displayed on the left-hand side of the screen for selecting other IP cameras to view.
- Page 11 The detailed recording clips will be displayed when you mouse over the orange tags. You can select the specific clip to review. 3. Settings The settings button will take you to that specific IP camera’s web user interface. 4. Mute The mute or un-mute buttons are used to control whether the users would like to hear the...
- Page 12 Wireless Settings After logging into the camera user interface using the user login click on Basic Setting, and then go to the WLAN section on the right. Make sure WLAN is enabled and select the appropriate SSID for your network. Important Note: 1.
Need help?
Do you have a question about the Z-3020 and is the answer not in the manual?
Questions and answers