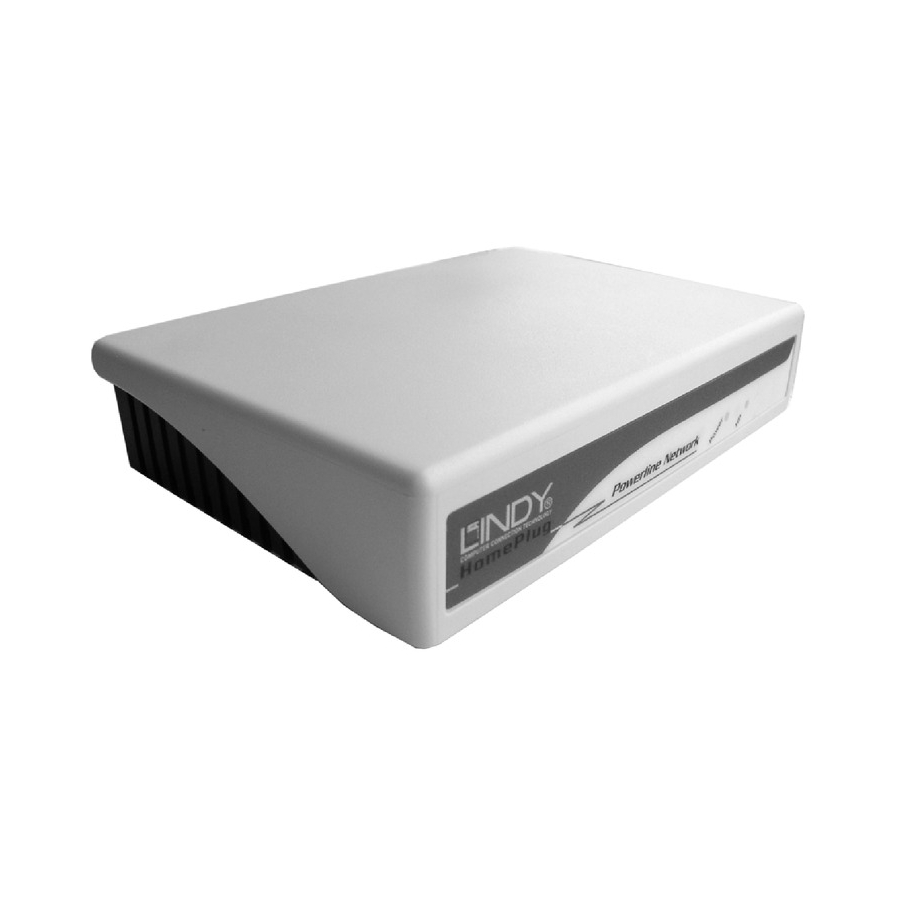
Summary of Contents for Lindy 25121
-
Page 1: User Manual
HomePlug USB Adaptor User Manual English LINDY No. 25121 www.LINDY.com © LINDY ELECTRONICS LIMITED & LINDY-ELEKTRONIK GMBH - SECOND EDITION (Feb 2004) - Page 2 Thank you for purchasing a LINDY HomePlug product. HomePlug technology makes setting up a home or small office network quick and easy! HomePlug allows you to create a network using electrical power lines. Simply plug a LINDY HomePlug USB Adaptor into your computers USB port and then into a mains socket. The...
- Page 3 Make sure that all devices are loaded with the same password! Each LINDY HomePlug device has a Default Encryption Key (DEK) which is printed on the bottom of the module. The DEK is required when setting up a new password.
-
Page 4: Software Installation
Enter a User Name and Organisation, and select either ‘Anyone who uses this computer’ or ‘Only for me’, according to your preference. Click ‘Next’ to continue. Review or change your installation settings, then click ‘Install’. LINDY HomePlug USB Adaptor Page 4... - Page 5 Click ‘OK’ to continue Restart your computer for the changes to take effect by clicking ‘Yes’ After the computer has rebooted Windows will detect new hardware and install the software. Click ‘Next’ to continue. LINDY HomePlug USB Adaptor Page 5 Manual...
- Page 6 ‘Finish’. Confirm the correct installation of the HomePlug USB Adaptor by viewing ‘Network Connections’ in Windows. Select - Start ►Settings ►Network Connections You will see a new Local Area Connection for the HomePlug Adaptor! LINDY HomePlug USB Adaptor Page 6...
-
Page 7: Front View
Plug the supplied power and USB cables into the relevant sockets on the rear of the HomePlug module. Plug the other end of the USB cable into a USB socket on your computer. Plug the mains cable into the socket and switch it on. Front View Rear View LINDY HomePlug USB Adaptor Page 7 Manual... - Page 8 ‘Connect’. Link Quality Shows the signal strength of the linked HomePlug devices on the network. Note: When only one HomePlug device is present on the network the Link Quality will show as poor! LINDY HomePlug USB Adaptor Page 8...
- Page 9 MAC Address Data Rate Scan HomePlug Network LINDY HomePlug USB Adaptor The MAC address of each remotely connected HomePlug device is shown here. Shows the speed that each remote device is connected at. The data rate will vary depending on the power line quality.
- Page 10 12) Network Password Enter a new network password here (the default password on all LINDY HomePlug devices is ‘HomePlug’). Note: the password is case sensitive and must be the same on all of the HomePlug devices on the network! Set Local Click here to set the network password for the local device.
- Page 11 Network Password Device Password Set All Remove LINDY HomePlug USB Adaptor The DEK (Default Encryption Key) and status of each remotely connected device is listed in this box. Shows the current network password The DEK (Default Encryption Key) of each remotely connected device is entered here.
-
Page 12: Setting The Network Password
DEK number of the remote HomePlug device (located on the bottom of the module) in the Device Password box and click ‘Add’ The DEK number will appear in the ‘Remote Passwords’ box. LINDY HomePlug USB Adaptor Page 12... - Page 13 DEK number! Open the Security section and check the Network Password of the locally connected device – it will have changed to the new password (e.g. LINDY) LINDY HomePlug USB Adaptor Page 13 Manual...
- Page 14 ‘Refresh’. Note: When the password change is successful the link quality will be ‘Good’ or ‘Excellent’. When a HomePlug device with an incorrect password is present on the network, the link will be poor! LINDY HomePlug USB Adaptor Page 14...
-
Page 15: Radio Frequency Energy
2. This device must accept any interference received, including interference that may cause undesired operation For Home and Office Use Tested to comply with FCC Standards LINDY No. 25121 © LINDY ELECTRONICS LIMITED & LINDY-ELEKTRONIK GMBH - SECOND EDITION (Feb 2004)

Need help?
Do you have a question about the 25121 and is the answer not in the manual?
Questions and answers