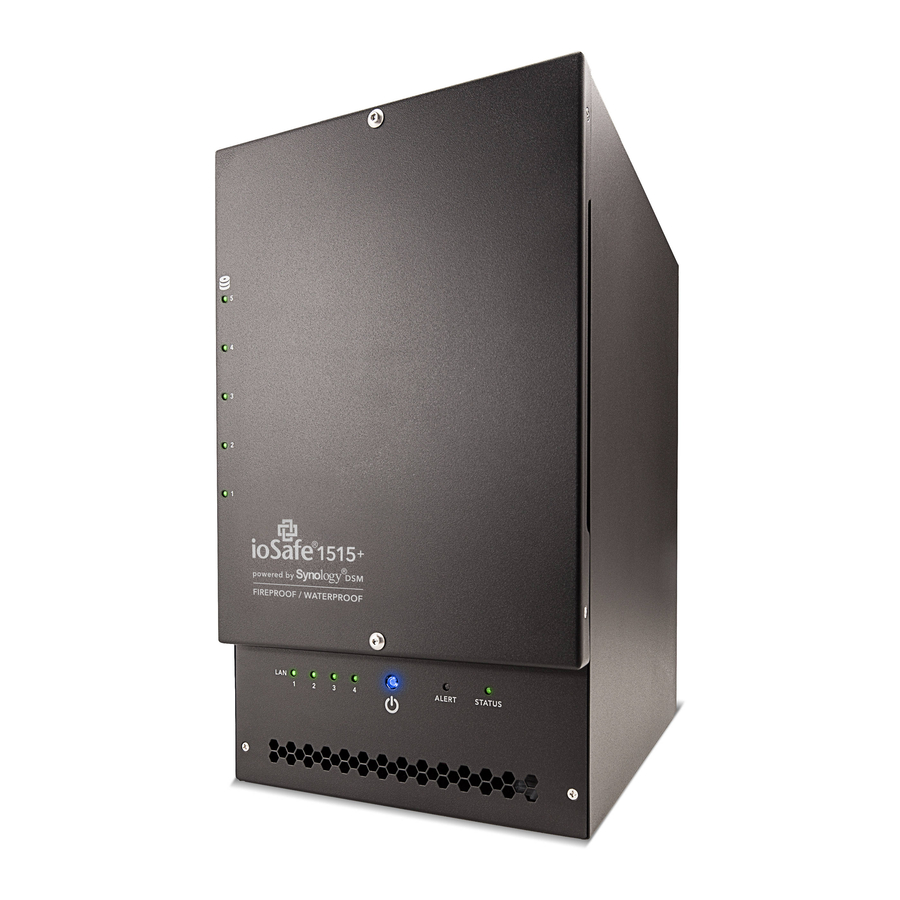
Summary of Contents for ioSafe 1513+
- Page 1 1513+ Quick Start Guide Powered by Synology DSM 910-11568-00 Rev03 QUICKSTART GUIDE, NC, 1513+, ENG...
-
Page 2: Table Of Contents
Chapter 2: Hardware Setup Tools and Parts for Hard Disk Installation ......................6 Install Hard Disks ..............................6 Add a RAM Module on your ioSafe ........................10 Replace System Fan Assembly ........................12 Chapter 3: Initial Start Up and Synology DiskStation Manager Install Start Up Your ioSafe ............................ -
Page 3: Package Contents
Before You Start Chapter 1: Before you start setting up the ioSafe, please check the package contents to verify that you have received the items below. Please also read the safety instructions carefully before use to prevent your ioSafe from any damages. -
Page 4: Iosafe At A Glance
Power Button Front Panel To turn off your ioSafe, press the Power Button and hold it until you hear a beep sound and the Power LED starts blinking. The LED indicator is used to display the status of the internal disk and the... -
Page 5: Safety Instructions
Safety Instructions Before cleaning, unplug the power cord first. Wipe ioSafe product with damp paper towels. Do not place the ioSafe product on a cart, table, or desk, which is not stable to avoid the product from falling over. The power cord must plug in to the right supply voltage. Make sure that the supplied AC voltage is correct and stable. -
Page 6: Chapter 2: Hardware Setup
Install Hard Disks Note: If you purchased your ioSafe preloaded with Hard Disks you can proceed to the next section: Initial Start Up and Synology DiskStation Manager Install. 1 Remove the Front Cover using the included 3mm Hex Tool... - Page 7 2 Remove the Waterproof Drive Cover using the 3mm Hex Tool. 3 Remove the Drive trays using the provided 3mm Hex Tool.
- Page 8 4 Install a compatible Hard Drive into each Drive Tray using (4x) Drive Screws and a Phillips screwdriver. (Please visit www.iosafe.com/support for compatible hard drives models.) Note: If you want to set up a RAID set, it is recommended that all installed hard disks are of the same size to make the best use of hard disk capacity.
- Page 9 7 Install the Front Cover to finish the installation and protect the drives from fire. Keep the Hex Tool nearby for future use. A magnet is provided to attach the Hex Tool to the back of the ioSafe or some other convenient...
-
Page 10: Add A Ram Module On Your Iosafe
Add a RAM Module on your ioSafe The optional RAM module 2GB (DDR3) is designed for your ioSafe 1513 memory expansion. Follow the steps below to install, check, or remove a RAM module on your ioSafe. To install the RAM module: 1 Shut down your ioSafe. - Page 11 4 Replace the access panel. Replace and tighten the 2 screws you removed in step 2. 5 Reconnect the cables you removed in step 1, and then press and hold the power button to turn on your ioSafe. To make sure the ioSafe recognizes the new memory capacity: 1 Install DiskStation Manager (DSM).
-
Page 12: Replace System Fan Assembly
Replace System Fan Assembly Your ioSafe will play beep sounds if either of the system fans is not working. Follow the steps below to replace the malfunctioning fans with a good set. To replace the system fans: 1 Shut down your ioSafe. Disconnect all cables connected to your ioSafe to prevent any possible damages. -
Page 13: Chapter 3: Initial Start Up And Synology Diskstation Manager Install
1 Use the LAN cable to connect the ioSafe to your switch/router/hub. 2 Connect one end of the power cord to the power port of your ioSafe, and the other to the power outlet. 3 Press and hold the power button to turn on your ioSafe. -
Page 14: Install Dsm With Web Assistant
Follow the onscreen instructions to complete the setup process. Note: ioSafe uses an unmodified version of Synology’s DSM. The software interface will sometimes refer to the Synology Product the ioSafe is based on; Synology DS1513+... - Page 15 5 A web browser should open showing a Login screen. Enter the default login and password. Default login user name: admin admin password: ______ (LEAVE EMPTY)
-
Page 16: Chapter 4: Product Support
Product Support Chapter 4: Congratulations! You are now ready to manage and enjoy all the features of your ioSafe. For more information regarding specific features, please check out DSM Help or refer to our online resources available at www.iosafe.com or www.synology.com. -
Page 17: Appendix A: Specifications
A p p e n d i x Specifications Appe ndix A: Item ioSafe NAS 1513+ Fire Protection Protects data from fire. Up to 1550°F (843°C), 30 minutes per ASTM E-119. Flood Protection Protects data from flood. Fully submersed, fresh or salt water, 10 foot (3m) depth, 72 hours. -
Page 18: Appendix B: Led Indication Table
A p p e n d i x LED Indication Table Appe ndix B: LED Indication Color Status Description Static Volume Normal Green HDD Hibernation Available volume space < 1GB Static STATUS Available volume space < 1 % Orange Volume degraded or crashed Blinking DSM not installed Green/orange...

Need help?
Do you have a question about the 1513+ and is the answer not in the manual?
Questions and answers