Advertisement
Advertisement
Table of Contents

Summary of Contents for Xstatic X-240BAR RGB
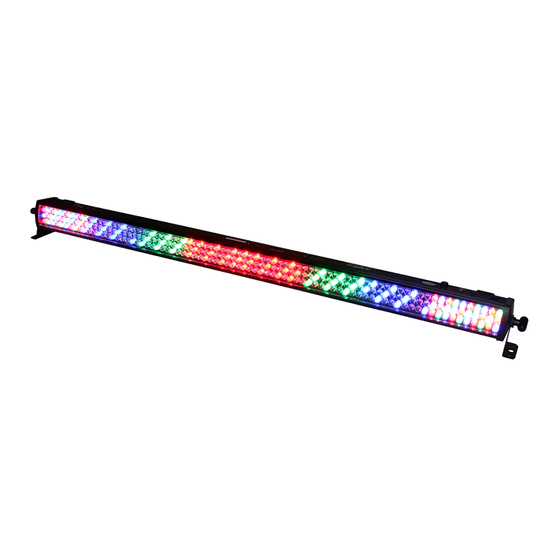
- Page 2 High Power Indoor Bar Washer, 240 RGB LED User Manual...
-
Page 3: Safety Instructions
SAFETY INSTRUCTIONS: CAUTION! READ BEFORE USE! For your own safety, please read this user manual carefully before you initially power up your fixture. ● Examine packaging to ensure all parts included ● Disconnect all power and other cables prior to servicing ●... - Page 4 FEATURES: ● RGB Color Mixing ● Color Strobe Effect ● Color Mix Effect Programs ● LED Chases (Adjustable Speeds) ● Electronic Dimming 0-100% ● Operating Modes: Sound Active, Master / Slave, or DMX-512 Control Protocol ● DMX Channel modes: 2, 3, 4, 7, 14, or 26 ●...
-
Page 5: Technical Specifications
TECHNICAL SPECIFICATIONS: ● Voltage: 100V~240V, 50Hz~60Hz ● LEDs: Red x 96, Green x 72, Blue x 72 ● Power Consumption: 36W ● Weight: 6 lbs / 2.6Kgs ● Dimensions: 42” x 3” x 3” / 1006mm x 76mm x76mm ● Colors: RGB Color Mixing ●... -
Page 6: Menu Controls
MENU / CONTROLS: SETUP MENU: You can easily setup and control your 240 RGB LED Bar from the on-board LCD screen. Using the MENU, SETUP, UP and DOWN buttons, you will find the following options to select and modify: The Control Screen with MENU, SETUP, UP, and DOWN Navigation buttons. -
Page 7: Dimming Mode
MENU OPTIONS CONT’D: 3. DIMMING MODE Press the MODE button until displays on the Menu screen. Then COLR repeatedly pressing the SETUP button will scroll through 4 selections, RED ( ), GREEN ( ), and BLUE ( ). Each of the R, G, and B selections have 0-255 levels of dimmer. - Page 8 SLAVE MODE MENU MAP 7. SLAVE MODE MENU OPTIONS This MENU MAP details DMX setting options to access preset programs. 8. RESTORE FACTORY SETTINGS When fixture is off, press the MODE and SETUP buttons at the same time and hold while turning the fixture power on. Hold the buttons until rSEt displays and flashes on the Menu screen.
- Page 9 DMX CHANNEL MODES SETUP...
- Page 10 DMX CHANNEL MODES SETUP...
- Page 11 DMX SETUP CONTROL: Assembling a DMX Chain is as simple as connecting two more more fixtures with DMX In/Outs with the proper DMX specific 3-pin XLR-style cables. NOTE: The last or final fixture in the DMX chain MUST have a terminator plug.
-
Page 12: Dmx Setup
DMX SETUP:... - Page 13 CARE:...
-
Page 14: Ir Remote Control
IR REMOTE CONTROL: 9. INFRARED REMOTE OPTIONS Your fixture comes with an Infrared Remote Control. This requires aim- ing the remote forward and at the face of the light in order to send it your selections. The remote has two sections of control, settings and colors. Each has the associated selection the light will enter upon pressing. - Page 15 IR REMOTE CONTROL: On Buttons 0-9, the LEDs will display the associated colors when select- White Amber Yellow1 Green Cyan Blue Purple Pink Yellow2 DIMMING MODE By selecting MANUAL and then a Color Button labeled with either R, G, or B, you can create your own color mix by increasing or decreasing the value of that single color.
- Page 16 (NO DIRECT SALES, DEALERS AND DISTRIBUTORS ONLY) Please Register your product warranty on ProXDirect.com, submit your testimonials and setup photos to our website, & Tag us on your social media websites. #proxdirect...
Need help?
Do you have a question about the X-240BAR RGB and is the answer not in the manual?
Questions and answers