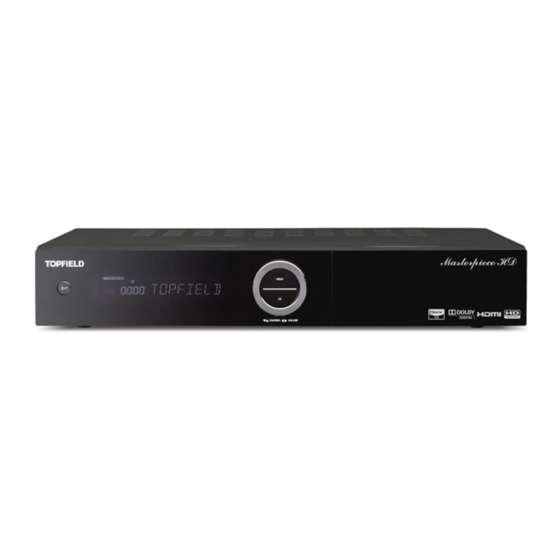
Topfield TRF-2400 User Manual
High definition
digital terrestrial receiver
personal video recorder
Hide thumbs
Also See for TRF-2400:
- User reference (120 pages) ,
- User manual (124 pages) ,
- User manual (117 pages)
Summary of Contents for Topfield TRF-2400
-
Page 1: User Manual
TRF-2400 User Manual High Definition Digital Terrestrial Receiver Personal Video Recorder... - Page 2 Precautions • Read, keep and follow these instructions and heed all warnings. • Clean only with a dry cloth. • Do not block any of the ventilation openings. • When placed in a cabinet, make sure there is a minimum space of 10 centimetres around it. •...
-
Page 3: Rear Panel
Rear Panel ANT IN Terrestrial broadcasting signal input socket (5V, Max.100mA) ANT OUT Terrestrial broadcasting signal output socket through the ANT IN socket for another digital receiver Y/Pb/Pr Component video input sockets for the video recorder or suchlike (blue/green/red) VIDEO Composite video input socket for the video recorder or suchlike (yellow) AUDIO L/R Stereo audio input sockets for the video recorder or suchlike (white/red) -
Page 4: Connecting Your Tv
Connecting your TV Choose a setup that matches the connection ports on your TV. We recommend using the HDMI connection for the highest quality HD picture. For a higher quality use the component connection. For a basic connection to your television use the composite connection. -
Page 5: Front Panel
Front Panel button switches the digital receiver between standby mode and active mode. Front display shows the current time in standby mode, and displays the current ser- vice in active mode. MENU button displays the main menu. It is also used to return to the previous menu from a submenu. -
Page 6: Remote Control
Remote Control • button switches the digital receiver between standby mode and active mode. • not used in this model. • switches the remote control to television mode to operate your television. • switches the remote control to receiver mode to operate the digital receiver. •... - Page 7 • exits a menu or hides on-screen information. • buttons decrease or increase the volume. V− • mutes the sound. Press again to switch it back on. • displays the list of recorded programmes that are stored in the internal hard drive. •...
-
Page 8: First Time Installation
First Time Installation Default Pin: ‘0000’ 1 After having connected the appropriate cables from the Digital Receiver to your TV, make sure the power cord of the Digital Receiver is plugged into a wall socket and turn Toppro unit ON using the switch on the back of the unit. 2 Check that your TV set is turned on. -
Page 9: Recording And Playback
9 Once all the channels have been searched you will be told how many channels have been found. Press button and then but- EXIT ton. NOTE The free to air EPG (Electronic Program Guide) guide does not automatically populate. To populate the EPG guide on every channel you must visit each ser- vice/channel at least once a week for a few minutes or until the guide has fully populated for the full seven days. - Page 10 To stop recording, press the button; then a box like the left gure appears, which shows the programmes currently being recorded. Se- lect recording by using navigation buttons then press button to stop the recording. Playback > Recording > Recorded Program (or >...
- Page 11 • Configure the network setting on the Toppro receiver in Installation > Network Setting > IP Setting. For a wired connection, we recommend you to assign a dynamic IP address by the router (DHCP). Designating share files on the receiver £...
- Page 12 At any time during the life of a product Toppro Pty Ltd may change or modify the hardware or software on any product to introduce new features or improve the func- tionality of the product. Copyright © 2013, Toppro Pty. Ltd. All rights reserved. English version 110T-C5AC6-701-5 http://www.topfield.com.au...


Need help?
Do you have a question about the TRF-2400 and is the answer not in the manual?
Questions and answers
I have a Topfield TRF2400 Masterpiece. The unit is saying I have no recording space left, when in actual fact I have at least 7GB left of 500GB. I have turned the unit off and back on 3 times and it is still saying ZERO GB left. I have deleted files and moved some to an external USB plugged into the unit, but this has not corrected the situation. The unit has been malfunctioning over the past 3 months, switching itself off randomly then turning itself back on, I think to check the hard disk drive, as a message says it has checked the hard disk drive. Have you any clue on how to correct this? Your help will be very much appreciated. Thanks Andrew.