
Summary of Contents for SilverStone NS312
- Page 1 NS312 User Guide Version 1.0 SilverStone Technology Co., Ltd. http://www.SilverStonetek.com support@SilverStonetek.com...
- Page 2 Index SilverStone NS312 Introduction.............……… First time Hardware Installation..............…. Booting up NS312................……..…. Notice: Format Your HDD using NS312 Disk Utility format software……. How to set up NS312................…… Identifying and using NS312 on your network........………… Entering the system management page..........……...… 1. Manage the Users and Groups............……..
- Page 3 4. Maintenance..................…… A. Disk Utility................… B. Firmware Upgrade...............……… C. Save Configuration..............……. D. Restore Configuration............…… E. Factory Reset................……. Account Management................…… Log Out......................… What is NAS?
- Page 4 Using a NAS, you don’t have to keep your original datacenter PC server operating all day long anymore, a smaller size, more stable, less power-consumption, less heat, less cost, easier to build-up device would make your life more convenient! SilverStone NS312 Introduction What’s the difference?
-
Page 5: First Time Hardware Installation
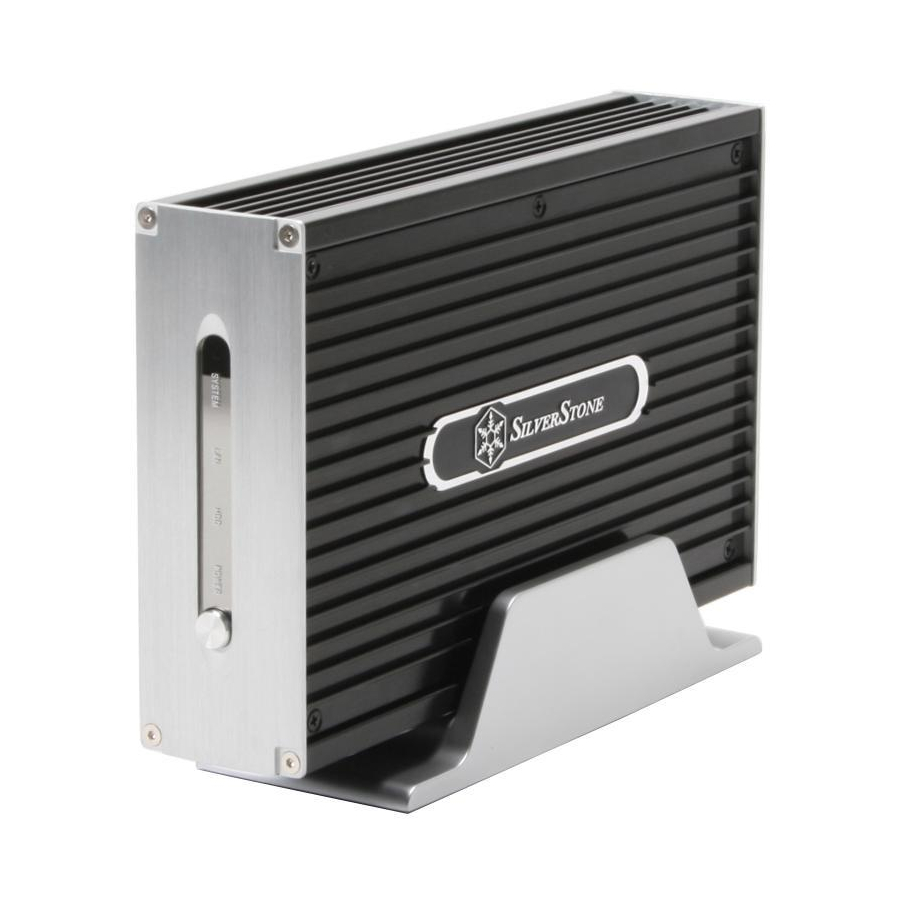
NS312, it’s not only an ease of use network storage, with it’s integrated USB client chip, it is a dual-function HDD box, users could use it as a NAS where network connection is available or bring it as a portable HDD external enclosure, accessing it via its USB 2.0 client jack. - Page 6 Assembly 1.Put in a hard disk drive, if the NS312 version you got already has hard disk drive installed. Please skip this step and jump to step 2. (1) Open the upper cover of NS312 through the top 4 screws with your hands.
- Page 7 (3)Place the secured HDD in the bracket with lines all connected, and put it back into the case.
- Page 8 (4)Place the top panel and screw it back onto the case (Remember to place top panel so the heat absorbing pad is right above HDD and not above all the lines).
- Page 9 “DC IN” plugs. 3. Plug the other side of the RJ-45 cable into a network connection such as a cable modem, router, or a hub. This is how NS312 are able to be accessed by other users off a remote area.
- Page 10 4. Plug the other side of the power core into the power plug. 5. Press the power switch at the front panel.
- Page 11 If NS312 is not connected to the internet, NS312 can be used as an external HDD storage device without using the network cable. Just plug USB cable, the B side to NS312, connect the other side to your computer’s USB connection, that’s all you need to do, no adjustment necessary! Notice: Format Your HDD using NS312 Disk Utility format software.
- Page 12 How to set up NS312 1. After NS312 is booted up, use a web browser (i.e. Microsoft Internet Explorer) to login NS312, there would be some different steps needed to be taken accordingly. A. For users have a DHCP server in your network environment, (home environment with DSL or cable modem router or office environment…)
- Page 13 Or you could simply use our SearchNAS_for_silverstone145.exe software in the attached CDROM, it would automatically find out the current NS312 locates in your LAN, double click on the NS312 being found to enter the administration page for proceeding related configurations.
- Page 14 There will be a set of IP ADDRESS showing up on the right side, write it down. P Please enter pre-set password “admin"...
- Page 15 Go to next step after time is set...
- Page 17 Open the Internet Explorer and enter “http://IP ADDRESS you wrote down” and press “enter”, afterward you will enter a web page, enter “admin” at the place it asks for your name and password, and you can enter setup page.(“Format HDD” after entering setup page).
-
Page 18: Entering The System Management Page
Entering the system management page Type in the default administrator account and password, the default account and password are both “admin” to log in, you can see the following screen... -
Page 19: Manage The Users And Groups
1. Manage the Users and Groups You could manage the user accounts through “Control Panel” → “Users and Groups” A. To add a user. i. Fill in the desired new user account and password (twice for confirming), you could decide whether the Private folder would be created or not, and enable/disable the disk quota. -
Page 20: File Management
2. File Management NS312 is a sharing center for you to share your data, files, music, movies with authorized users by your own. Here you can set the related information for your NS312 to be recognized on the intranet where it operates. - Page 21 Windows Setting. ii. You could “enable” this setting to let NS312 be recognized by other Microsoft Windows based PC/NB through the “Networking Neighborhood.” Just set NS312 into the same “Workgroup” as your PC/NB, then it could be identified automatically as a computer/device by your PC/NB when you try to explore any new computer through “Networking Neighborhood.”...
- Page 22 C. NFS Server Setting NFS (Network File System) is a service supported by Linux based system to let users access the other devices through network. NS312 supports NFS service so you can enable/disable it by check/uncheck the square here.
- Page 23 D. Guest Access Setting What if someone doesn’t have an account on NS312 but wants to access it? You could enable/disable the Guest Access function to allow/forbid anonymous users entering NS312, furthermore, the “Enable Quota”...
- Page 24 To complete the setting, please click “Save” at the bottom to implement the changes you’ve made. E. Share Management Share Management including the functions to manage “how” you share the data/files stored on NS312. i. You could simply create a Share Name and specify the actual path...
-
Page 25: System Settings
NFS service clients. iv. If you want to delete a share folder, select it from the “Existing Shares” list and click “Delete Share” at the bottom. 3. System Settings Here come some settings for you to acquire the related information of NS312. - Page 26 The IP address related settings (DHCP/Static IP) and the DNS settings could be set up here. iv. You could also see the MAC address of NS312 here, sometimes you would need this information to set up NS312 in your network environment.
- Page 27 ONLY work under the network environment which could connect onto Internet for correcting NS312 time) C. Turn Off Server This function enables you to Restart or Turn off NS312 through remote side, simply click “Restart” or “Turn off” to execute the functions. D. Information...
- Page 28 E. Disk Usage Through this function, you could check the left capacity and the usage percentage of the HDD storage in NS312. You could view it from the whole HDD view or a single user usage view by selecting it from the...
-
Page 29: Maintenance
HDD in NS312 with ext2/ext3/FAT32 format. Microsoft NTFS format is not supported in NS312. If you want to use NS312 as a USB 2.0 external enclosure for Windows systems, please format the HDD with FAT32 format, for ext2/ext3 could be recognized only for UNIX/Linux based systems. - Page 30 C. Save Configuration You could backup the settings you’ve done on NS312 onto your PC/NB by this function, click “Save” and choose the destination where you want to store the configuration settings on your PC/NB and click “OK” to download it.
- Page 31 E. Factory Reset “Factory Reset” would reset all the settings on your NAS-100 back into the factory default value, please make sure you’ve made all the necessary information/data backed up.
-
Page 32: Account Management
“Personal Info” area. Only an “Admin” account can access the NS312 system related configuration (Control Panel) for setting up it, a single user account can only enter “Personal Info” area for password changing and getting storage usage information. - Page 33 Log Out Remember to click “Log out” to keep unknown users accessing NS312 using your account.
Need help?
Do you have a question about the NS312 and is the answer not in the manual?
Questions and answers