Table of Contents
Advertisement
Quick Links
Advertisement
Table of Contents

Related Manuals for Vizio SB4021M-B1

Summary of Contents for Vizio SB4021M-B1
- Page 1 VIZIO QUICK START GUIDE Model: SB4021M-B1...
-
Page 2: Important Safety Instructions
IMPORTANT SAFETY INSTRUCTIONS Your Sound Bar is designed and manufactured to operate within defined design limits, and misuse may • Do not touch the power cord during lightning. To avoid electric shock, avoid handling the power cord result in electric shock or fire. To prevent your Sound Bar from being damaged, the following rules should during electrical storms. -
Page 3: Package Contents
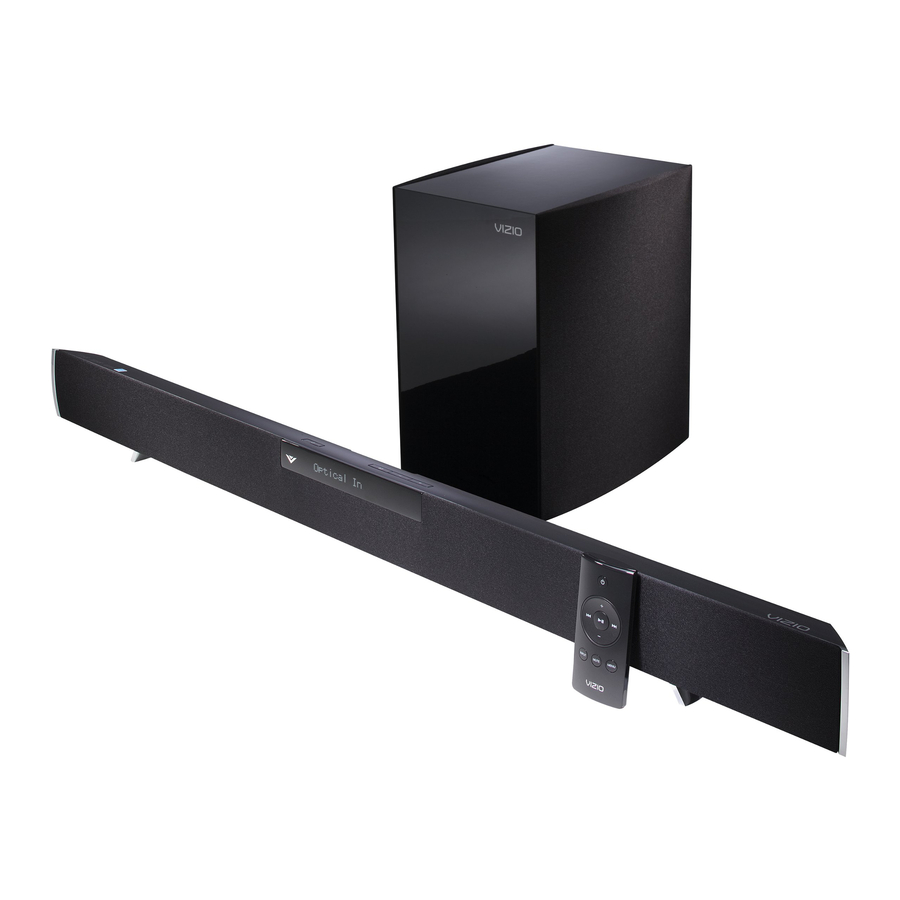
PACKAGE CONTENTS High Definition Sound Bar Wireless Subwoofer Remote Control Wall Mount Brackets (2) Power Adapter w/Cable with Battery VIZIO Quick Start Guide Model: SB4021M-B1 Optical Cable Wall Mount Template Stereo RCA to 3.5mm This Quick Start Guide Audio Cable... -
Page 4: Controls And Connections
CONTROLS & CONNECTIONS nfo Display Input Displays volume, input, and other information. Press to change input source Volume Up/Down Power Press to increase or Press to turn decrease overall on or off. volume. Power Light When Sound Bar is on, this light is on. Link LED Light Link Button Used to re-link the Subwoofer... - Page 5 Digital Optical In Digital Coaxial In 1.85 Analog 3.5mm In Wall Mount Posts 1.85 1.85 1.85 Power Port USB Port...
- Page 6 FIRST-TIME SETUP 1.85 BETTER GOOD GOOD BETTER DIGITAL OPTICAL DIGITAL COAXIAL 3.5MM 3.5MM TO RCA CABLE CABLE* CABLE CABLE *Not Included...
- Page 7 CHOOSE ONE CABLE: GOOD BETTER AND CONNECT IT TO YOUR TV Connect the Sound Bar to your TV using one of the connection types to the left. Choose the best possible connection type. Be sure the TV port is an audio output, not an audio input.
- Page 8 1.85 1.85 Plug in Plug in Subwoofer Sound Bar...
- Page 9 Sound Bar is centered below the TV, close to ear level. Wireless Subwoofer is in the front corner of the room, up to 60 feet away from the Sound Bar. Bass is projected outward. For the best surround sound experience, position the speakers as shown.
- Page 10 Flip the ON/OFF Switch to ON.
- Page 11 Gently pull the plastic tab from the back of the remote control. (The plastic tab can be thrown away) Turn your TV on, then press the Power Power button on the remote to turn the Sound Bar on. Press the Input button on the remote until your connection type is displayed.
-
Page 12: Using The Remote
USING THE REMOTE Power Press to turn on or off. Play/Pause Volume Up Press to play or pause track. Press to increase overall system volume. Rewind/Previous Fast Forward/Next Press and hold to rewind. Press and hold to fast forward. Press to go to last track. Press to advance to next track. - Page 13 EXTENDED FUNCTIONS USING BUTTON COMBINATIONS Mute/Unmute = Volume Up + Volume Down Press and hold both buttons for 1 second to mute/unmute your Sound Bar. Factory Reset = Power + Volume Up + Volume Down Press and hold all 3 buttons for 10 seconds to return your Sound Bar to its factory default settings.
-
Page 14: Wall Mounting The Sound Bar
WALL MOUNTING THE SOUND BAR Use a phillips-head screwdriver to remove the screws from the Sound Bar stands. HE SOUND BAR AND YOUR TV LEAVE THIS SPACE BETWEEN T Reinsert the screws for safekeeping. Save the stands for future use. MARK HERE MARK HERE 19.75”... - Page 15 Recommended screw diameter: 4mm Recommended screw length: 8mm or greater The screws and anchors depicted are not included. The appropriate screws and anchors will depend on the material of your wall. Be sure that the screws and/or anchors you use are securely fastened and can support the weight of the Sound Bar.
- Page 16 RE-LINKING THE SUBWOOFER AND SOUND BAR You may need to re-link the Subwoofer to the Sound Bar if there is no sound coming from the Subwoofer and the orange light on the rear of the Subwoofer is either blinking or not lit. Press and hold the INPUT button on the Press and hold the LINK button on the back top of the Sound Bar for 5 seconds.
-
Page 17: Replacing The Remote Battery
REPLACING THE REMOTE BATTERY Insert a flat-head screwdriver into the slot as When replacing an old battery with a shown. Gently push down on the tab, then new CR2032, be sure that the + sign on press and pull downward on the battery the battery is facing up. -
Page 18: Connecting Additional Devices
CONNECTING ADDITIONAL DEVICES Connect up to four different devices to the Sound Bar (devices shown are examples–you can use any device). To listen to a device, change the input source on the Sound Bar. 1.85 Optical, Coaxial, and 3.5mm cables transmit audio only. If connecting a video device, you will need a separate video connection from the... -
Page 19: Vizio Recommends
, Co-Star decks out your existing HDTV with ™ apps, full-screen Web browsing and the best in streaming entertainment. And with 1080p Full HD resolution, built-in Wi-Fi, and 3D-readiness, VIZIO Co-Star is the ultimate entertainment upgrade for any high-definition television. Available at www.VIZIO.com This Product Sold Separately... -
Page 20: Help & Troubleshooting
HELP & TROUBLESHOOTING All VIZIO products include FREE lifetime technical support. The VIZIO support team is highly trained and is based in the United States. We can help with: • Product Setup • Technical Problems • Warranty Questions • And More... - Page 21 • Make sure the plastic tab has been removed from the battery compartment. • Replace the remote battery with a new one. The remote • Point the remote directly at the Sound Bar when pressing a button. isn’t working. • If using a Bluetooth connection, some of the buttons on the remote may not be supported by the streaming application.
-
Page 22: One-Year Limited Warranty
VIZIO provides a warranty to the original purchaser of a new Product against defects in materials and workmanship for a period of one year of non-commercial usage and ninety (90) days of commercial use. If a Product covered by this warranty is determined to be defective within the warranty period, VIZIO will either repair or replace the Product at its sole option and discretion. -
Page 23: Legal & Compliance
LEGAL & COMPLIANCE FCC Class B Radio Interference Statement NOTE: This equipment has been tested and found to comply with the limits for a Class B digital device, pursuant to Part 15 of the FCC Rules. These limits are designed to provide reasonable protection against harmful interference in a residential installation. - Page 24 © 2013 VIZIO INC. ALL RIGHTS RESERVED. 130308CH-A...
Need help?
Do you have a question about the SB4021M-B1 and is the answer not in the manual?
Questions and answers